Category Archives: Recipes from the Garden

Garlic Scapes? What Are They?

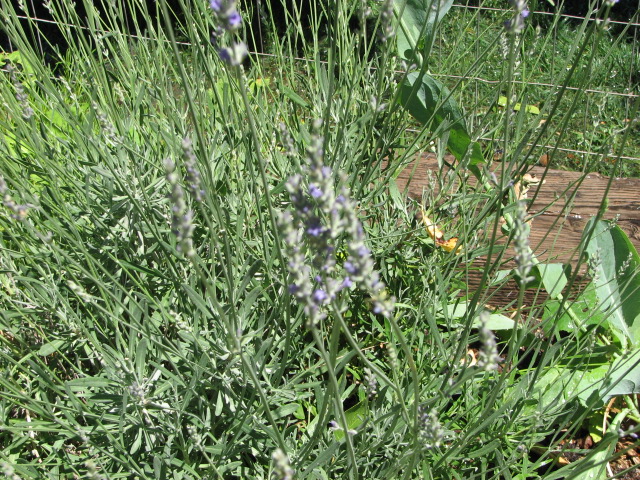
Garlic Scapes. They are all looking to the south!

This time of year you might hear about scapes.  They might show up in Farmers Markets if you are lucky.  Just what the heck are they?  Scapes are the long curly green leafless things that grow out of garlic, also known as garlic tops, garlic shoots, garlic spears or garlic flowers.  They are extremely tasty green shoots that grow from “heads” of hardneck (or topset) garlic which are usually discarded before harvesting in most of the U.S.  Garlic scapes are a versatile and nutritious culinary treasure that is valued in Korean, Chinese, Thai, Polynesian, and coastal French cuisine.  They can be hard to find if you don’t grow your own, but look for them late spring time, early summer.  They are garlicky but with a fresh “green” taste.  They can be used in any dish where one usually uses garlic but wants a brighter, more complex garlic flavor with less bite than one would get from standard garlic cloves.  Garlic scapes work well in soups, salads, stews, salsas, dips, guacamole, omelettes, frittatas, souffles, marinades, pesto, salad dressings, and stir-fry. 

Harvest garlic scapes when they are curled and the flowers have not yet opened.  By doing this you will produce a larger bulb and be able enjoy the scapes in cooking or raw.  I have found that the scapes growing in our hot climate can be tough the further down the stem, so at times I am only using the top 6- 8″ of the scape including the bud.  One little tip about watching the scapes as they grow is they will straighten when the bulb has reached full maturity.  By this time the flower will start to open.  You can also use the little flowerets before they dry out.  I like to sprinkle them over a salad or in any savory dishes.  They have a peppery taste.  Try something new!  That’s what makes growing your own so wonderful!   Garlic has such great character at all stages.

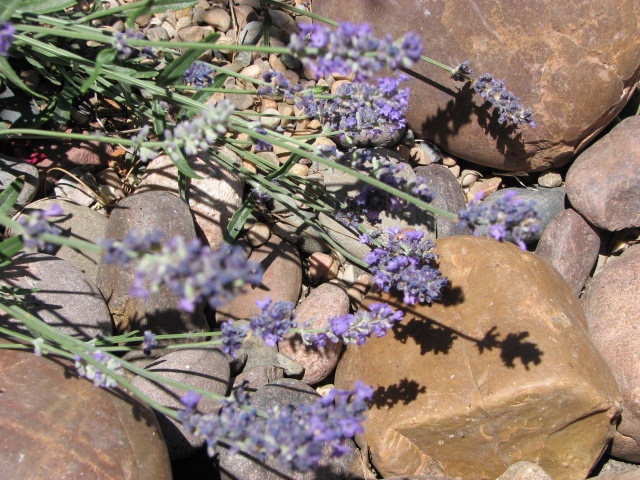
Scapes just picked for dinner

A simple but wonderful garlic scape spread can be made by chopping some up and mixing them with softened cream cheese (or sour cream) and dill. When added to mayonnaise to make an aioli, the flavor of chopped garlic scapes becomes milder and the savory notes are more apparent. Use the scapes as a great side dish.  Here’s a simple but good recipe for roasted garlic scapes.

Roasted Garlic Scapes

Take the scapes and put them in a lightly oiled roasting pan, top with salt (kosher or sea salt works best). Put the loaded and covered pan in a hot (425°F) oven for 30 to 45 minutes or until they are beginning to turn brown. serve as a side or main dish. Tastes like roasted garlic but creamier.

Garlic Scape Pesto

1 cup grated Parmesan cheese, 1/3 cup walnuts,  3 Tbsp. fresh lime or lemon juice, 1/4 lb. garlic scapes, 1/2-cup olive oil
Salt to taste

Puree’ scapes and olive oil in a food processor until smooth. Stir in Parmesan, walnuts and lime or lemon juice and season to taste.

Growing great garlic guide

3 Comments

Filed under Gardening, Recipes from the Garden

Lavender, A Must Have In The Garden

Gardeners have prized lavender for thousands of years.  Their usefulness and beauty made them vital in ancient Roman gardens, medieval monasteries, Elizabethan knots, english cottage gardens and shaker fields.  I love the way they look, the way they smell when I brush up against them when I walk by.  There are about 28 species of lavender.  The most commonly grown are English, Spanish and French.  I grow many English varieties because they do so well in our area.  French lavender is tender so I grow it as an annual or in pots so I can bring them into the greenhouse during the cold winter months.  Spanish varieties seems to struggle here, but I can’t seem to resist a few every year because the flower and growth habit is so different then the other cultivars.

lavender loves full sun and well-drained soil.  They can survive in partial shade, but they seem to get spindly.  The biggest killers of lavender plants are root-rotting diseases, which proliferate in high humidity and wet soil.  English lavender are especially susceptible.  If you live in a humid climate, don’t crowd lavender.  If one plant catches a disease, it is likely to move down the row until they are all gone.  You can increase drainage around lavender by planting in raised beds or in mounds.  Well-composted organic matter will also help to improve soil texture.  For real problem soils you can add cinders or chicken grit in the top 12 inches of soil.  lavender likes a soil pH of 6.5 to 7.5.  Lavender doesn’t require a lot of fertilizer, although I will feed a Well balanced fertilizer in the spring.  I use 2 pounds per 100 square feet.  Work into the soil surface several inches away from the main stem.  I don’t like to mulch my lavender.  It seems like if you try to amend the soil too much it will make the soil to rich and diseases are more abundant.  Don’t kill your lavender with kindness!  Rock gardens are a great place for lavender. 

How much water will depend on your soil, the climate, and the age of your plants.  Keep the soil moist, but not wet, only until the roots have established, which will take a year or more.  Established plants can survive very dry conditions, but they will be more attractive and productive if the soil doesn’t dry out too much between watering.  Make sure they get an inch of water every two to four weeks.  Overhead watering is fine in an arid climate like mine, but if you live in a humid area, drip irrigation would be ideal for watering. 

Lavender flowers are prized when they bloom.  The fragrant flowers only bloom for four to six weeks each year.  I start to harvest the flowers when they are in full color.  You can gather several long spikes and cut all at once for a quick harvest or you can cut each individually down to the first set of leaves for longer stems.  When cutting the flower spikes, I will prune  any dead out of the bush and trim up just a little.  The only other time I prune in is in the early spring, just before the new growth (not buds) begins.  This is just to shape it up, and clean the dead branches.  Never prune more than 1/3 of your lavender and never prune during a very cold spell.

All lavender can be propagated from stem cuttings.  You want non-flowering stems, 2-3 inches long.  Use a rooting hormone by dipping the freshly cut end into the hormone.  If using a powder make sure to tap off any excess powder and if you are using a liquid hormone, my preferred method, only let the stems soak for 10 seconds.  Place the cuttings into a sterile soil less mix.  I use a heating mat on the bottom during cold months.   Keep moist and out of direct sunlight till rooted.  

lavender are used in so many different ways.  Cut flowers, dried flower arrangements, cooking, potpourri, sachet and lavender wands.  I bundle the flowers and hang them upside down for  use in dried flower arrangements.  One of my favorite ways to “show-off” my lavender is making wands.  They are made by taking an odd number of fresh lavender (13 is a good number to start with for beginners) and tying off just below the blooms, bending the stems back over the flowers, and weaving ribbon around the stems.  The flowers hold their scent for years like this.  I like the english lavender best for these because they have the sweetest scent.

Cream Cheese with Herbs de Provence

1 lb cream cheese, 2-3 T half and half, 10 leaves of parsley minced, 4-5 marjoram sprigs minced, 4-5 sprigs summer savory minced, 4-5 fennel or dill sprigs minced, 2 t fresh lavender flowers, 2 garlic cloves crushed, 1/4 t sea salt, pinch of cayenne and 1 t herb or white vinegar.  Cream the cheese and half and half, add the rest of the ingredients.  Flavor improves after 2-3 days.  Cover tightly and store in refrigerator.  Use this spread on sandwiches, crackers or baked potatoes.

Well balanced fertilizer for lavender

Leave a comment

Filed under Herbs, Recipes from the Garden

The Carrot Patch

When planting the garden, don’t forget about the carrots!  Carrots are often thought of only as a spring time planting, but I like to plant carrots though the growing season into early summer and then again in the fall.  Home-grown carrots have a sweet juicy flavor that can’t compare, thank goodness,  with supermarket carrots bland taste.  I plant closely and start to thin out baby carrots for early nibbles and roasted baby carrots.  When growing your own carrots you have so many more choices.  Carrots are diverse.  Some varieties are pencil thin and some short and stubby.  Colors go beyond the familiar orange.  Purples, white, and yellow are so fun to display on a white dish at the dinner table.  And who can’t resist eating a few straight from the ground.

If you have ever grown carrots and they each seem to have grown many legs in many directions, you can probably blame your soil.   Carrots grow best in sandy soils with good drainage.  Work in plenty of organic matter (compost).  If you have clay soil you can amend with perlite or vermiculite and peat moss.  This opens up the soil allowing your carrots to grow longer root systems.  If your soil is still being worked and is not yet loamy, don’t let that stop you from planting carrots.  Just plant varieties that are shorter like, Chantenay varieties.  They are also very good winter keepers.  Just let them stay in the ground over winter.  This is a great way to have fresh carrots all winter long without taking up space in the root cellar or frig.  If you live in a cold region put a layer of straw over them the keep the tops from getting damaged from frost.  Carrots require an open sunny site.  Sow seeds outdoors in early spring until summer.   Carrots do not transplant well.  Broadcast seed, tamp down and cover with a thin layer of fine compost.  You can also sow carrots and radishes in the same row.  Just be very careful when pulling radishes that you don’t disturb the carrots too much by pulling the radish with one hand and the other holding down any carrots that might want to come with.  Water with a gentle wand so as not to disturb the seed much.  Keep soil surface moist till carrots germinate.  I wait to thin my carrots until they are big enough to eat as baby carrots, 2-3″.  This does take away from the size of later carrots a bit, but I don’t mind a  smaller carrot.  You can thin early when greens are 1-2″ tall to 2–3″ apart.  Put thinnings into your compost pile.  Keep weeds out of your crop making sure not to disturb the roots too much.  Carrots are companions with onions and chives.  Now!  Go plant some carrots!

Roasted Baby Carrots With Honey and Rosemary   


Scrub baby carrots.  Trim off all but 1/2 inch of the greens, arrange carrots in a single layer on a foil-lined baking sheet.  Drizzle with olive oil and roll back and forth to coat.  Roast until carrots are tender when pierced with a fork, about 20-40 minutes.  remove from oven and season with salt and pepper.  Drizzle hot carrots with a little honey and finely chopped fresh rosemary.   Easy and so good!

Leave a comment

Filed under Gardening, Recipes from the Garden