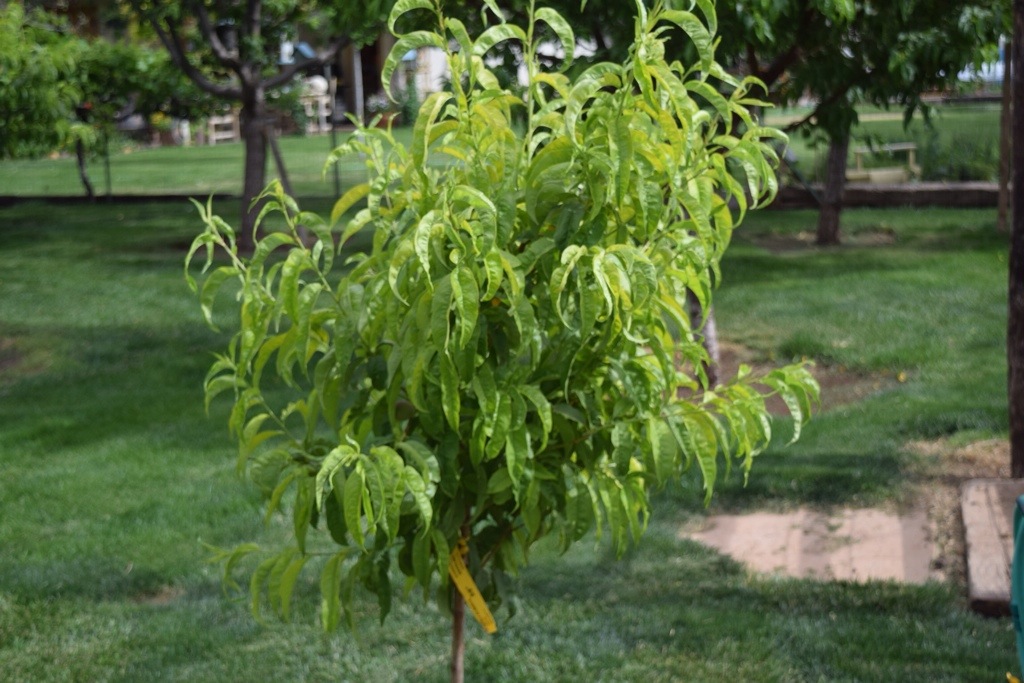
February! It’s time to prune here! With this warm weather, 70’s, it’s a race against time for me! Racing around planting the garden, planning CSA crops, getting seedlings starting, running my shop, spraying dormant oil, weeds popping up everywhere and taking care of the old cat, Casper the Perfect Cat who has to eat 7-8 times a day! Yup he’s still doing good! Whoa! And making sure there is time for the new grand-baby (cutest baby on earth)! Arrg! When am I going to get it done?
Ok, so I do cheat a little. During the fall months after most of the leaves have dropped, I prune my apples and pears. With almost 50 fruit trees, this can really help in the spring. They sure don’t seem to mind and there is less water sprouts, which pears and apples are more prone to producing. So this is a win win for me!
If weather is warm, like this year, I start early pruning. Mid-January. An apple a day…Or a tree a day keeps…huh, I don’t have anything! Here is some guidelines to follow when pruning. GOOD TOOLS! I can’t say it enough! A good sharp tool is well worth it’s weight. My favorite? Felco! I have had the a Felco f-13 for large hands for well over 10 years, plus it cuts larger branches and I don’t have to reach for the loppers. They come in several sizes to pick from, so get the right tool for your hand to reduce fatigue. They do cost more, or do they? 10 years and still keeps ticking, well, still cutting! I just can’t say enough about these excellent tools! I keep it sharp, enough to chop a finger…there’s a story. Sharp tools whiz through the work, making a clean-cut. Clean cuts ensure pests don’t enter raggedy edges of the branches. Good sharp saws are also important for those larger branches that are to big for pruners. Again, I love my felco saws! And of course a good pair of loppers. On to pruning techniques!
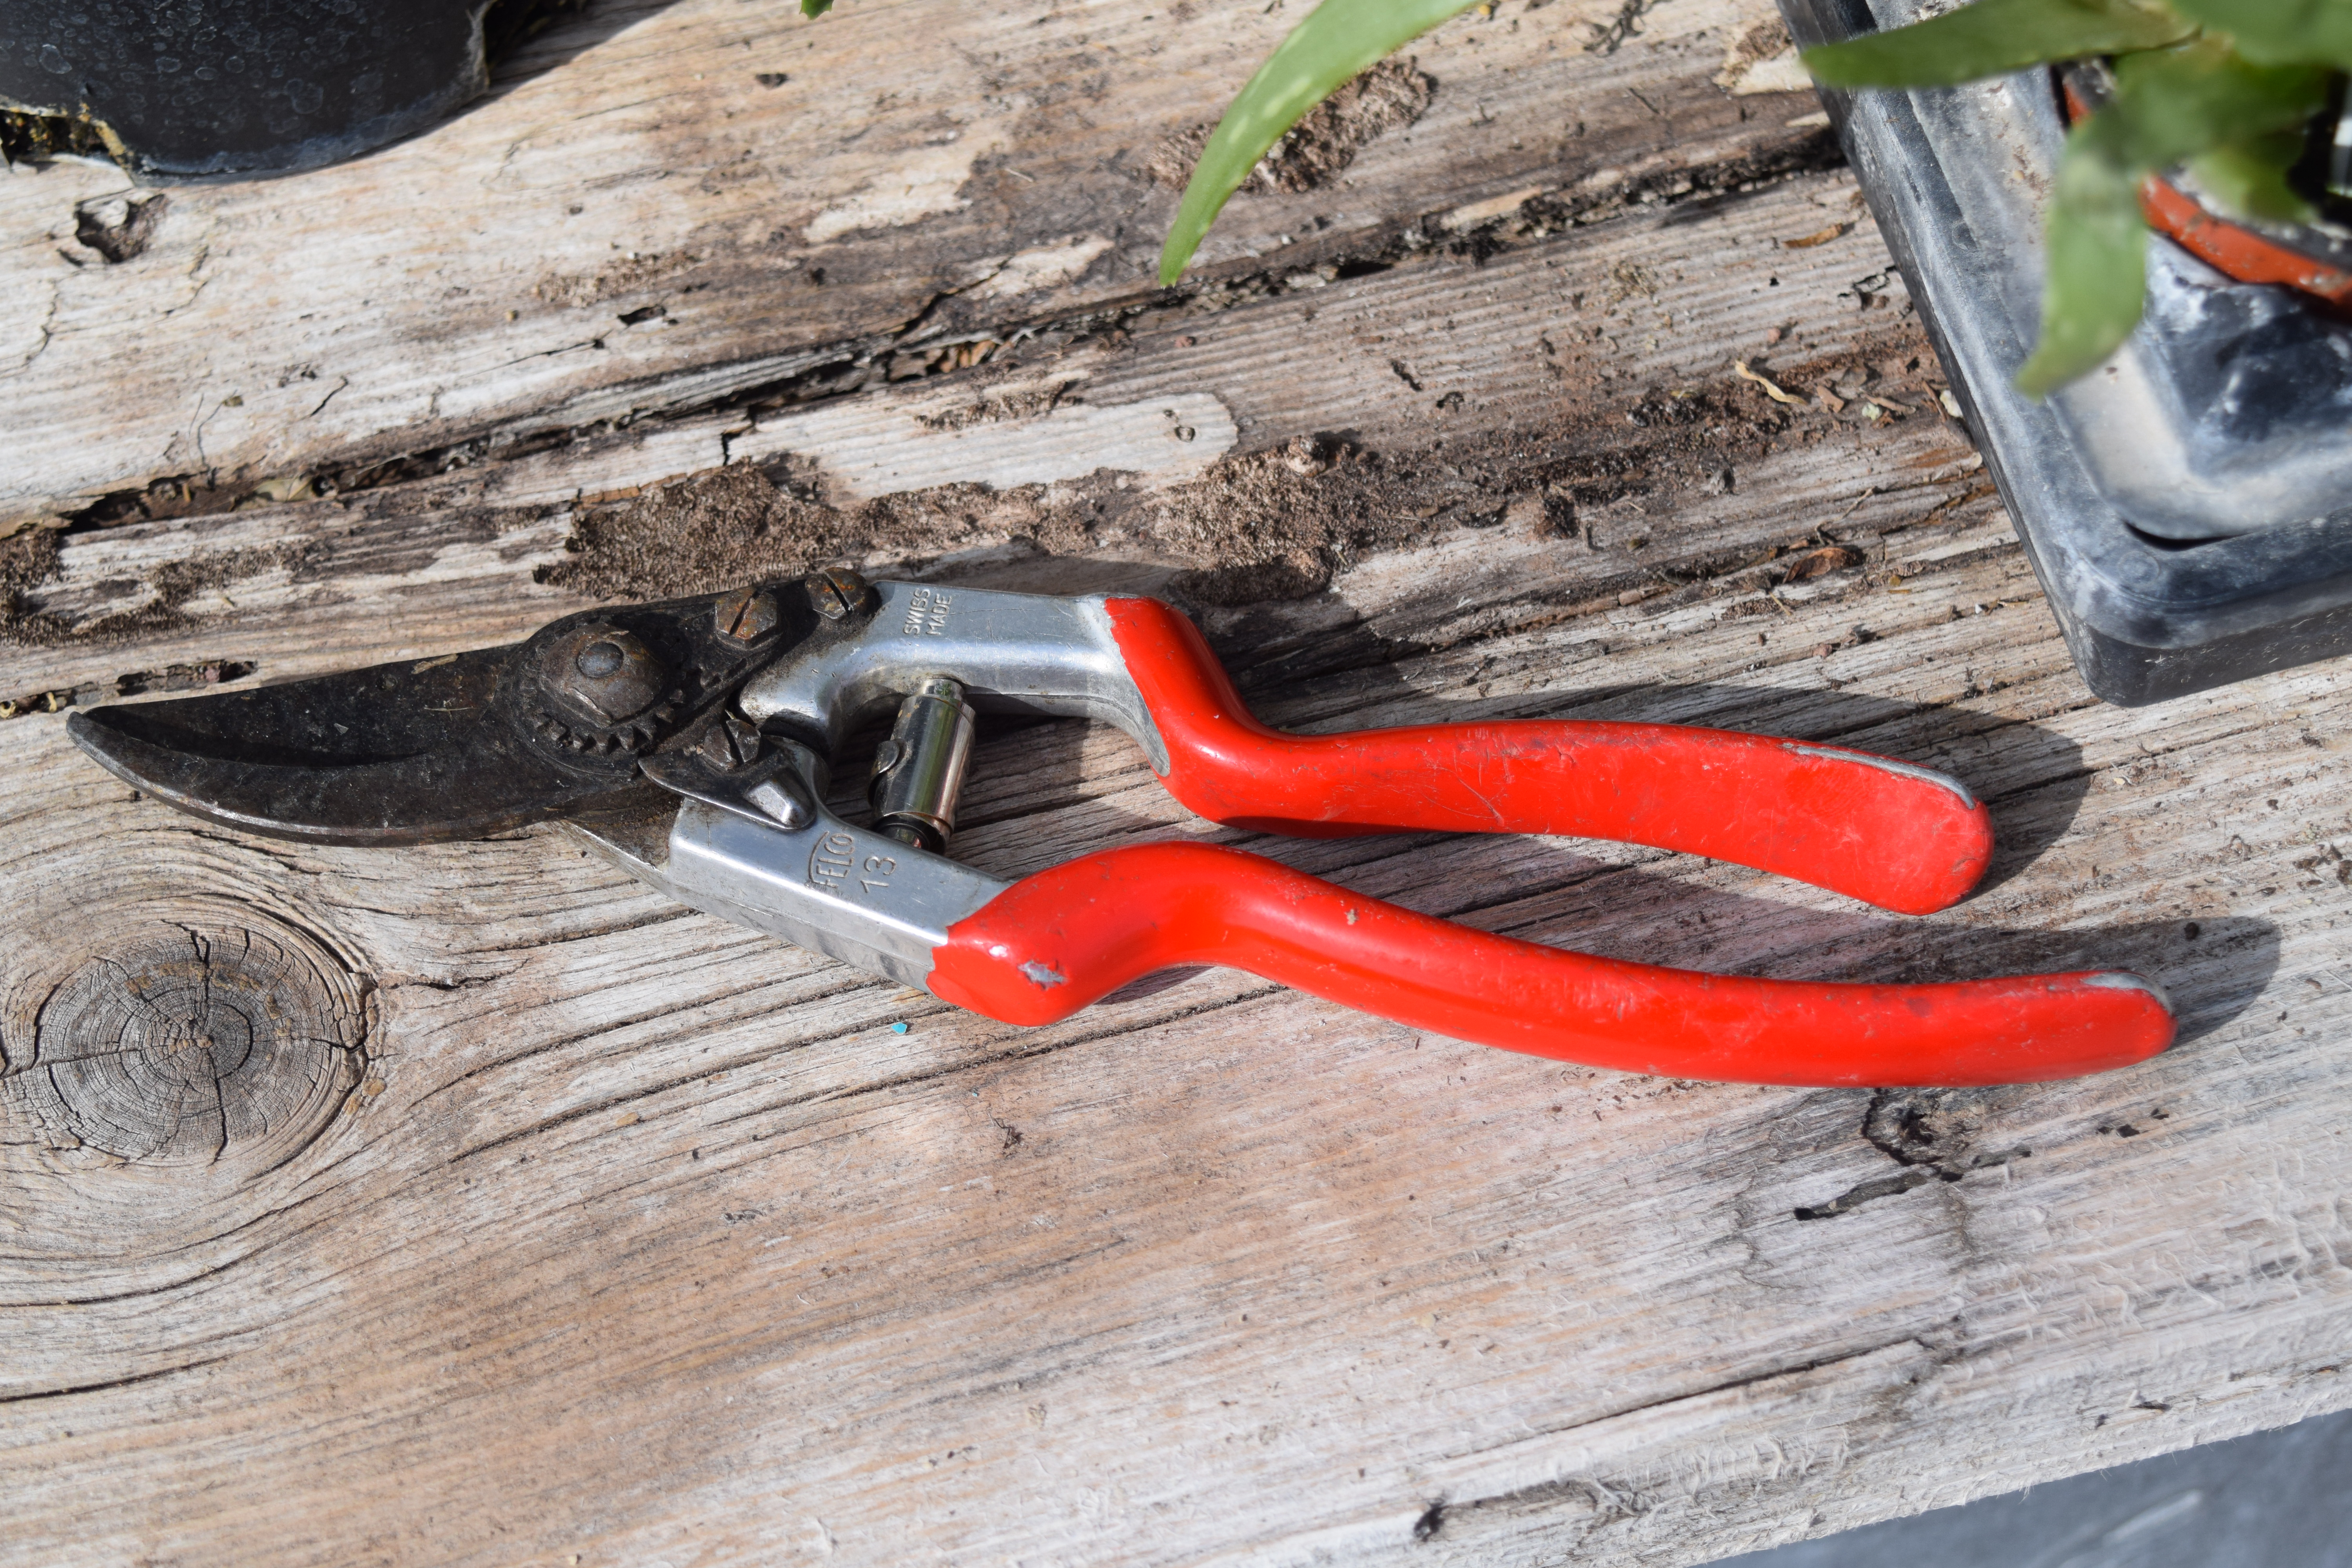
Tried and True Felco Pruners
You can stand out by your fruit tree with a pruning manual in one hand and pruners in the other and never get anywhere. You have to dig in! Once you get going, you’ll get it! Keep in mind, not all tree shapes are created equal! So relax about having the picture perfect tree. More than likely, it isn’t going to happen!
I will prune twice each year, winter is a major pruning and summer pruning is done to keep sunlight on the fruit to sweeten it and help it ripen, and to remove any suckers that may develop. Usually when I do my thinning chores, I have a pair of pruners in my back pocket. Saves time.
Shapes of Trees:
Central Leader – is best for apples, pears, European-type plums (green gage, damson) and sweet cherries. A “central leader” is the main stem or trunk of the tree from which other lateral branches develop. For central leader shaped trees, select the tallest, straightest shoot to be the central post. This will give the central post an extra bit of dominance. Start shaping the lower scaffolding by cutting back a branch with a heading cut, making sure that the new branch you choose will maintain an angle of 30-45 degrees. Too flat an angle when you have a heavy crop, could break the branch. Some heavy producing years, no matter how good your pruning is, you may need to tie some of the lower scaffolding branches to the central post for support.
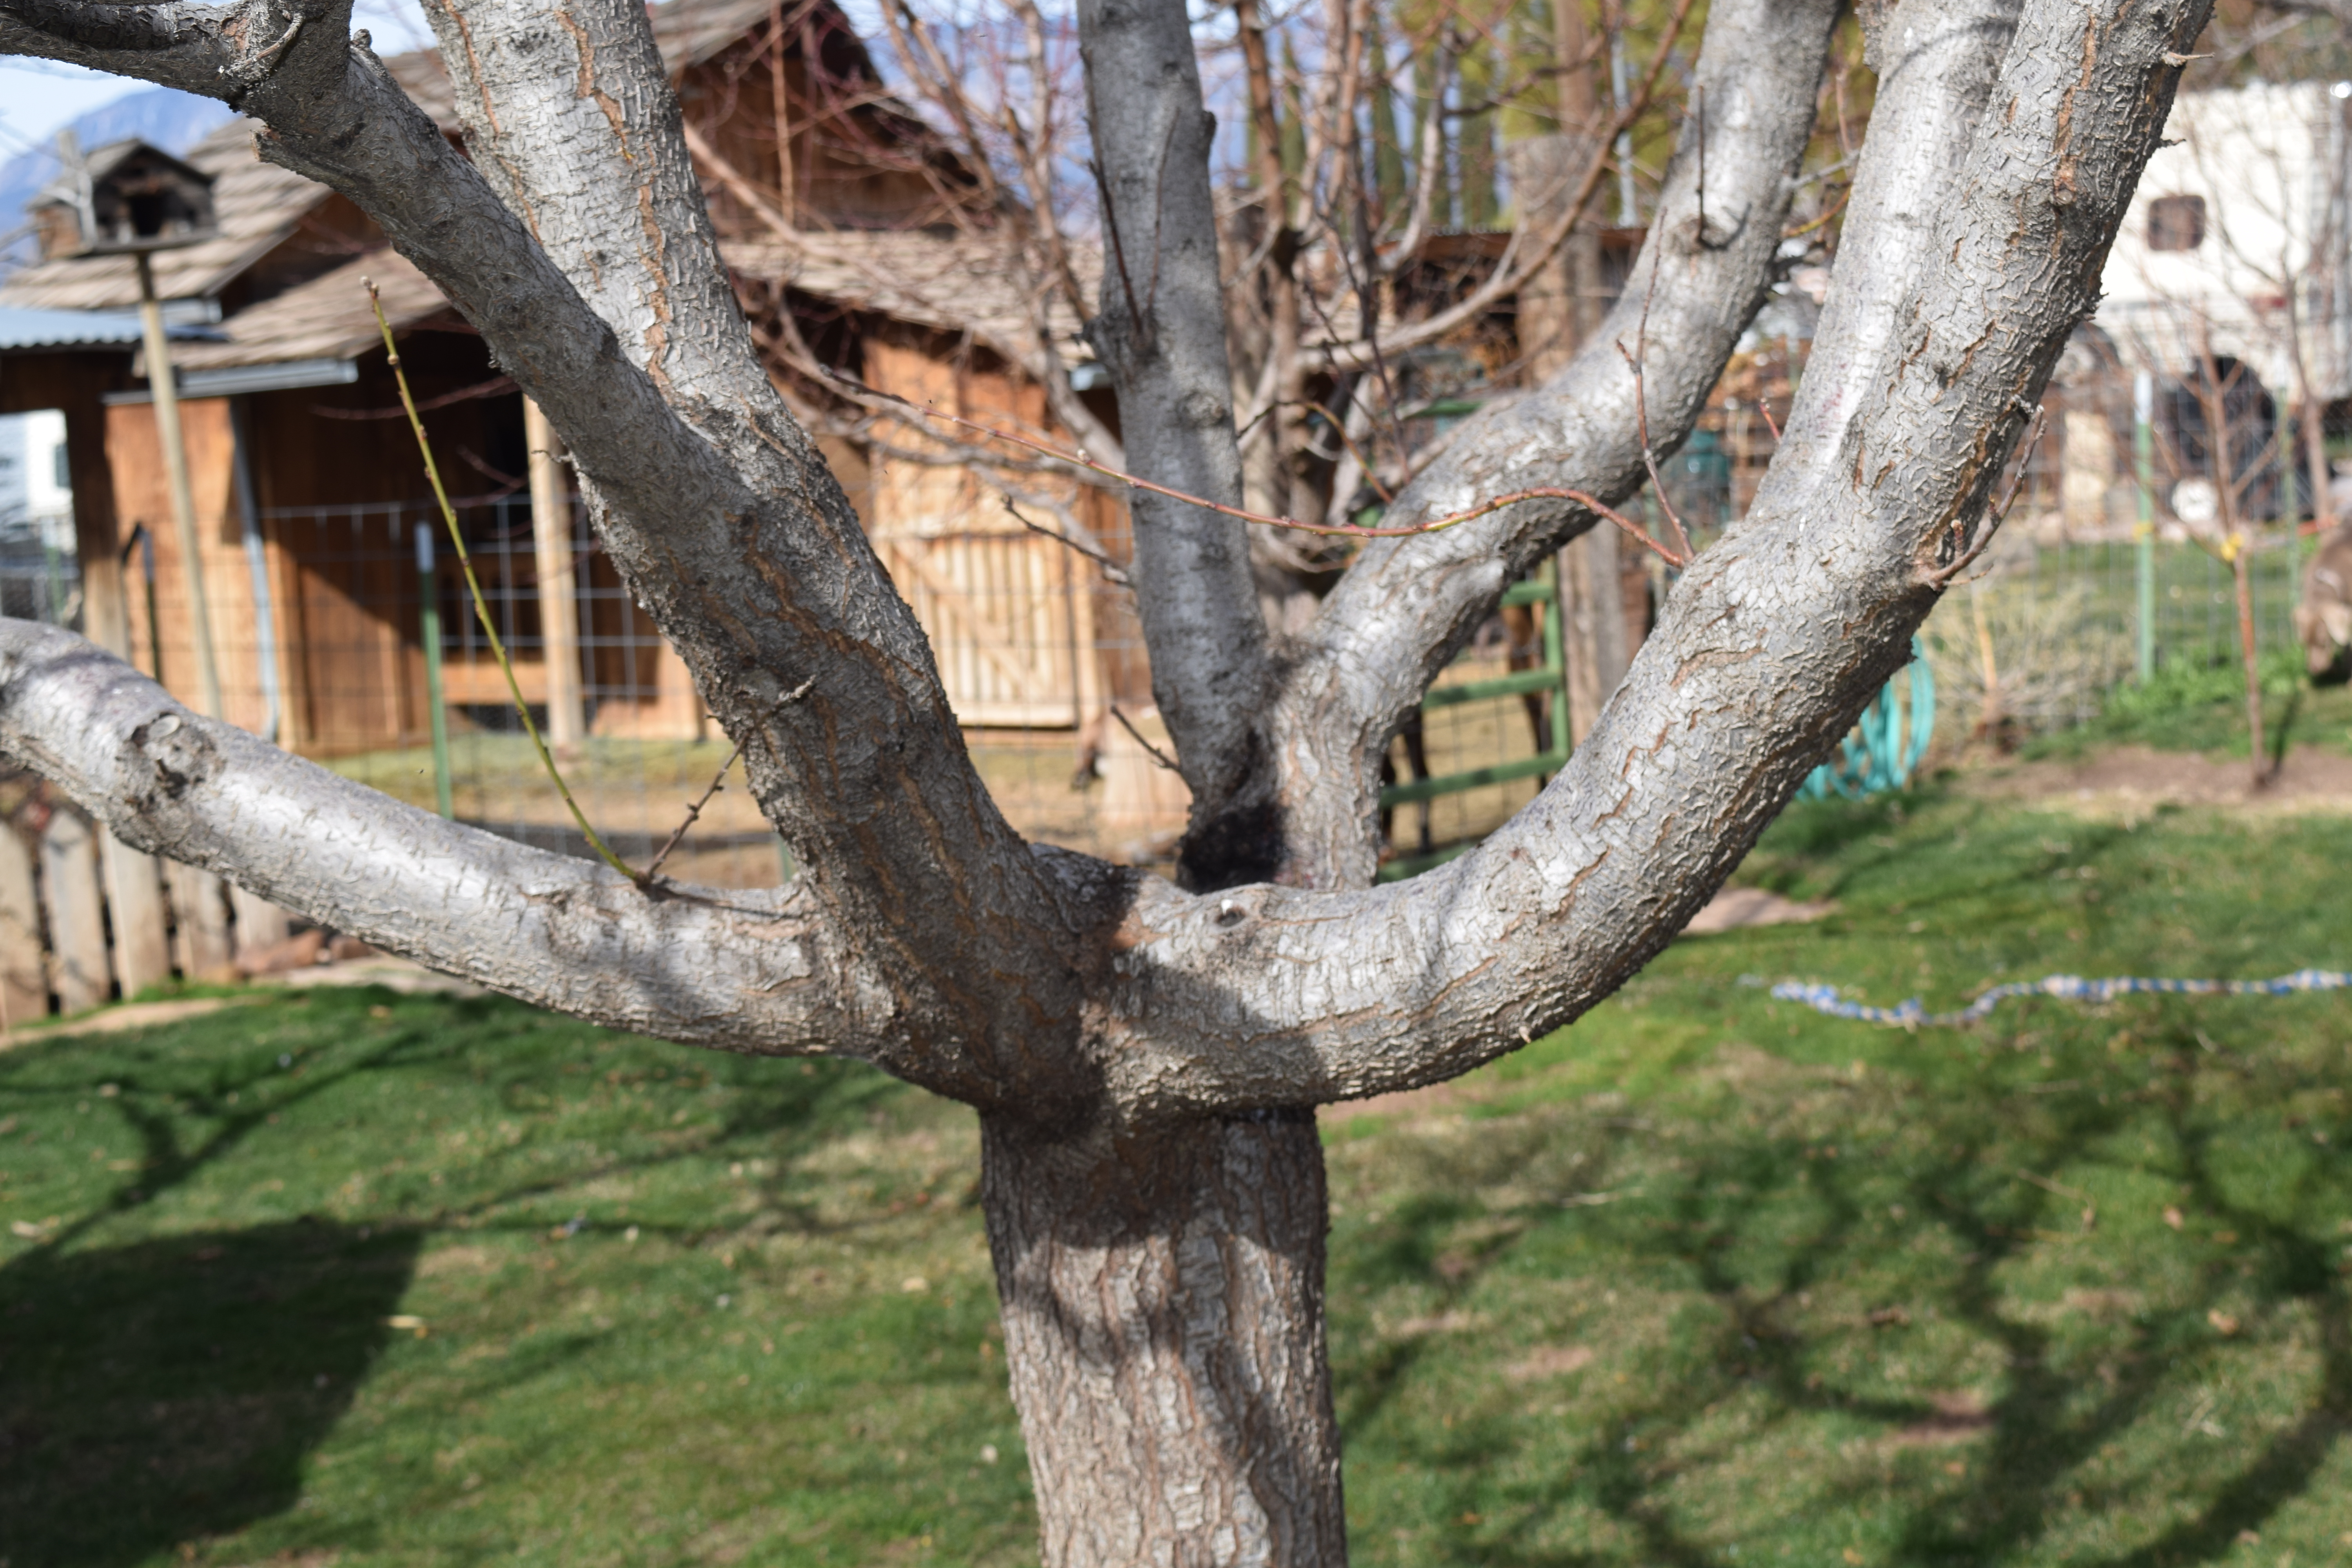
15 Year old Peach Tree Pruned to Open Center
Open Center – is best for peaches, nectarines, Japaneses-type plums (Santa Rosa, mariposa, elephant heart) apricots, and sour cherries. Open center fruit tree pruning are based around three or four main limbs set at wide angles with about five lesser branches on each.
Planting new trees? Look your tree over well when purchasing. Look carefully over the trunk, especially near the soil line. Watch for abrasions of any kind! Abrasions can be a sign of present or future problems. A tree on sale, may be a good deal at the moment, but it may cost you time and trouble down the road. Look at its shape as well. If the tree has branches only on one side, it will be harder to train to “open center”, but maybe easier to “central leader”. For peaches and apricots, look for three or four main branches that are evenly, or somewhat evenly spaced. The angles of these branches can be trained by placing a spreader between the main trunk and main limbs. So as long as they aren’t all straight up with the trunk, you can probably shape it. You can purchase these spreader or make them yourself. When placing a spreader, be careful not to force your branch too much, or you may cause it to split at the trunk. Do this gradually over time (within the first 6 months). New trees will sometimes develop shoots along the trunk, don’t cut them, rub them off. Cutting them encourages growth. Do a small amount of pruning 4 or 5 times during the summer to get the shape you desire.
Here are things to remember –
1. Cleaning up the tree – This includes removing the following:
- Dead, diseased and broken branches. See! That’s an easy first step!
- Water sprouts and suckers.
- Weak dropping and unproductive branches.
- turning downward branches.
- competing leaders (this is when pruning central leader)
2. Let in light – Remove branches that:
- Compete with other branches
- Shade the center of the tree (in very hot climates, you do need to be careful not to go crazy here. To much sunlight in high UV areas will cause sun-scald to branches).
3. Methods:
- Make cuts at a 45-degree angle, 1/4″ above a bud.
- Use hand pruners for 3/4″ to 1″ (depending on pruner type), lopper up to 2″, and saws for anything more than 2″ cuts.
- When pruning a tree that has had disease, be sure to wipe with a disinfectant wipe before moving on to the next tree so you don’t spread the disease!
- Do not paint with wood seal or other paint. Painting will take the tree longer to heal over. Let nature take it course.
Here is a great tip to remember when you are doing corrective pruning. Do not fertilize that tree for that season. Fertilizing will stimulate more water sprouts. The corrective pruning will provide enough stimulation of growth for that season.
In more depth –
You will need to decide whether or not you want to use a ladder to harvest, or pick fruit from the ground when planting your trees! When I first planted my orchard, I pruned all branches from the ground up about three to three and half-foot. 20 + years later, as I replace and plant new ones, I don’t want them so high, so I keep those main branches to about two foot from the ground. I like this much better!
Peach trees will produce fruit on one year old wood. Pruning needs to be done to encourage new healthy wood that is about 12-18″ long and under 1″ in diameter. Branches should be cut out that are to close to each other and any dead, diseased or broken branches or twigs. The best fruiting wood will be horizontal wood. The whole tree needs to be pruned enough so that the branches have space around them. Leave branches that will shade the tree trunk, which decrease the chance of sunburn. This is especially true for out high UV area. Suncald on tree trunks will cause bark to peel away, inviting insects and weakened branches.
Cherries and apricots will produce fruit on 1-year old branches. Cutting old limbs keeps an apricot tree productive and healthy. Some people will remove all the little stubs that form on cherries and apricots, leaving whips, but to find out later they just removed all their fruit as well. Remove only 20 percent of the older growth throughout the tree. Pruning apricots and cherries can also be done after fruiting, late August if you live in a wet area. This reduces the chance of disease that develops in wet conditions. However!!!! This is not good in our climate because it stresses the tree when doing the major pruning in temperatures above 100 degrees. And we are certainly in that heat zone in August!
So, grab your pruners, loppers, and saw, and get to work! I’m headed!