Cucumbers seem like they should be one of the easiest crops to grow — and once they get going, they really can be. They grow fast, produce heavily, and give you that fresh summer crunch we all look forward to.
But there is one mistake that can set cucumber plants back from the very beginning:
Planting them too early.
I know it is tempting to get cucumbers in the ground as soon as the weather starts warming up, but cucumbers are heat-loving plants. If they are planted into cold soil, they often sit there, struggle, yellow, stunt, or simply never take off the way they should.
In my garden, I have learned that waiting until the soil is truly warm makes all the difference.
Watch My Cucumber Growing Video
I also made a full video on growing cucumbers where I walk through more tips, timing, and what helps them grow strong and productive.
Why You Should Not Plant Cucumbers Too Early
Cucumbers are warm-season crops. They do not like cold soil, cold nights, or chilly spring winds.
Even if the daytime temperatures feel nice, the soil may still be too cold. This is where a lot of gardeners get into trouble. The plant may survive, but it does not thrive.
When cucumber plants are planted too early, they can:
- Grow slowly or stop growing altogether
- Turn yellow or pale
- Develop weak roots
- Become more stressed by pests and disease
- Produce later than plants started at the right time
- Never fully recover from that early stress
This is especially important for beginner gardeners to understand. Just because you can buy cucumber plants early at the garden center does not mean your garden is ready for them yet.
Cucumbers need warmth from the beginning. If the soil is cold, the roots do not grow well, and once a cucumber plant is set back, it can be hard for it to fully catch up.
Warm Soil Matters More Than the Calendar
One of the best cucumber-growing tips I can give is this:
Do not plant by the calendar alone. Plant by the soil temperature and weather conditions.
Cucumbers do best when the soil has warmed up and the nights are staying consistently mild. A good goal is soil around 65°F or warmer, with even better growth when the soil is closer to the 70s.
Cold soil slows root growth, and cucumbers need a strong root system to support all the vines, leaves, flowers, and fruit they will produce later.
In my garden, I would much rather plant cucumbers a little later into warm soil than plant them too early and watch them struggle for weeks.
A later-planted cucumber in warm soil can often outgrow and outperform one that was planted too early into cold conditions.
When to Plant Cucumbers
Cucumbers should be planted after the danger of frost has passed and the soil has warmed.
For many gardeners, this means waiting until late spring. In cooler climates, that may be several weeks after the last frost date. In warmer climates, it may be earlier, but the same rule still applies:
The soil needs to be warm.
You can direct sow cucumber seeds in the garden, or you can transplant young cucumber starts. Both methods work well, but cucumbers do not love having their roots disturbed, so if you start them indoors, use care when transplanting.
In my garden, I like to wait until the weather is settled and the soil is warm enough that the plants can take off quickly.
Direct Sowing Cucumbers
Cucumbers grow quickly from seed when the soil is warm. This is one reason I like direct sowing them.
To direct sow cucumbers:
- Wait until the soil is warm.
- Plant seeds about 1 inch deep.
- Keep the soil evenly moist until germination.
- Thin seedlings if they are too crowded.
- Give them room to vine or provide a trellis.
Warm soil can make cucumber seeds germinate quickly and grow strong right from the start.
If you direct sow into cold soil, the seeds may rot, germinate poorly, or produce weak seedlings. Waiting for the right conditions gives them a much better start.
Starting Cucumbers Indoors
If your growing season is short, you can start cucumbers indoors a few weeks before planting time.
But do not start them too early. Cucumber plants grow fast, and they can quickly become rootbound or stressed in small pots.
A good rule is to start them about 3 to 4 weeks before you plan to transplant them outside.
When transplanting, be gentle with the roots. Try not to break apart the root ball. Plant them into warm soil and water them in well.
Cucumbers do not like being held too long in pots, so it is better to transplant a young, healthy plant at the right time than an oversized plant that has been waiting too long.
Choosing the Right Location
Cucumbers need full sun and plenty of warmth.
Choose a spot that gets at least 6–8 hours of sun per day. They also need good air circulation, especially if you have issues with powdery mildew or other fungal diseases.
Cucumbers can be grown in:
- Raised beds
- In-ground garden beds
- Large containers
- Trellised garden spaces
- Greenhouse or covered beds, depending on climate
Raised beds can be especially helpful because they warm up faster in spring and usually have looser soil, which cucumbers love.
Soil Preparation for Cucumbers
Cucumbers are heavy producers, so they appreciate rich, fertile soil.
Before planting, work in compost or well-aged organic matter. This helps improve soil structure, moisture retention, and nutrient availability.
Cucumbers like soil that drains well but does not dry out too quickly. If the soil dries out too much, the plants can become stressed, and the fruit may become bitter or misshapen.
A good cucumber bed should have:
- Loose soil
- Good drainage
- Compost or organic matter
- Consistent moisture
- Warmth
If you are growing in raised beds or containers, remember that nutrients and moisture can move through the soil more quickly. This makes regular watering and feeding even more important.
Feeding Cucumber Plants
Cucumbers are heavy feeders, especially once they start growing fast, vining, flowering, and producing fruit. If you want strong plants and a steady harvest, do not be afraid to feed them.
I like to start with rich soil that has been amended with compost, but I also find that cucumbers do their best when they are fed regularly through the season. A liquid fish fertilizer works really well because it gives them a quick boost and supports strong, healthy growth.
When cucumber plants are actively growing, I like to feed them with liquid fish fertilizer every couple of weeks, or more often if the plants look like they need it. Healthy cucumber plants should have good green growth, strong vines, plenty of flowers, and steady fruit production.
The key is to keep them growing without stress. Warm soil, steady water, compost-rich soil, and regular feeding can make a big difference in how productive your cucumber plants are.
Cucumbers are fast-growing plants, and they can use up nutrients quickly — especially in raised beds, containers, or heavily planted garden spaces. Regular feeding helps keep them producing instead of slowing down partway through the season.
Watering Cucumbers
Cucumbers need steady water. They are made up of a lot of water, so inconsistent watering can lead to problems.
Try to keep the soil evenly moist, especially once the plants start flowering and producing fruit.
Deep watering is better than shallow watering. Drip irrigation works really well because it keeps water near the roots and helps keep the leaves dry, which can reduce disease issues.
Avoid letting cucumber plants dry out completely and then flooding them. That kind of stress can affect the fruit quality.
A good layer of mulch can also help hold moisture in the soil, keep the roots cooler during hot weather, and reduce how quickly the bed dries out.
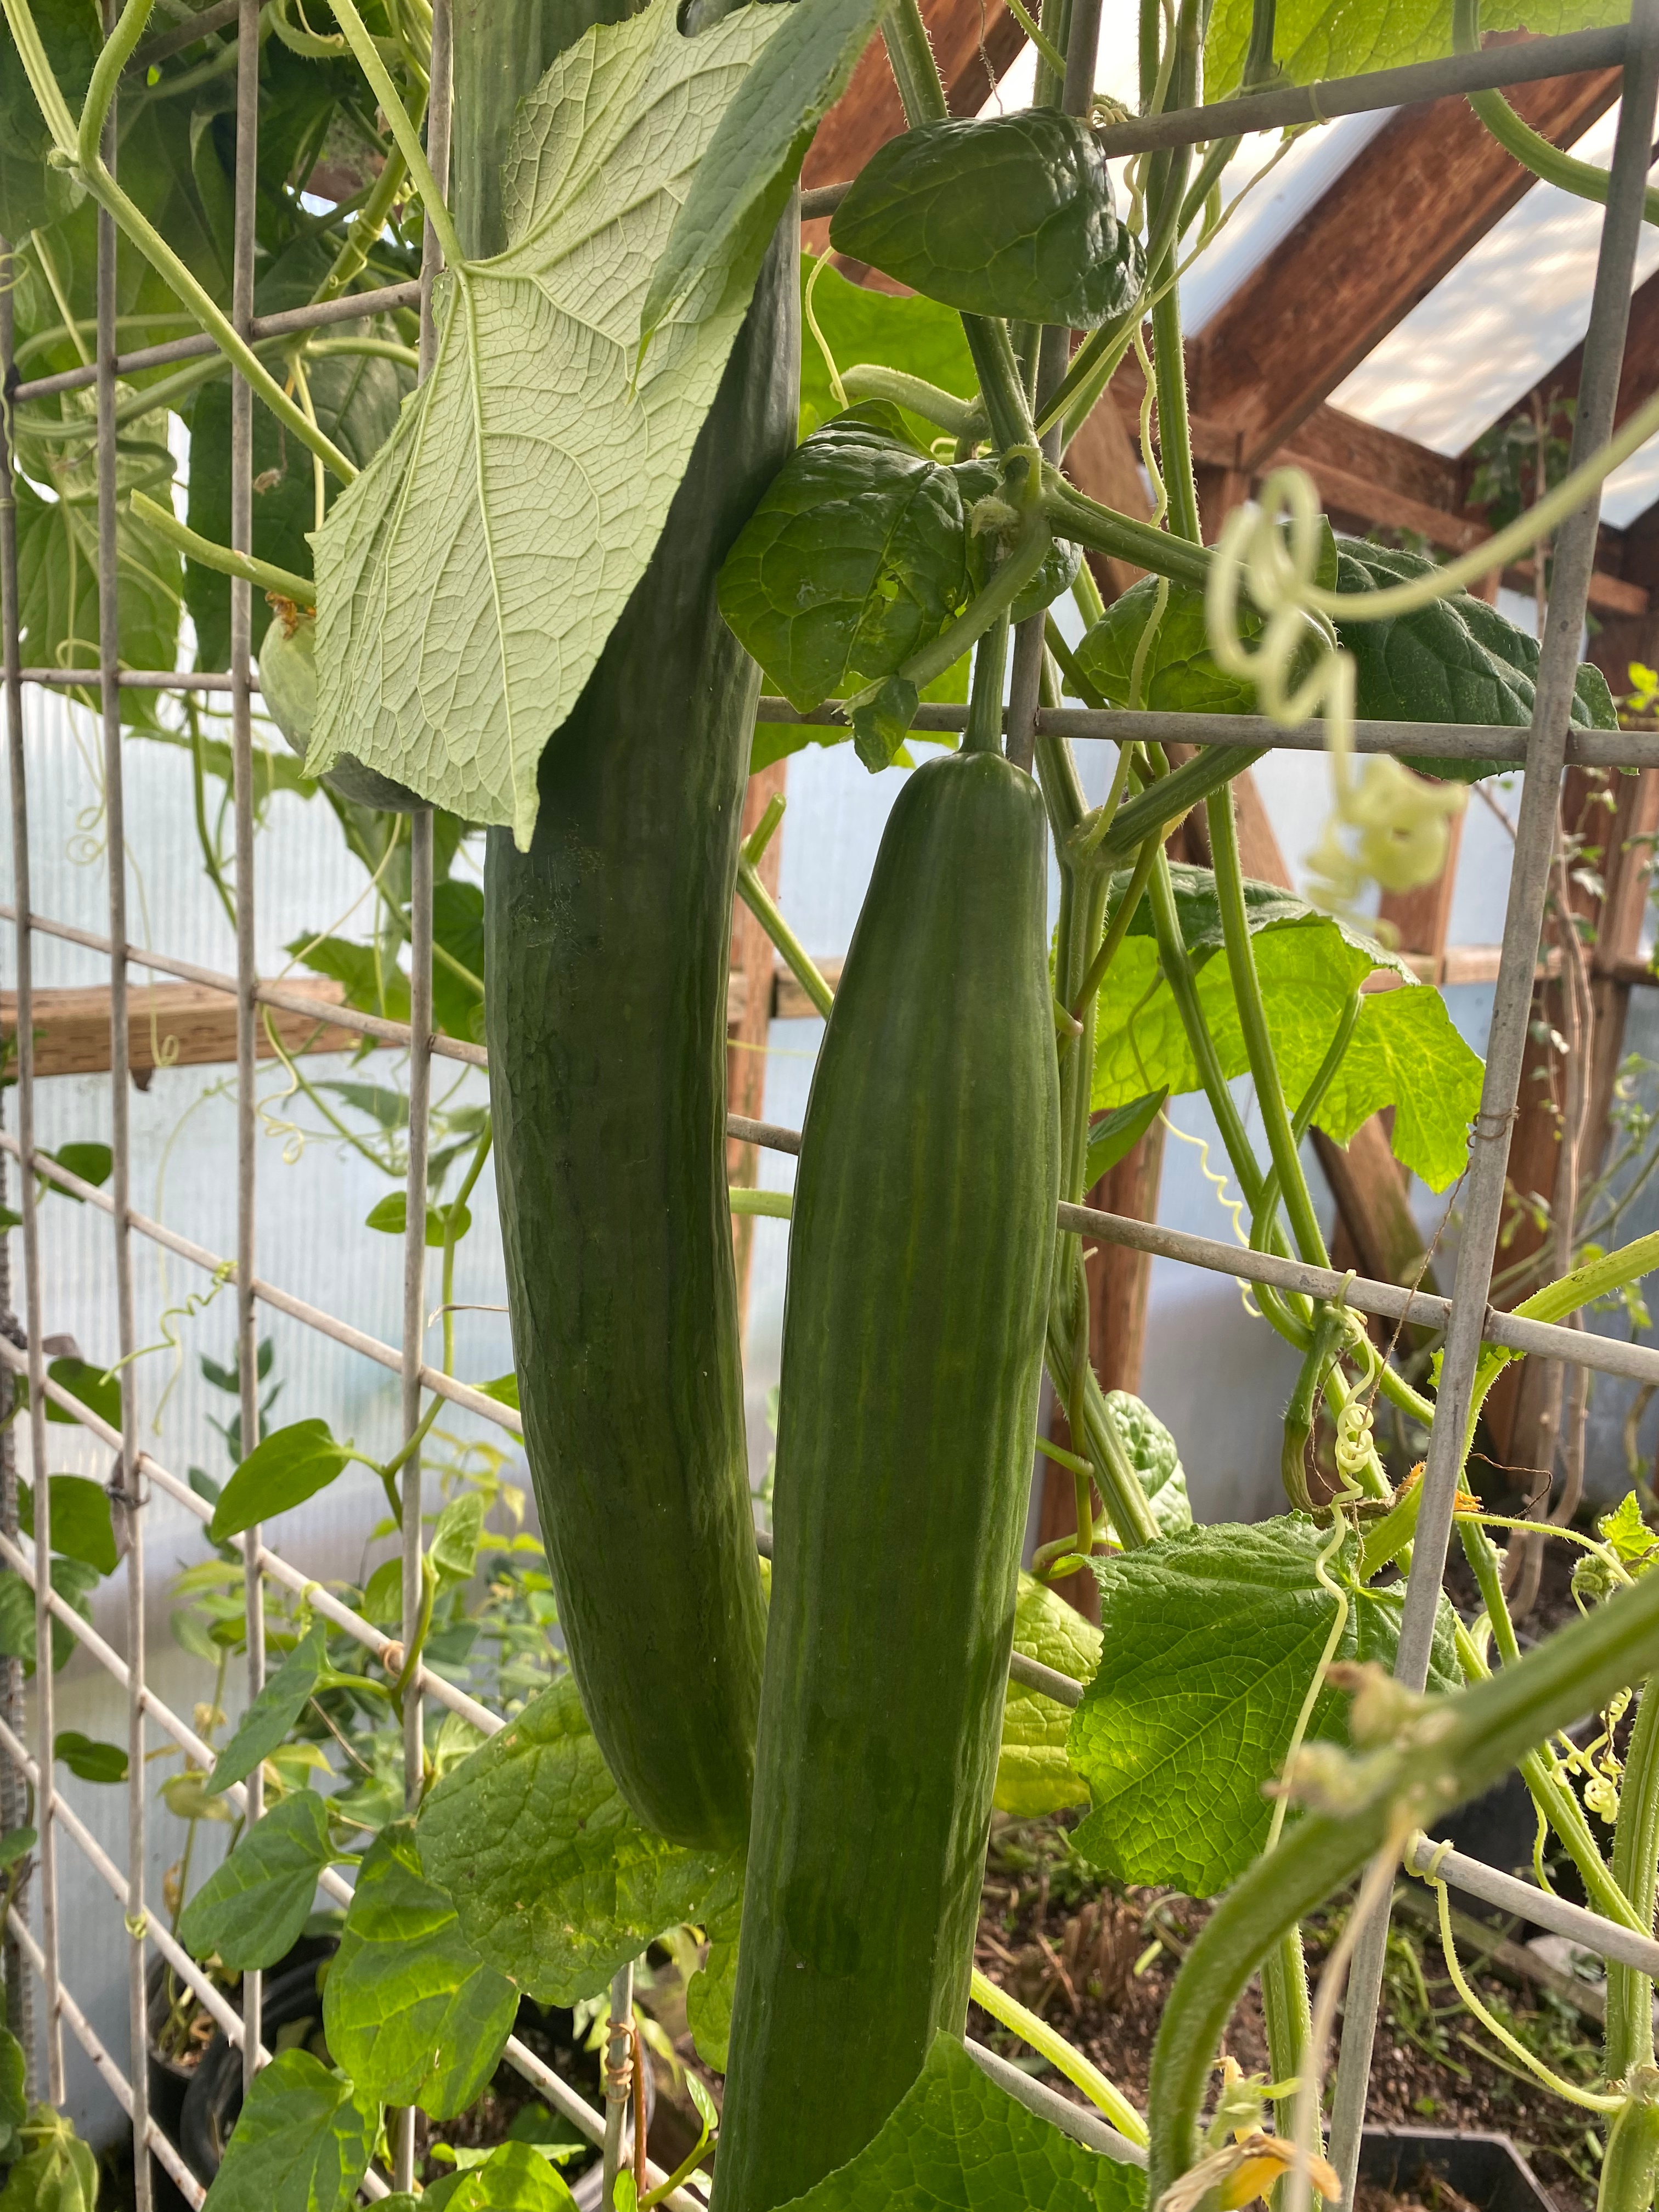
Should You Trellis Cucumbers?
Trellising cucumbers is a great option, especially if you are growing in a small space.
A trellis helps:
- Save garden space
- Improve air circulation
- Make harvesting easier
- Keep fruit cleaner
- Reduce some disease pressure
- Help you see the cucumbers before they get too big
You can use cattle panels, garden netting, a simple A-frame, or a sturdy vertical trellis.
Bush cucumber varieties may not need a large trellis, but vining types usually benefit from support.
Trellising also makes the garden feel more organized and can help keep the vines from taking over nearby crops.
Pollination and Cucumber Production
Cucumber plants produce male and female flowers. The female flowers are the ones that form cucumbers.
If your plants are flowering but not making cucumbers, it may be a pollination issue. Bees and other pollinators are very important for cucumber production.
To encourage pollinators, grow flowers and herbs nearby. Zinnias, calendula, dill, basil, borage, and other flowering plants can help bring beneficial insects into the garden.
It is also normal for cucumber plants to produce a lot of male flowers first. The female flowers often come a little later, so do not panic if you see flowers but no cucumbers right away.
Harvesting Cucumbers
Harvest cucumbers often. The more you pick, the more the plant is encouraged to keep producing.
Do not let cucumbers get too large on the vine. Oversized cucumbers can become bitter, seedy, and tough. They also signal to the plant that it has completed its job, which can slow future production.
Check plants daily once they start producing. Cucumbers can hide under the leaves and grow quickly.
For the best flavor and texture, harvest them when they are young, crisp, and the right size for the variety you are growing.
Common Cucumber Problems
Cucumbers can have a few common problems, but many can be reduced with good timing and healthy growing conditions.
Yellow, stunted plants
This often happens when cucumbers are planted too early into cold soil. The roots struggle, and the plant never gets off to a strong start.
Bitter cucumbers
Bitter fruit is often caused by stress, especially inconsistent watering, heat stress, or letting fruit get too large.
Powdery mildew
Powdery mildew can show up as white powdery spots on the leaves. Good spacing, airflow, and watering at the soil level can help reduce problems.
Poor fruit set
This can be caused by lack of pollination, extreme heat, stressed plants, or not enough pollinators in the garden.
Slow-growing plants
If cucumber plants are not taking off, look at the basics first: Was the soil warm enough when they were planted? Are they getting enough water? Are they being fed? Are the nights still too cold?
Many cucumber problems go back to early stress, cold soil, inconsistent water, or lack of nutrients.
My Best Tip for Growing Cucumbers
If you remember only one thing, remember this:
Do not rush cucumbers.
They are not like peas, lettuce, kale, or other cool-season crops. Cucumbers want warmth. They want warm soil, warm nights, and steady growing conditions.
A cucumber plant planted too early may sit and struggle, while one planted later into warm soil can quickly catch up and often outperform it.
Sometimes the best thing you can do for your garden is wait.
Cucumbers are one of the most rewarding summer crops to grow, but they need the right start. Give them warm soil, rich compost, steady water, regular feeding, and plenty of sunshine, and they will reward you with fresh cucumbers for salads, snacks, pickles, and summer meals.
Be patient in spring. Wait for the soil to warm. Your cucumber plants will thank you for it.
And don’t forget to watch my cucumber-growing video for more tips and a closer look at how I grow them in my garden: