In addition to the general winter gardening hacks, it’s essential to know what specific actions to take in different USDA hardiness zones, as winters vary widely across regions. Here’s a breakdown of key tasks and hacks for both perennial flower gardens and vegetable gardens, tailored for each zone.
Perennial Flower Garden Hacks by USDA Zone:
USDA Zones 3-5 (Cold Climates, Winter Temps -30°F to -20°F)
- When: Late Fall (October-November)
- Mulching: Apply 4-6 inches of mulch to protect tender perennials like roses or peonies from freezing.
- Protect with Burlap: Set up burlap barriers around shrubs like boxwoods to prevent desiccation from harsh winds.
- Cover with Snow: Allow snow to accumulate around plants as an insulating blanket. Avoid removing it unless necessary.
- Winter Watering: Before the ground freezes, water perennials deeply to prevent winter drought.
USDA Zones 6-7 (Mild Winters, Winter Temps 0°F to 10°F)
- When: Early Winter (November-December)
- Mulching: Use a 2-3 inch mulch layer to protect the root systems of perennials, like lavender or coneflowers, from cold snaps.
- Pruning: Prune woody perennials like hydrangeas in late winter (February-March) to encourage healthy spring growth.
- Frost Blankets: On nights with freezing temps, cover tender perennials with frost blankets or old sheets to prevent damage.
USDA Zones 8-9 (Warm Winters, Winter Temps 10°F to 30°F)
- When: Late Winter (December-February)
- Mulching: Use lighter mulching materials like pine straw to keep the soil warm, without suffocating the plants.
- Watering: Continue occasional deep watering, as winter drought can affect growth.
- Pruning: Early winter is the ideal time to prune roses and other flowering shrubs before they start new growth in spring.
Vegetable Garden Hacks by USDA Zone:
USDA Zones 3-5
- When: Late Fall (September-October)
- Cold Frames & Row Covers: Set up cold frames or low tunnels over crops like spinach, carrots, or kale to extend the growing season into winter.
- Mulching for Root Vegetables: Insulate root vegetables like parsnips and carrots with a thick layer of straw or leaves to prevent the soil from freezing.
- Winter-Hardy Crops: Plant hardy crops like garlic, leeks, or winter spinach by late September to ensure they establish before the first hard frost.
USDA Zones 6-7
- When: Early Winter (November-December)
- Cover Crops: Sow winter rye or hairy vetch as cover crops to protect and enrich the soil for spring planting.
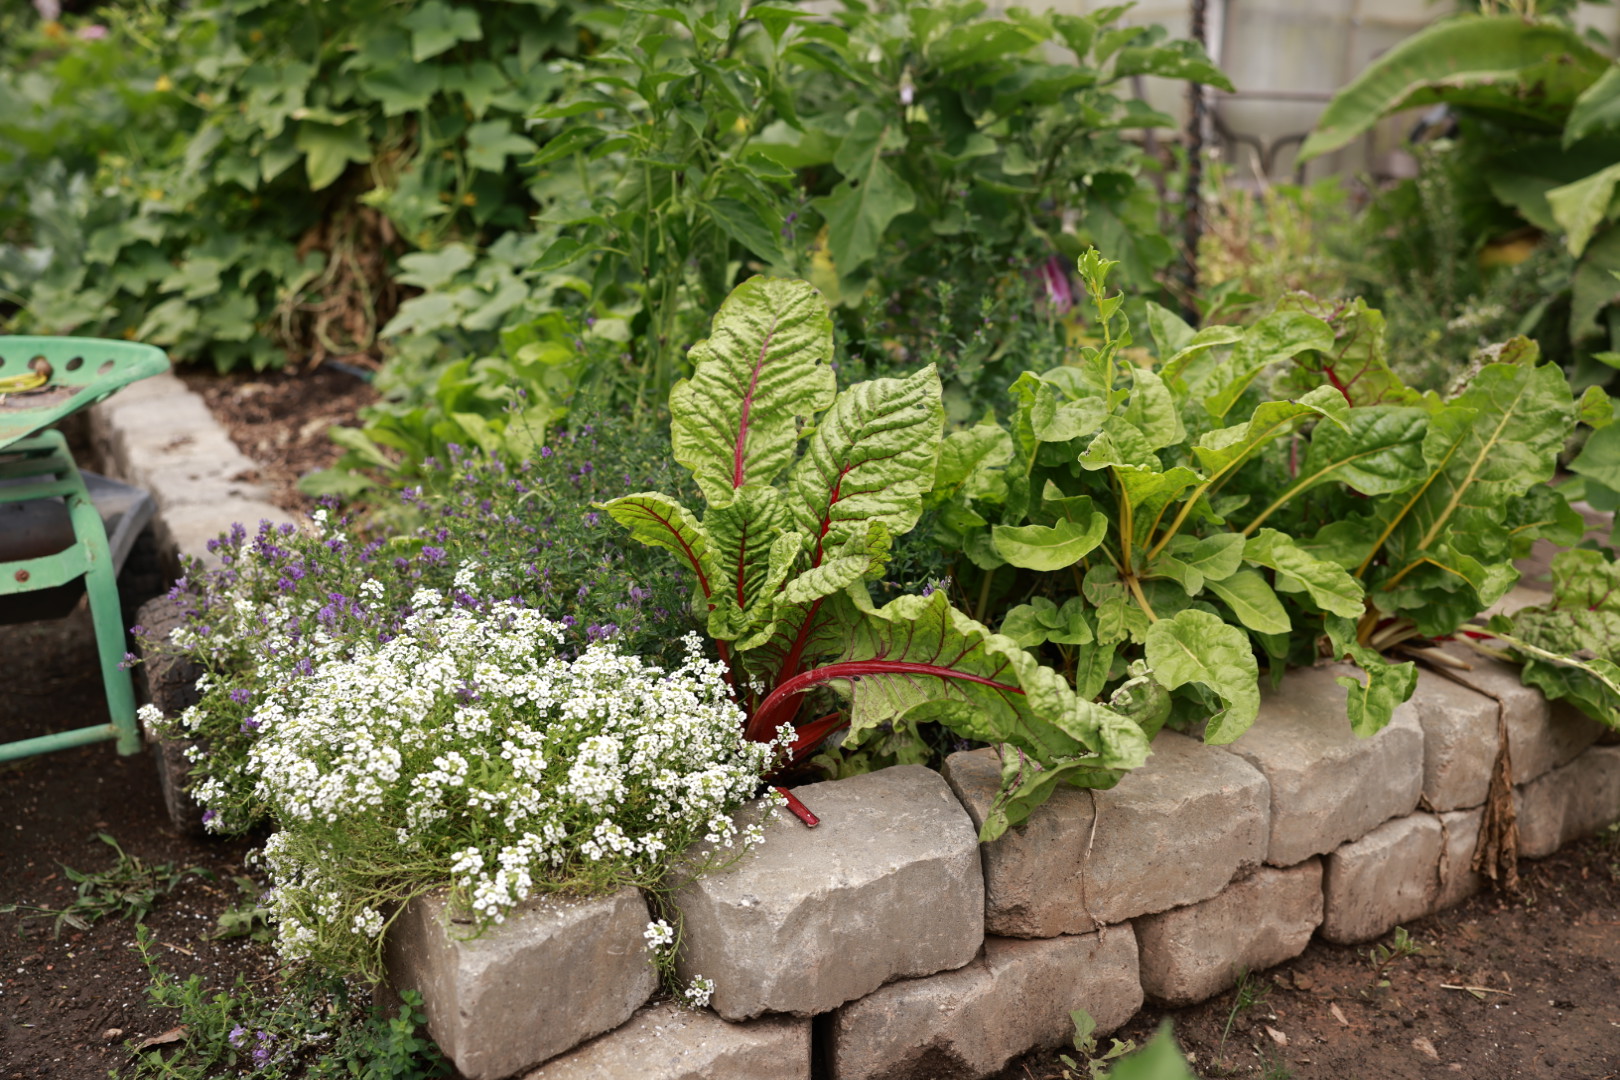
- Low Tunnels: Use low tunnels for crops like broccoli, spinach, and chard. They will continue to grow slowly under cover throughout winter.
- Succession Planting: Plant winter crops like kale, carrots, and lettuce in October for harvest into early winter, and continue using row covers for protection.
USDA Zones 8-9
- When: Late Winter (December-February)
- Winter Vegetables: Continue growing cool-season crops such as cabbage, peas, and onions without the need for heavy protection.
- Frost Protection: In occasional frosts, use lightweight row covers to protect sensitive crops.
- Mulching for Soil Health: Keep the soil covered with mulch, even in mild winters, to retain moisture and prevent weed growth.
Additional Winter Hacks for All Zones:
- Use Compost for Extra Heat (All Zones):
- Build compost piles near garden beds to generate warmth from decomposing organic matter. This can raise temperatures around cold frames or perennial plants.
- Winter Greenhouses or Hoop Houses (Zones 3-7):
- For zones with longer, harsher winters, consider using greenhouses or hoop houses to grow vegetables like spinach, lettuce, and herbs all winter long.
- Cloche Protection for Flowers and Veggies (All Zones):
- Place cloches (glass or plastic domes) over smaller perennial flowers or winter vegetable crops to trap warmth, ideal for all USDA zones.
By focusing on zone-specific timing and protection methods, you can ensure your garden not only survives but thrives through the winter months.