If you’ve ever looked at your garden and wished you could grow just a little more food, you’re not alone.
Most gardens are planted using traditional spacing recommendations. Rows are wide, plants are spaced far apart, and a surprising amount of soil ends up exposed.
But there’s another way to grow.
It’s called intensive planting, and it’s one of the most effective ways to produce a lot of food—even in a small space.
This method allows you to grow more vegetables, improve soil health, and reduce weeds, all at the same time.
And the best part? You don’t need more land to do it.
What Is Intensive Planting?
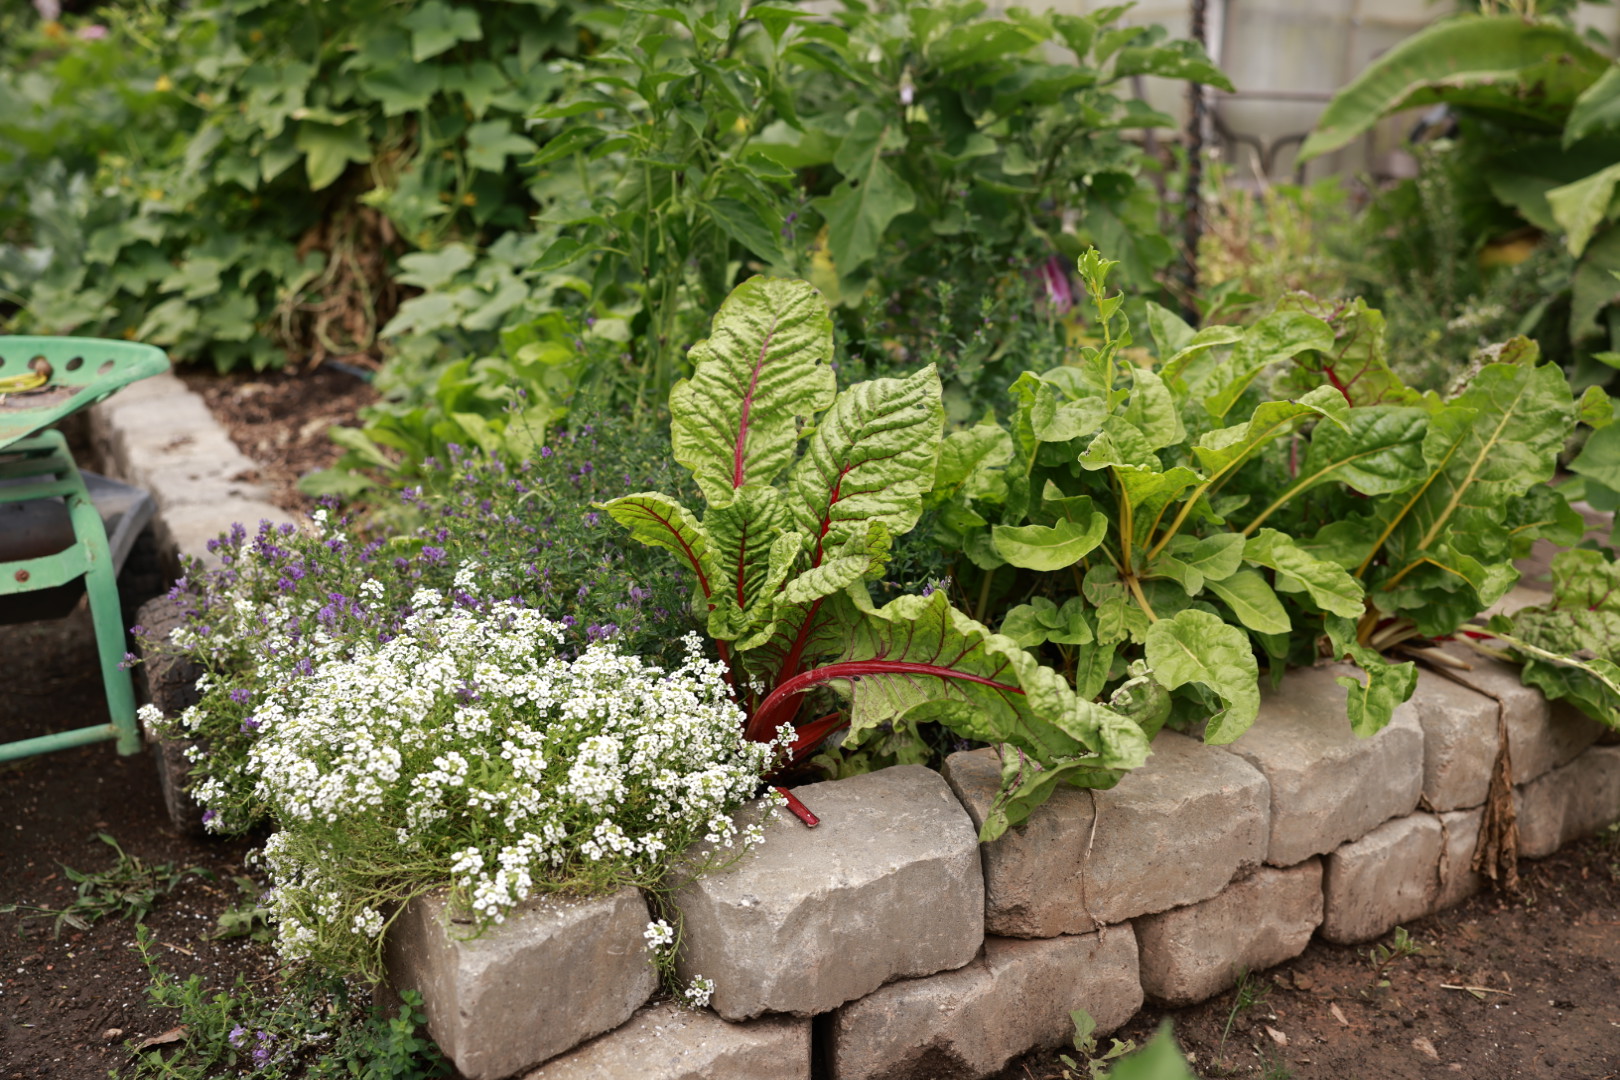
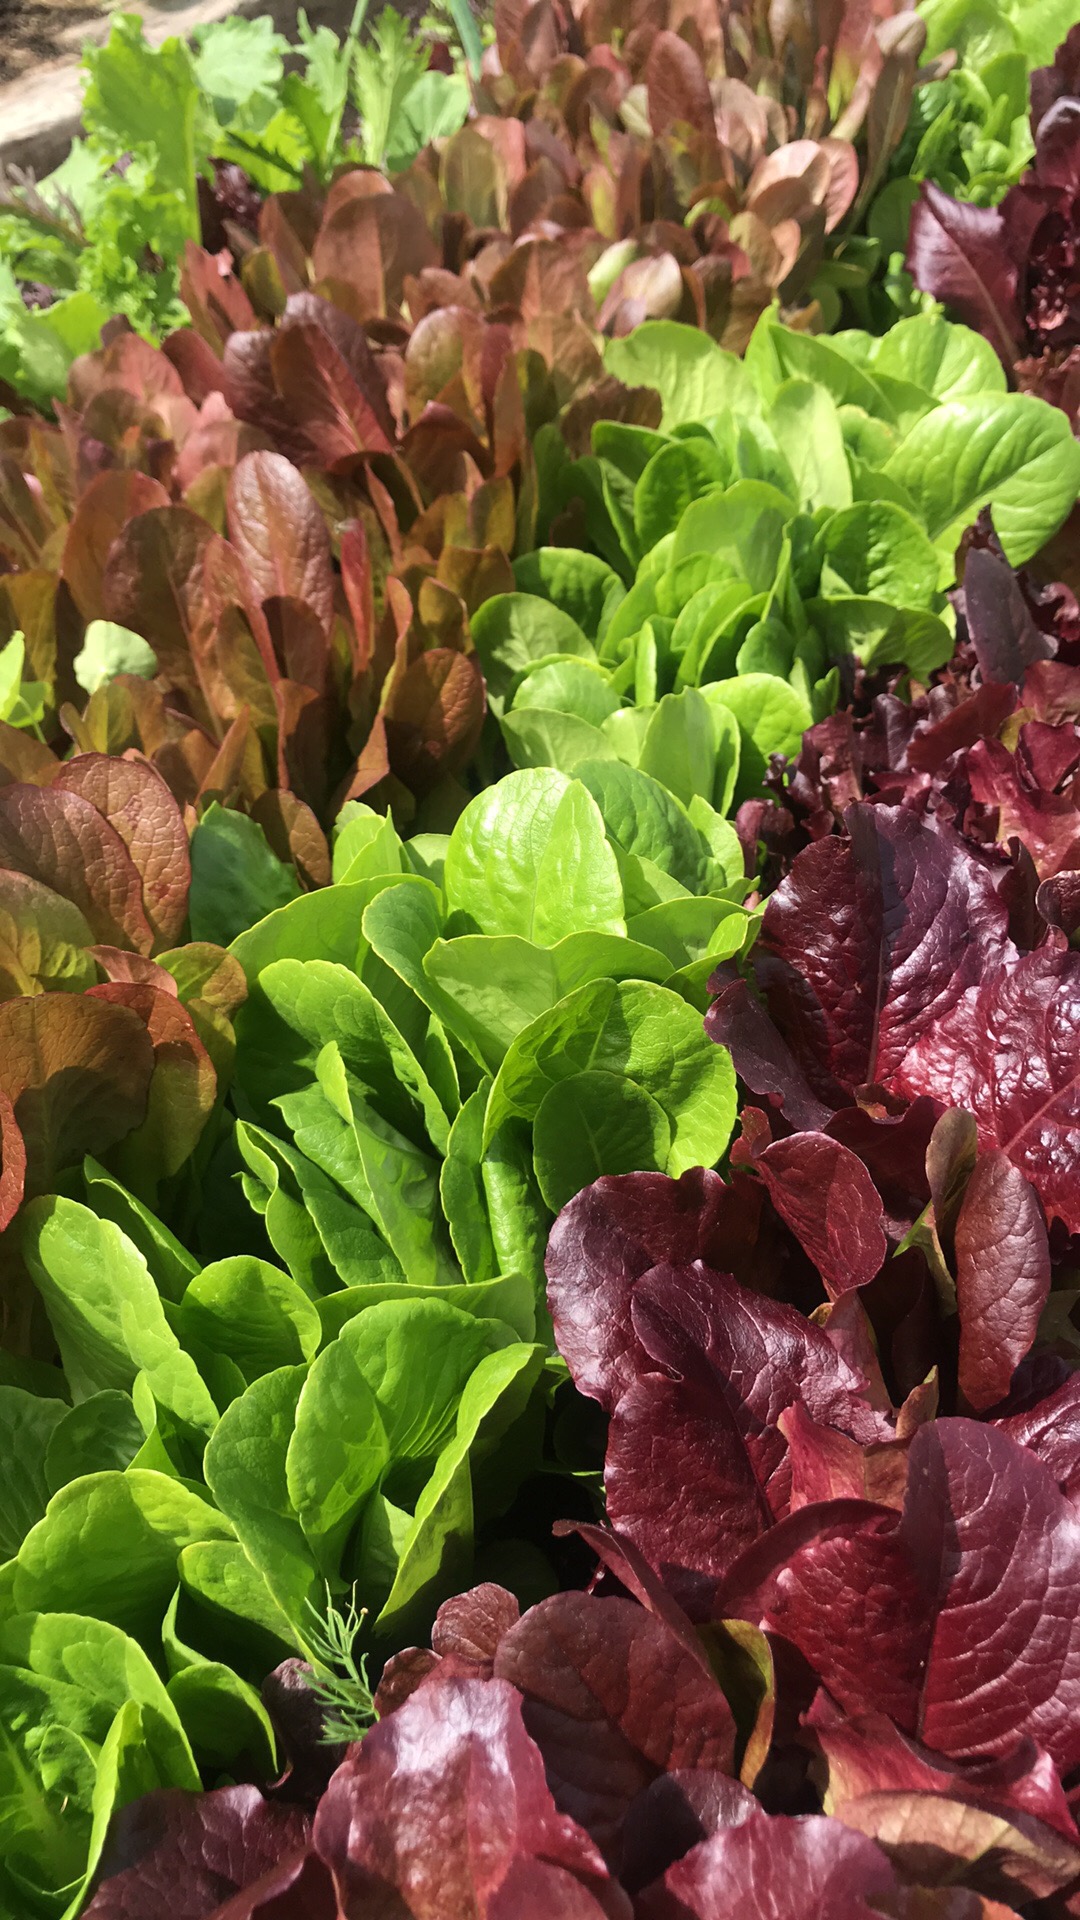
Intensive planting simply means growing plants closer together in a thoughtful way so they work together instead of competing with each other.
Instead of planting in long rows with wide spaces between them, you plant crops in blocks, layers, and combinations that allow you to maximize every inch of soil.
This approach mimics nature much more closely than traditional row gardening.
In nature, plants rarely grow alone. They grow together in communities, helping protect the soil and supporting each other.
When we apply that idea to the garden, something interesting happens:
🌱 The soil stays cooler and holds moisture better
🌱 Weeds have less space to grow
🌱 Pest pressure can decrease
🌱 Yields can increase dramatically
Why Intensive Planting Works So Well
One of the biggest benefits of intensive planting is soil coverage.
Bare soil dries out quickly, loses nutrients, and becomes a perfect place for weeds to take over.
But when plants grow close enough to shade the soil, they create their own little ecosystem.
The leaves act like a living mulch, protecting the soil surface and helping it retain moisture.
This is especially important in hot climates where soil can dry out quickly.
Another benefit is that plants begin to support each other structurally. Tall plants can provide shade for sensitive crops, and sprawling plants can cover soil between larger plants.
When planned correctly, intensive planting can turn a garden into a high-producing system rather than a collection of individual plants.
Crops That Work Especially Well for Intensive Planting
Some crops adapt beautifully to this method.
A few favorites include:
• Lettuce and leafy greens
• Carrots
• Beets
• Bush beans
• Onions
• Radishes
• Spinach
• Herbs
These crops can be planted relatively close together and harvested gradually, allowing space to open as plants mature.
For example, you can plant radishes between slower crops like carrots or cabbage. The radishes will be harvested long before the other plants need the space.
This technique is called interplanting, and it’s a powerful tool for productive gardens.
Vertical Growing Makes Intensive Planting Even Better
Another important piece of intensive gardening is growing upward.
Using trellises, arches, or vertical supports allows you to grow crops like:
• Tomatoes
• Cucumbers
• Peas
• Pole beans
• Melons
When plants grow vertically, they take up less ground space, allowing you to plant additional crops underneath or nearby.
This is one of the easiest ways to dramatically increase the productivity of a garden.
The One Thing Intensive Gardens Need More Of
Because intensive planting produces more crops in the same space, it also means plants will use more nutrients from the soil.
Healthy soil becomes even more important.
Adding compost regularly, feeding plants with organic fertilizers, and maintaining strong soil biology will help keep an intensively planted garden thriving.
When the soil is rich and alive, plants can grow closer together without struggling.
A Garden That Feeds More People
One of my favorite things about intensive planting is how much food it allows you to grow.
With thoughtful planning, even a modest garden can produce an incredible amount of fresh food for your family.
This approach works whether you garden in:
• Raised beds
• Traditional garden plots
• Small backyard gardens
• Homesteads
It’s simply a smarter way to use the space you already have.
Watch the Full Video: How I Grow More Food in the Same Space
If you’d like to see exactly how I use intensive planting in my own garden, I walk through the process step-by-step in this video.
In the video I cover:
✔ How close plants can actually grow
✔ How to combine crops together
✔ Trellis systems that maximize space
✔ Mistakes to avoid when planting intensively
✔ How this method can dramatically increase your harvest
You can watch the full video here: