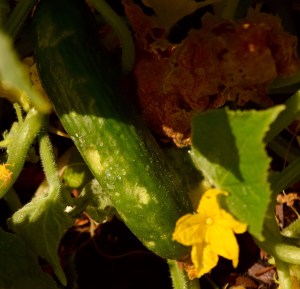
January! It’s the time of year to start fresh. Eat better, plan and make goals. While planning your garden this year, make room for some of the veggies listed below to increase your intake of healthy ingredients easily. This helps those who have kids that are persnickety about eating their veggies as well.
- Make your own dips with pureed vegetable and legumes to low-fat yogurt or Greek yogurt. Add an addition kick by adding herbs and spices.
- Making a nutty cake? Try adding grated pumpkin, carrot or zucchini.
- Using romaine lettuce or butterhead lettuce leaves instead of bread to make wraps and soft spring rolls.
- Top pizza with chopped vegetables like grilled peppers, thinly sliced squash, zucchini or eggplant.
- Add finely sliced or diced onions and tomatoes to toasted cheese sandwiches.
- Add peas, corn (GMO free) or carrots to any soup. Puree if kids have a resistance to veggies. This way they don’t know it’s there!
- Smaller slices, dices or pureeing change the flavor of many vegetables when adding to other ingredients.
- As an alternative to nuts, roast cooked chickpeas or kidney beans until crisp and east as a fat free snack.
- Include at least two vegetables in your lunchtime sandwich.
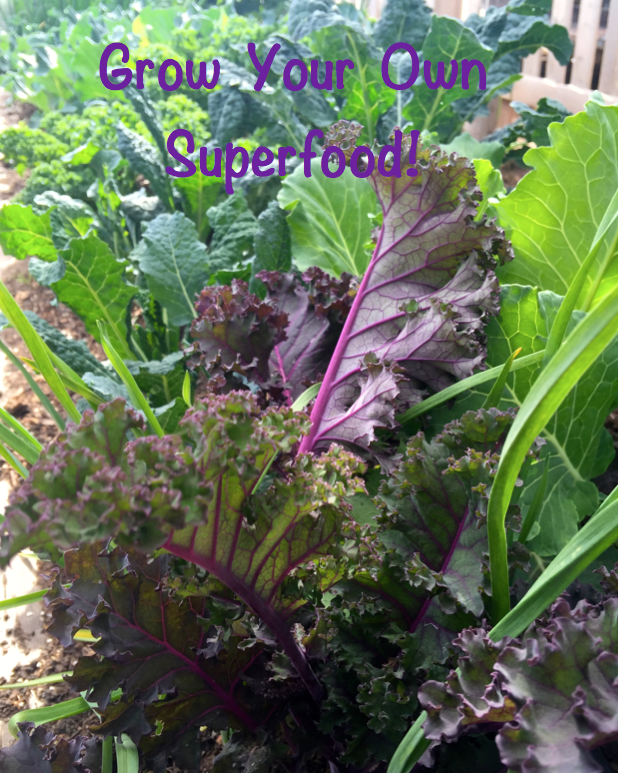
Include plenty of vegetables of different colors in your diet. The phytochemical compounds that give vegetables their characteristic color provide significant health benefits. My mother always said eat a rainbow of vegetables!
Grow some of these veggies in your garden this year and get a few more veggies in your diet plus sunshine and exercise! Now that’s a New Years Resolution made easy!