Tag Archives: growing onions

With the Emergence of Spring Everywhere, It’s Time to Plant!

IMG_0496

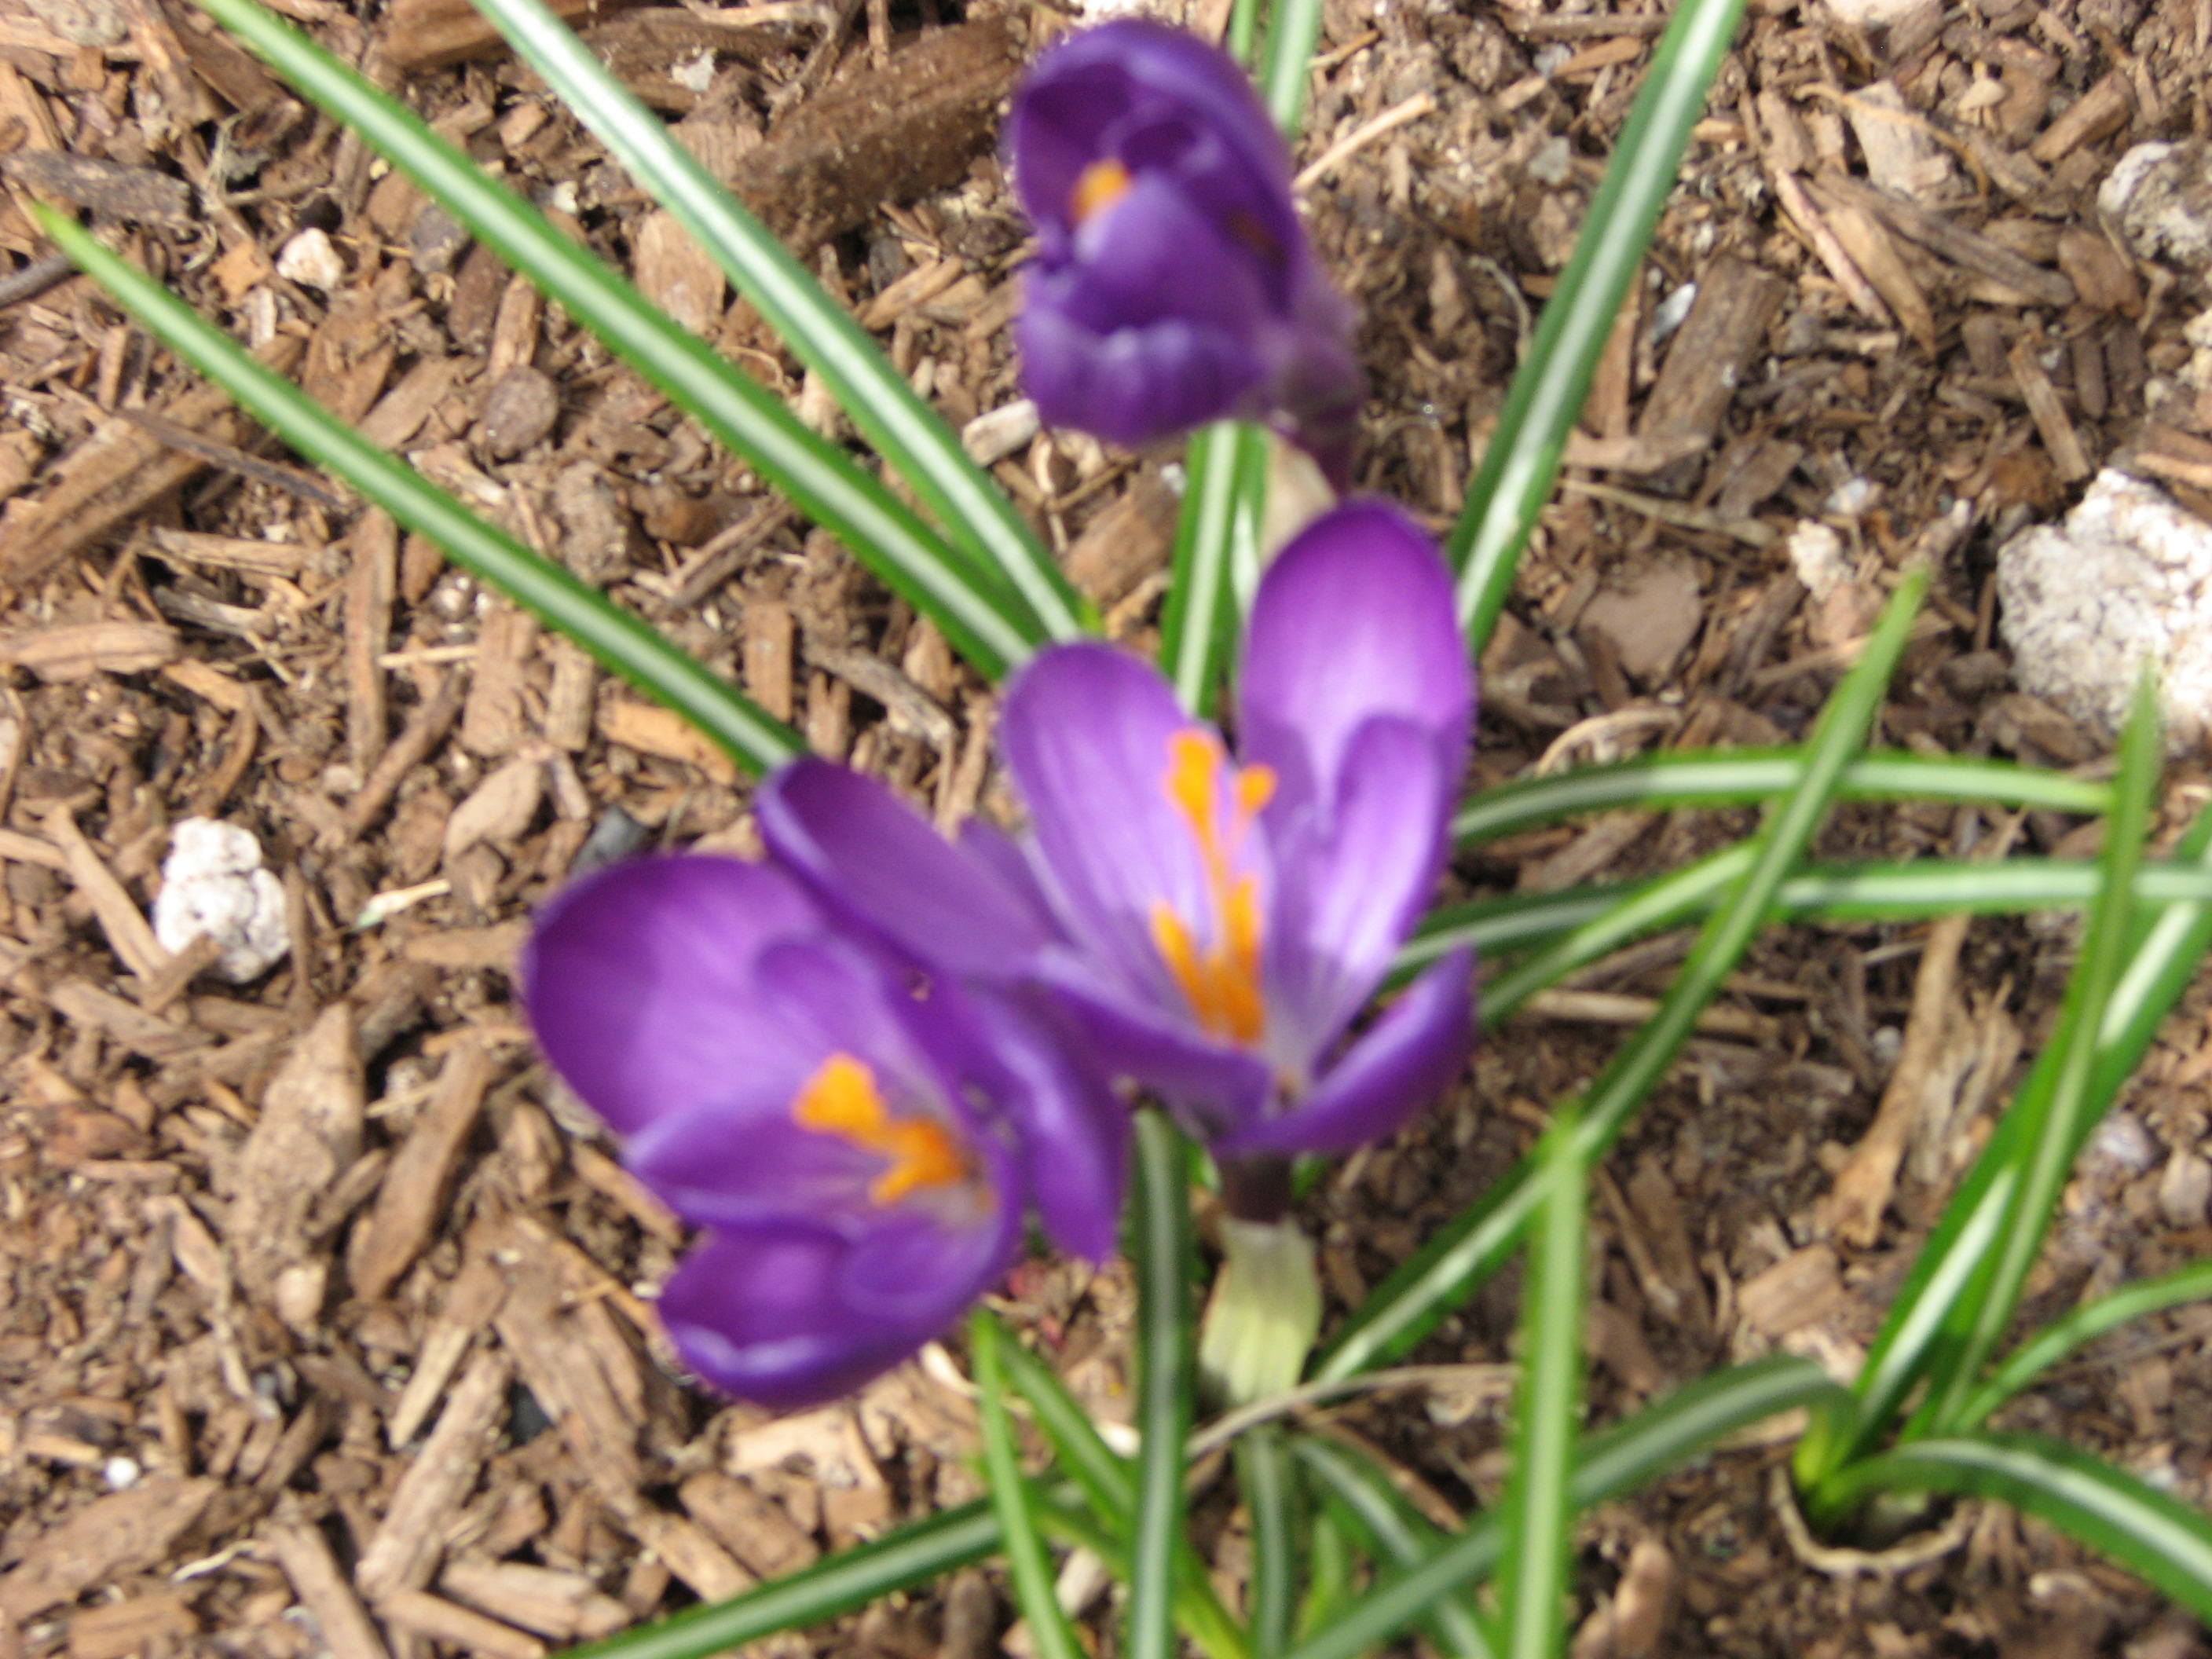
Crocus are the fist to bloom!

Our long winters nap is over!  Although we still have those cold blistery winds, freezing temperatures, it’s time to start our spring garden chores.  The blank garden beds are starting to be amended, bulbs poking through the ground and plum tree buds are starting to swell.  Some of our first chores are to clean out the perennial beds from fallen and blown in leaves from autumn, prune the roses and apply a layer of mulch to the barren soil.  Our garden beds are turned, but not before adding plenty of compost, greensand, phosphate, and nitrogen. Once the beds have been amended they are carefully leveled out to take on their inhabitants for the spring months.  Peas, lettuce, spinach, brassica crops, fava beans and plenty of other cold hardy spring crops are put in at this time.  Keeping them moist so seeds germinate is very important, especially when the winds so easily dry them out.  We are fortunate in our zone 8 to start our gardens earlier than other colder zones.  When that first robin bird sings his song, the spring fever hits.  Pruning of fruits trees and a heavy spraying of dormant oil should be done before buds break.  We always find several praying mantis eggs while pruning and these are removed and placed in a protected spot in the garden before being coating with the tree oil.

IMG_0498

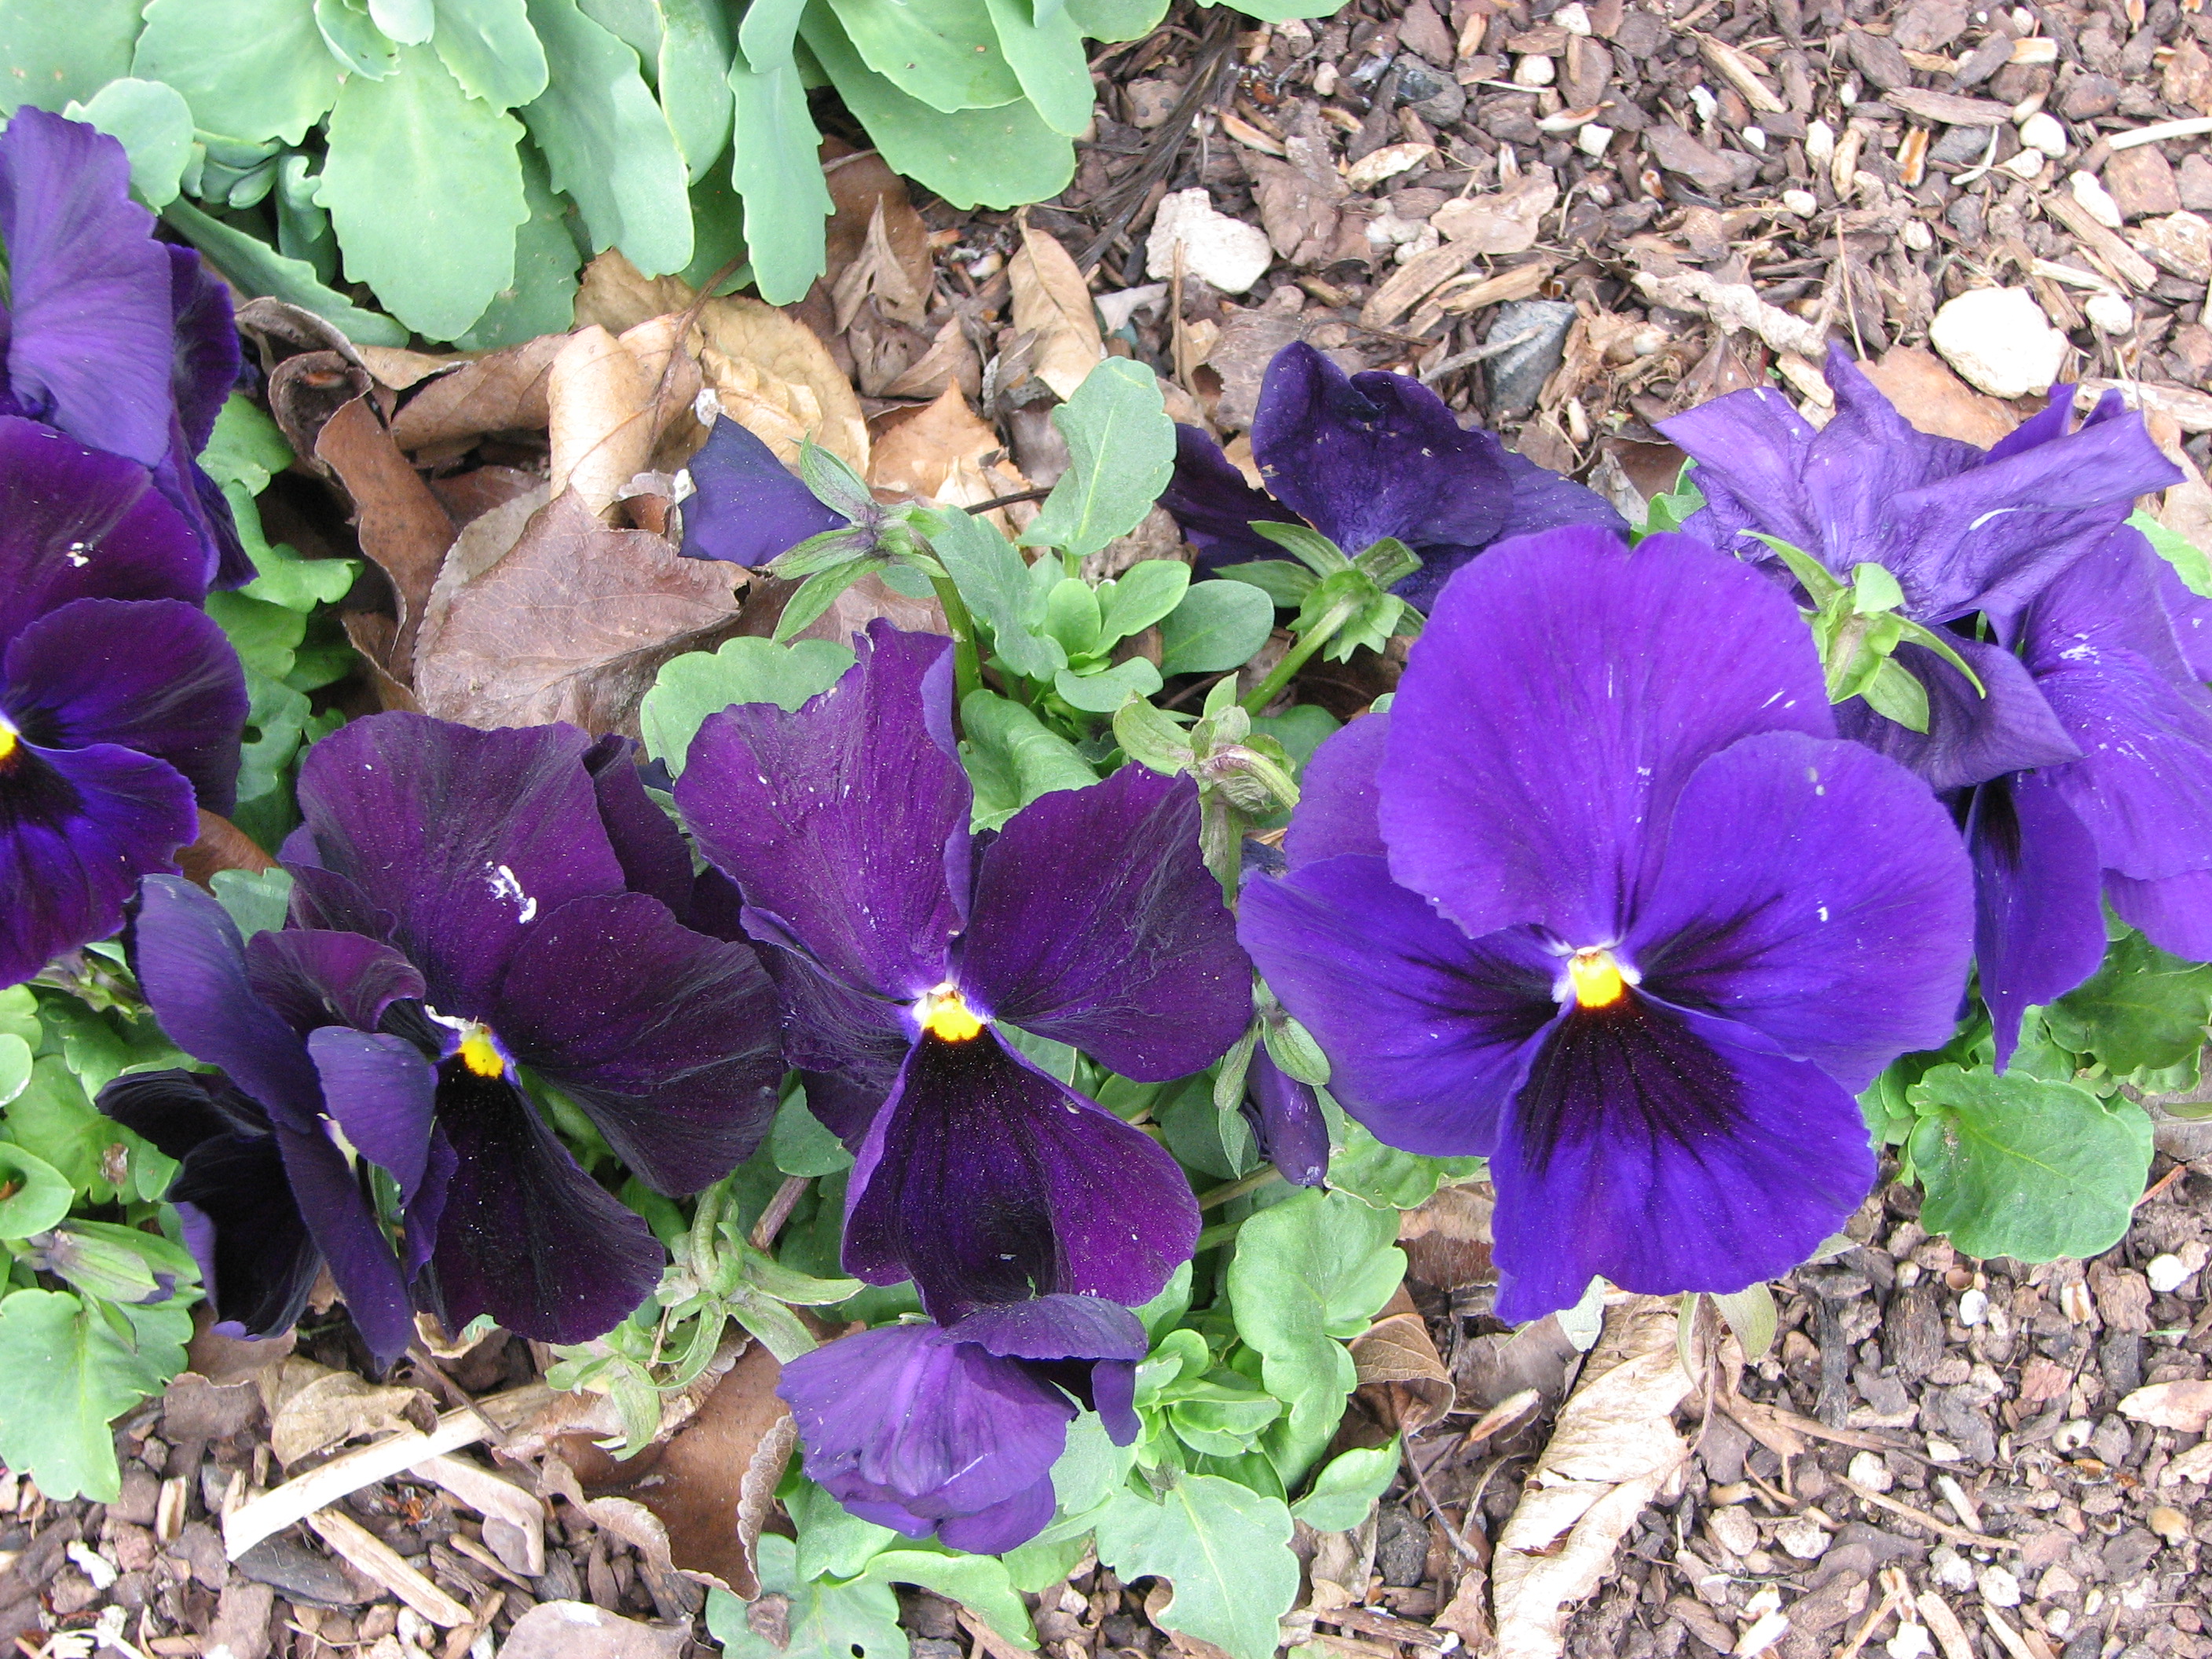
Pop in some pansies around your flowering bulbs for more spring color!

It’s only a few weeks away before many of the spring bulbs begin to show color and so we always pop in some pansies for more color.  Once the roses begin to grow their bronze, tender spring leaves it’s time to give them a couple healthy handfuls of alfalfa meal to help them develop nice big blooms.  Be careful not to prune boxwood shrubs or other evergreen shrubbery to early in the freezing season or to late when its hot or they will burn.  We prune ours the end of February here.  When the forsythia blooms it’s time to apply pre-emergent  corn gluten to prevent weeds from germinating in established beds or lawns.  Not only will it keep weeds down but it will also give your plants a good spring feeding.

Our chickens love the days getting longer and begin to lay once again those beautiful shades of dark brown, tan, green and blue eggs.  They will scratch the earth and stretch out in the sun all day long until dusk when they return to the safety of their coop.  We couldn’t do our little farm without our chickens.  Their manure adds to the richness of the compost, the egg shells get planted around the rose bushes or with tomatoes at the time of planting and sometimes they get fed to the worms in the worm bins.  And once you have had a farm fresh egg you will never want a store bought again!  Besides, there is nothing more relaxing then watching these feathered friends running around the orchard doing what they do.

Today we will be planting onions around the perimeters of our raised beds, usually over five-hundred plants.  half of them being Walla Walla and others of red, yellow and white varieties.  I have always preferred the little plants over bulbs because they always do better, get bigger and I have less of them that get thick necks and go to seed rather then produce a bulb.  They will get a little extra nourishment from a side-dress of composted manure.  Always cut back some of the green tops and root system before transplanting.  This will help them get a better start!  They have a tendency to die back a little anyway, so why not hasten the process and let them get growing!

IMAG0670

Casper is a little poser!

And we can’t forget to report on Casper the Perfect Cat!  After having teeth issues last summer and now no teeth (outside of two for decoration purposes only) he has gained 3 whopping pounds!  Not all of us would be happy about that!   He is on a special soft food diet, but after his repeated attempts to sneak down, and I mean sneak, low to the ground and all, to the neighbors to get his fix of hard food we now have to give him what he demands!  Hard Purina cat chow!

Corn Gluten,  Phosphate, Nitrogen, Alfalfa Meal Greensand

Leave a comment

Filed under Casper the Cat, Gardening, Life on the Farm

Onions to Cry About

Most gardeners start out growing onions from sets or the little onions transplants. Sets are little dry dormant bulbs and transplants are usually the size of a pencil and like green onions.  Sets are easy to grow and a great way to start, but if you want more bang for you garden, more variety, turn to seeds.  Growing from seed lets me pick varieties to suit my own needs or whims.  Colors range from dashing purple to pure white.  Shapes and sizes to boot.  Long cylinder shapes  like ‘Italian Torpedo’ to my favorite the flat yellow ‘Cippolini’ onion.  I feel like onions grown from seed out perform better than those grown from sets (bulbs).  They are less prone to disease, store better and they bulb up faster.  However, if I only had the choice between sets and transplants, I would always pick transplants.

You may find on your seed packets a description that says “Long Day” or “Short Day”.  What does this mean and does it really matter?  This means there are two different types of onions.  Onion varieties differ in the length of daylight and the temperature required to make a bulb.  short-day types are ideal for the South, where they grow through cool southern fall and winter months.  They’re triggered to bulb by the 12 hours of sunlight that come with the return warm, early summer weather.  Long-day onions are best grown in the North, where the summer daylight period is longer.  These onions require at 14 hours of light to bulb up.  The plant grows foliage in cool spring weather, then forms bulbs during warm summer weather, triggered by the long days.  If short-day onions are grown in the North, they will bulb to early, then languish and never get to a good size.  On the other hand, if long-day onions are grown in the South, they’ll produce lots of leaves, but no respectable bulbs.  If your onion varieties have not produced outstanding bulbs you may have been planting the wrong type of onions for your area.   I plant ‘long-day’ onions, but sometimes can’t resist some of the varieties of the ‘short-day onions.  They end up with much smaller bulbs, but then again I don’t always want a big onion, where-as a 1/4 cup of chopped fresh onion is perfect.  In the long run an onion will still taste like an onion.

Just when you thought that there was nothing to plant in December along came the onion seeds ready to be put into flats.  If you live in very cold areas, wait until January or even February.  I sow seeds in to flats or even 4″ pots for fewer onions seeds.  Fill flats with soiless potting soil, sprinkle onion seeds and then cover with 1/4″ of the soil.  I grow mine in the greenhouse, but you can start them in your warm house as long as you have a south window or sunroom with plenty of light.  Water your newly planted seeds by a sprinkle or from the bottom up to ensure all the soil is moist.  Cover with plastic.  Regular kitchen plastic wrap will work fine.  If you are growing in a greenhouse you can skip this step.  When covering with plastic the need to water is slim if at all.  Onions germinate in about a week.  Once their string-like tips poke through the soil, remove the plastic.  I feed the seedlings a very weak (1/4 strength) solution of water-soluble fertilizer every time I water.  Onions seedling shouldn’t dry out, but they also shouldn’t be soggy.  With anything to much of a good thing isn’t always good!

Once the little guys leaves have reached 7-8 inches, it’s time to plant outside.  For me that is around mid-February time.  Carefully overturn the flat to expose the seedlings’ roots.  Handling the plants by the leaves, I gently tug to separate the roots of individual plants.  Cut back the leaves to 4 inches to keep the plant from being too top-heavy and to give more nutrients to the roots instead of the leaves.  Onions prefer a fertile, loose loam soil amended with well-rotted compost made with animal manure, a well-balanced fertilizer and I add greensand as I will explain later.  Plant the seedlings 1/2 inch deep 4-6 inches apart.  6 inches for larger bulbing onions and 4 inches for smaller varieties.  I like to plant around the perimeter of my garden beds as to not take up much room and the onions will deter some insects.  Keep onions well weeded so they don’t have to compete with water, nutrients and light.  Water and nutrients are an important part of growing onions.  The soil surface should be evenly moist.  If it’s too dry and plants are grown under stress, the bulbs will be smaller and have a stronger flavor.  To help keep moisture in, mulch, but keep away from the bulbs to avoid disease and rot.  Onions are heavy feeders, so besides the initial feeding at planting time, they love a dose of fertilizer when the bulbs begin to swell.  I use a well-balanced fertilizer and greensand.  Greensand is an excellent organic source of potassium and without it the onions necks will thicken and the bulbs won’t store well.  Every time I have skipped adding greensand I end up with thick necks and hallow bulb centers.

At full maturity, the plant go dormant.  The inner leaves stop producing blades, and the hollow-centered neck weakens, causing the tops to bend over.  It is so important to let the plants go dormant before harvesting, or they won’t store well.  As the onions start to mature, ease up on water and fertilizer to encourage dormancy.  I am sure you have heard to bend the tops over before maturity.  Don’t do it!  By doing this you are inviting disease.  Breaking the tops will allow water to enter the bulb and cause rot in addition. However if you have a flower head forming you can bend that over.  Usually an onion that have formed a flower head will be inferior.  I just use those right away even if the tops are green.   Another thing that you probably have been told is to remove the dirt away from the bulb to increase the size……Well, It’s a good idea to do this, but it is more for aiding in the drying process.  By keeping the soil away from the bulb will help dry the papery skins for better storage.  Do this only about a week before harvest.  I have grown great big onions, (two pounders) and never pulled away the dirt until the last week before harvest.

Time to Harvest!  When most of the onions tops have toppled over and started to brown and the bulbs have developed skins, pull the bulbs and place them in a warm, dry, airy location out of direct sun and out of contact with moist soil.  Curing onions in hot summer sun will burn, bleach and soften the outside tissue and allow disease to enter.  This is especially true for large sweet onions, which have the greatest water content.  Spreading onions out on a screen and drying them on a porch or in a garage works well.  Onions take up to three weeks to cure before they’re ready for storing.   Once onions have dried adequately, cut the foliage back to 1 to 2 inches from the top of the bulb or braid them as you would garlic.  So pretty!  Store the crop in a cool, dry location and remember that good air circulation is a must.  Onions can be stored in the traditional onion bag or in a shallow box.  Separating them with newspaper keeps them even longer.  You can also use a skinny net with knots between each onion bulb and hang it up for optimum storage.

This new growing season give planting onions from seed a whorl!  You will find they are far better than those named red, white and yellow onions you find at the local grocery store.  Onions have names too!

Greensand

2 Comments

Filed under Gardening