Flavored Vinegars

When summers bounty is at its peak, I seem to get the urge to create my own concoctions. Whether it be preserving my harvest a little different then last year or just trying something new for the dinner table. Flavored vinegars are always on the to-do list to add a distinctive flavor to foods from prosciutto salad to bulgar wheat.
You can buy some pretty bottles or reuse old vinegar or small neck bottles to keep you vinegars in.
Raspberry vinegar is probably one of our favorite flavors. We use it as a salad dressing when mixed with a little olive oil. It’s also very delish when used with pomegranate salad. Use either red wine vinegar or white wine vinegar for best flavor. Combine 1 1/2 pints of wine vinegar, 4 T sugar and 1 cup of raspberries. Simmer for 15 minutes. Can be reduced to intensify the flavor. Strain the mixture through a fine sieve and pour hot into a sterilized bottle.
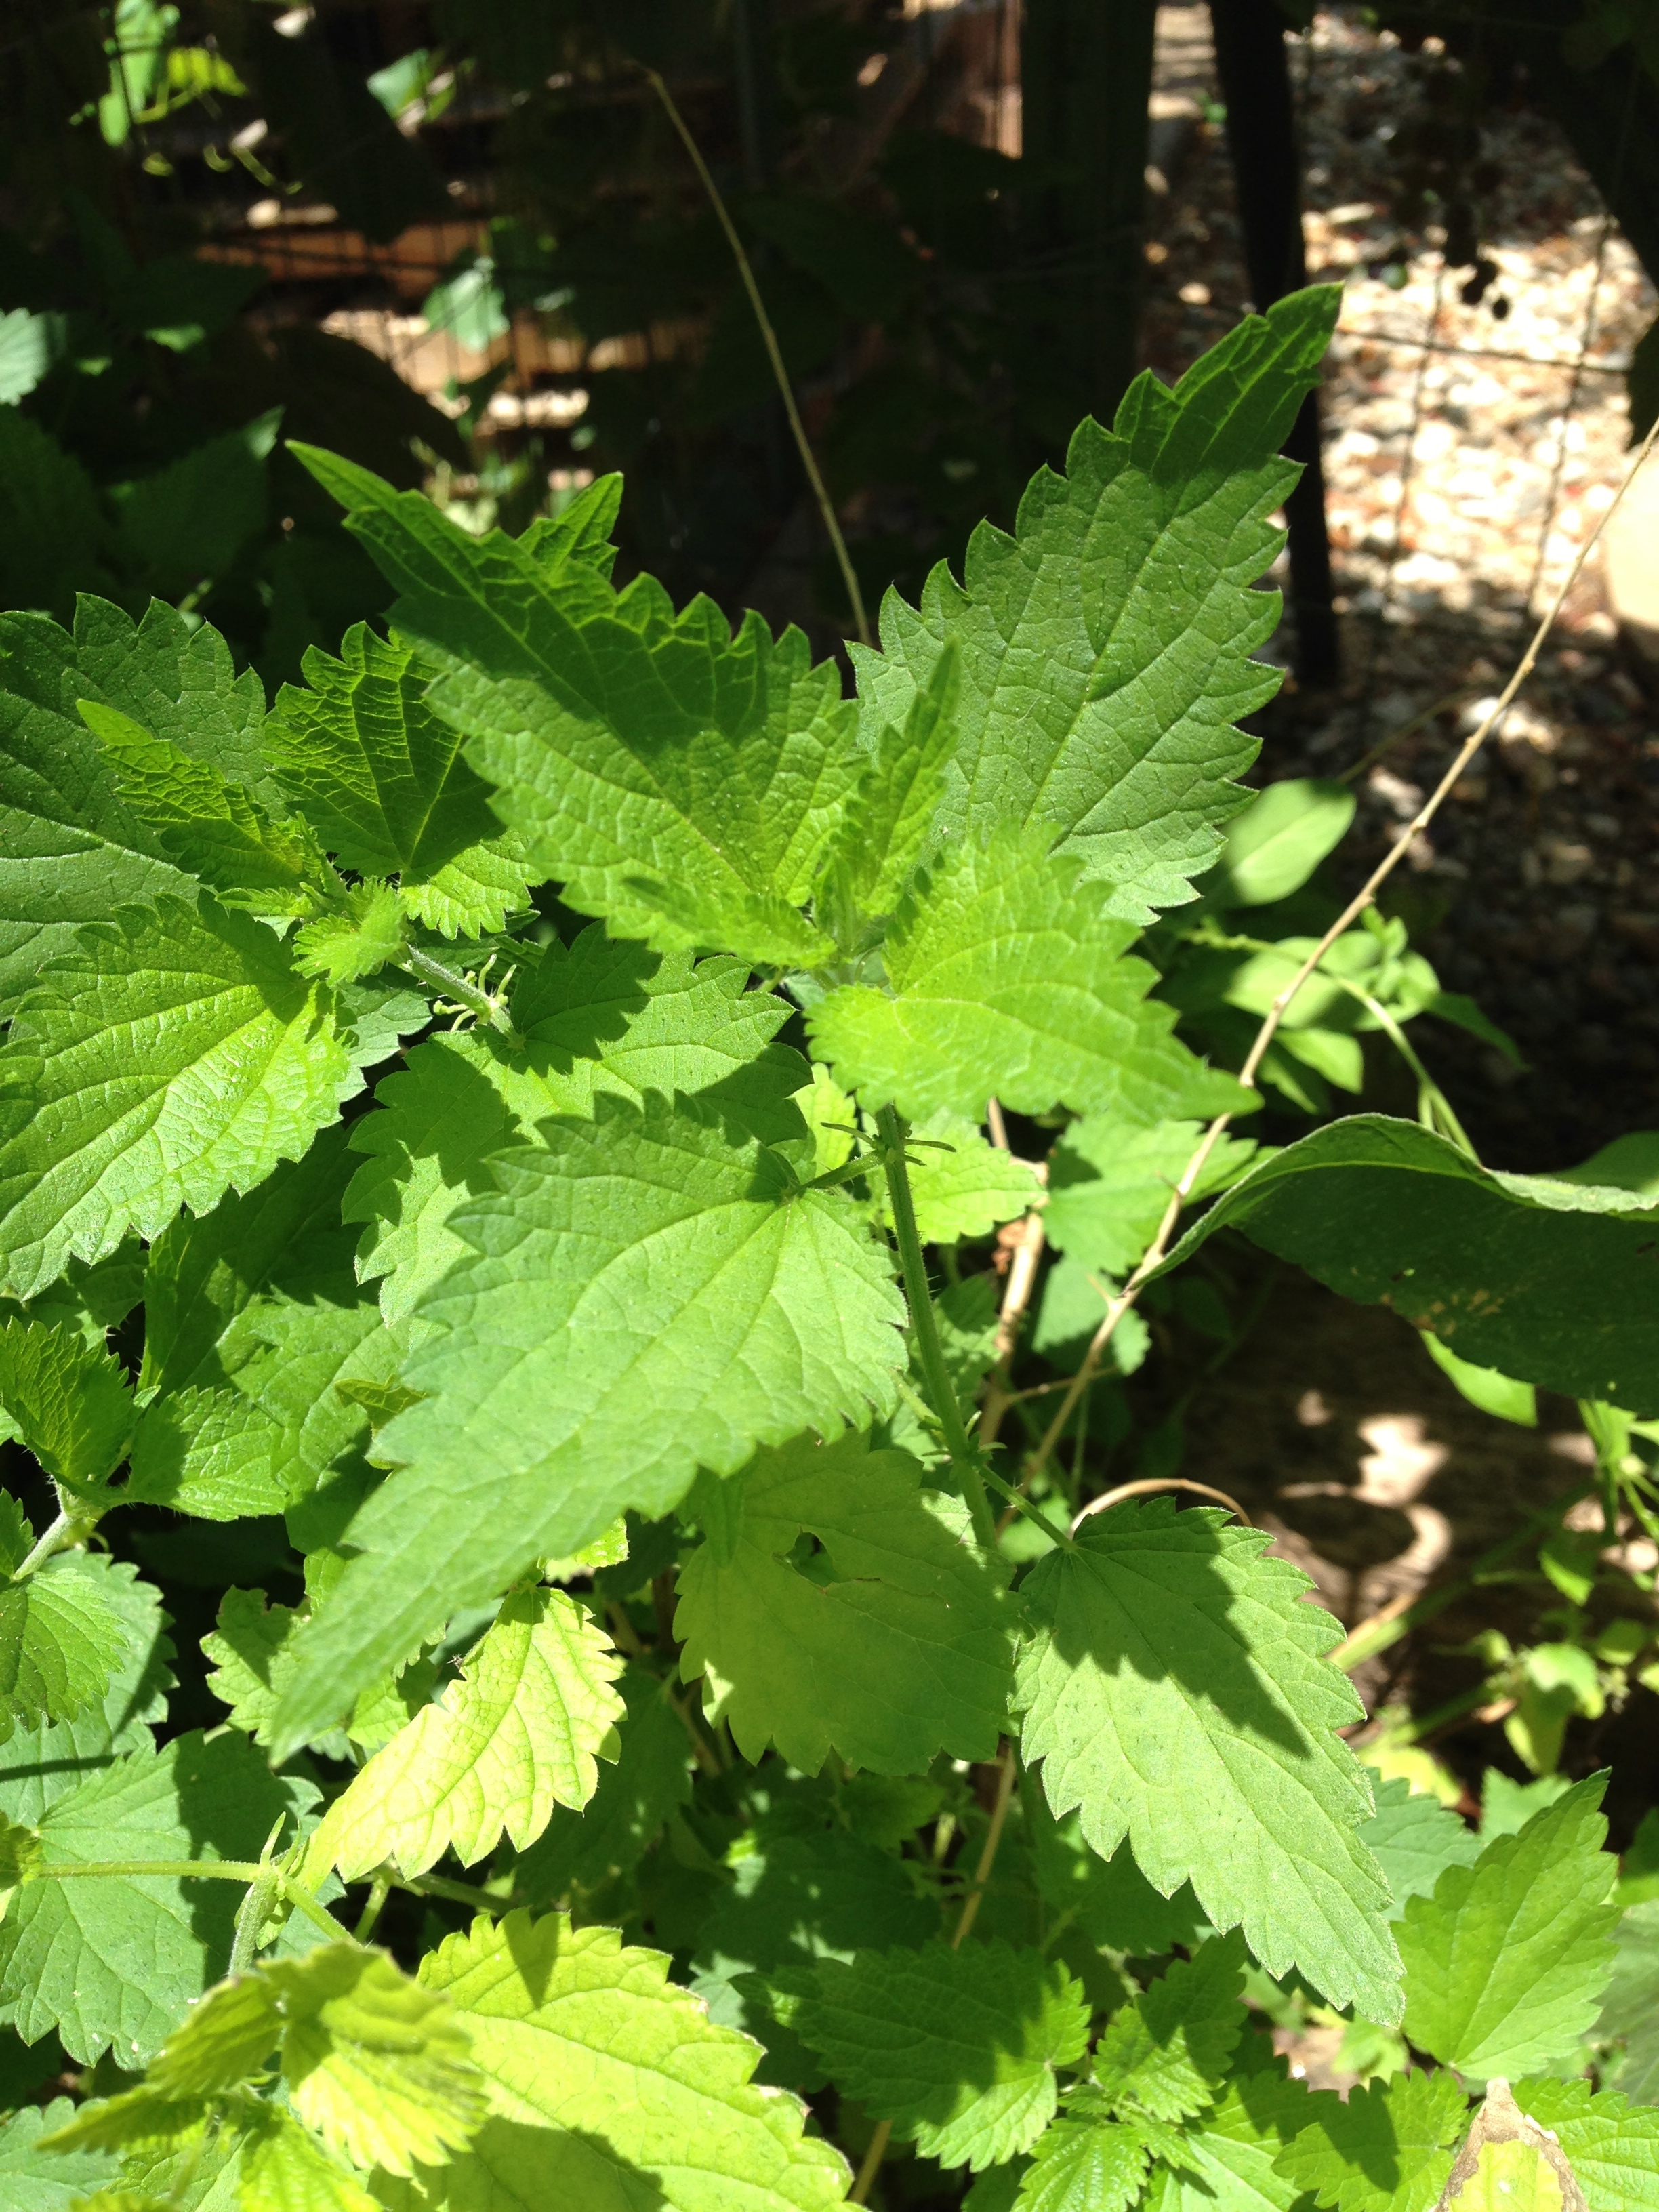
Herb vinegars are probably the most popular. You can pick any herbs fresh from your garden. Herb vinegars release all their stored aromas. Bring 4 cups of cider vinegar to a simmer and add a handful of chosen herbs. T

urn off heat right after adding clean dry herbs and leave to cool and then strain and pour into a sterile bottle.
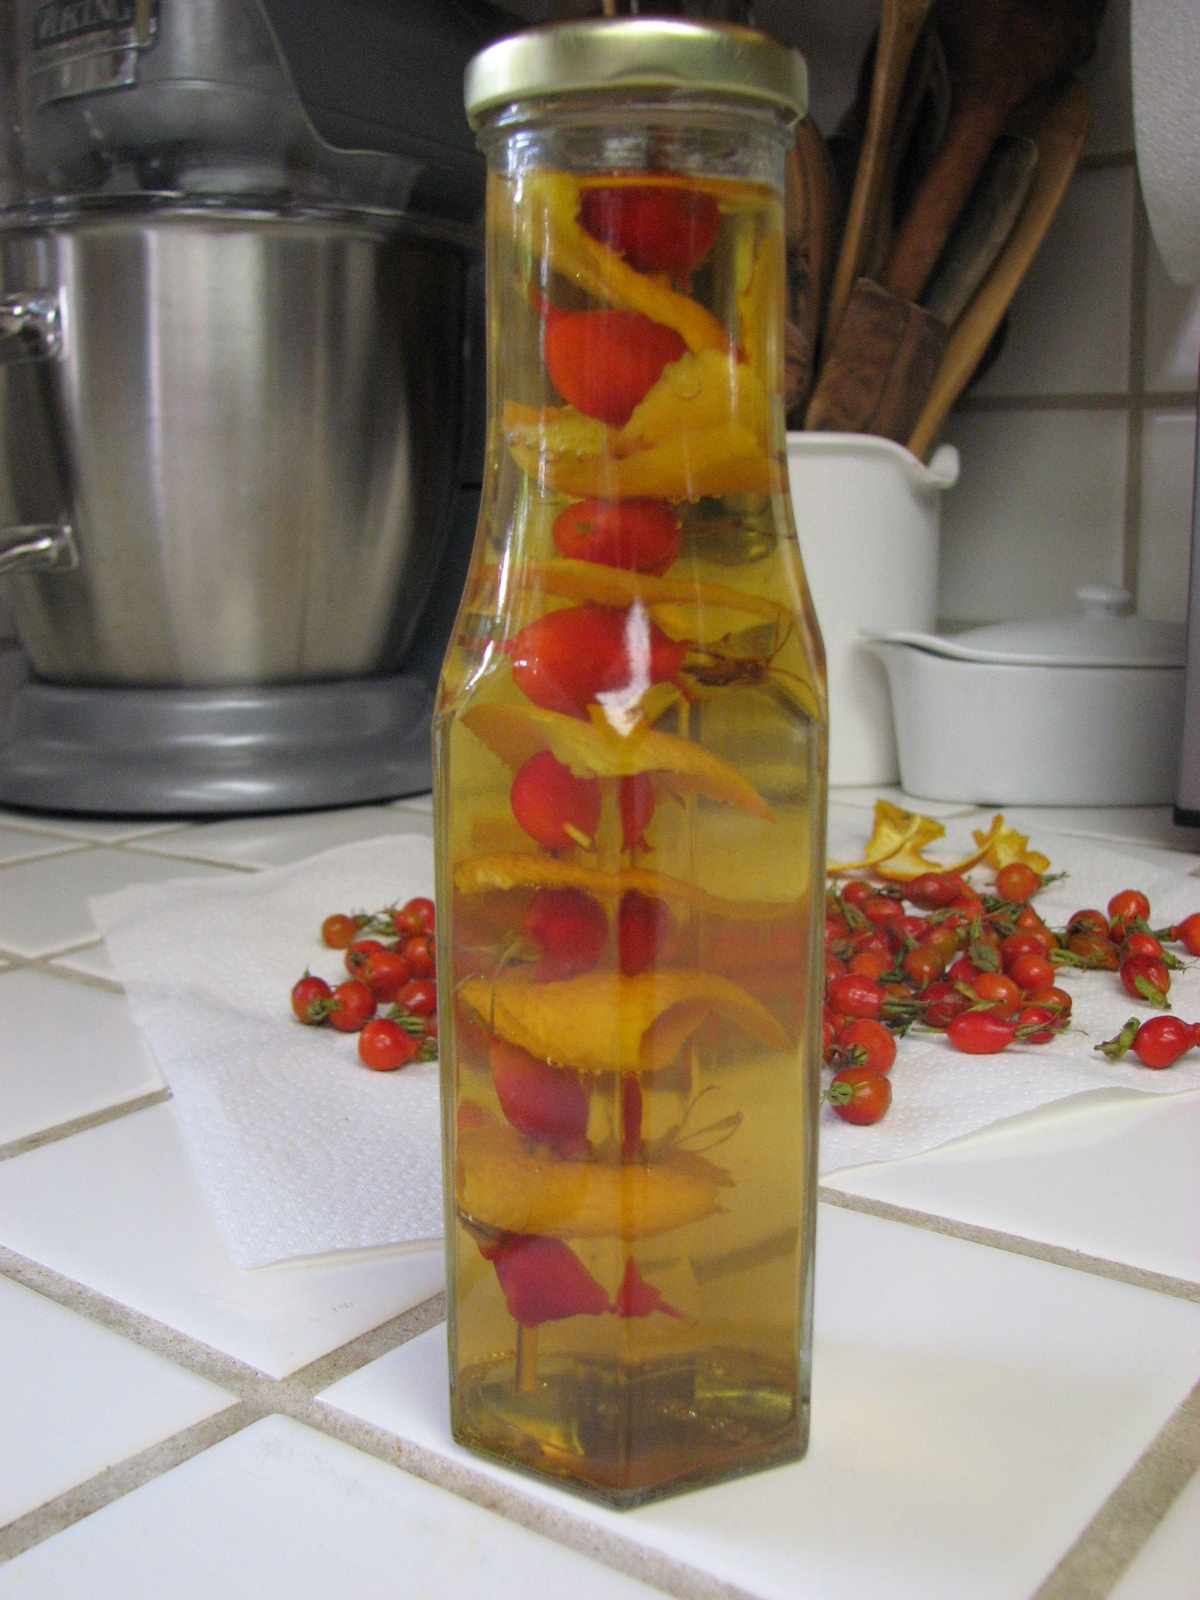
Rosehip Vinegar

Rose-hip Vinegar

Have you ever thought about using lavender or nasturtiums to make flavored vinegar? Prepare the same way as making herb vinegars.
If you are looking for something special to liven up a melon and prosciutto salad, try making rose-hip vinegar. Not only is it beautiful on the counter, but it adds a great zing. Heat 4 cups of cider vinegar, and 4 T of sugar until dissolved. Allow to cool. Thread rose-hips and orange peel pieces onto a skewer alternating. Place skewer into a sterile bottle and pour in the vinegar. Cap off and let sit for at least two to three weeks for flavor to become infused.
These vinegars should be used within a year of making.  Just in time for a new season and preserving!

Leave a comment

Filed under Preserving, Recipes from the Garden

Who Would Purposely Plant Stinging Nettle?

Stining Nettle

Stinging Nettle Leaves

Well, lets see….I would! Of course I haven’t always had a love for this plant of nature.  When I was a child I had many experiences of floating or running up and down the irrigation ditches, only to unknowingly brush up against the nasty leaves of nettle and quickly break out into a stinging rash, earning its name. Little did I know of its healing properties when handled with loving care!

Stinging Nettle has been used for many a years for allergy relief, soothing headaches, treating asthma and high blood pressure, dissolve kidney stones, expel toxins from the body, relieve skin inflammations (ironic), anemia and even coughing.  And not to mention all the minerals and protein it packs.

Nettle leaves can be used many ways to get all those benefits, but my favorite is just to make a simple brew of tea.  1/2 cup of leaves steeped in 2 cups of water for 5 minutes, adding a squeeze of fresh lemon juice and touch honey.   Don’t worry!  Once the plant has been simmered the stinging hairs will no longer have an affect.

Take the bite out of harvesting by wearing gloves.  Pick the top, most tender leaves with scissors.  Cutting leaves can be done in the spring or fall.

I started my nettle plant easily from seed, but cuttings can be done as well, but in the fall before winter die back.  My upright nettle plant stands in the very back of the barn, where there is very little worry about anyone coming in contact with its needle-like stinging hairs.  Give it plenty of room.  This guy, if allowed can reach 6′ easily with a spread of 4-6′.  I do keep mine under control to a height of 3′.  Perhaps it’s from cutting it back all the time, drying the leaves for later winter use.

Nettle grown in the wild here in Southern Utah often times is accompanied by mullein growing nearby.  Ahh, I wish I knew that as a kid!  Know your plants and if you happen to tangle with nettle, look around quickly for mullein leaves.  The mullein leaves rubbed on affected area will ease the sting almost instantly!

Stinging Nettle Seed

4 Comments

Filed under Herbs

Quiet Sunrise

There is nothing better than a summer morning, just as the sun rises and being in the garden!  The sound of business only come from the birds chirping and the occasional crow from our little rooster.  The air is still cool and calm.  Bliss!

First stop is the goats. Getting their morning ration of hay, grain and giving Ivy a check, which is due to kid any day now.  She is nice and round, but no signs that she will be giving birth today.  The anticipation of new little kids hopping around keeps me going to the barn several times a day with excitement.

Watering chores are done early before the heat to arrives.  My favorite tool is a watering wand, the gentle flow of water is soothing to me and with the many potted plants around the garden, a little joy in a chore never hurts.

Checking the potato crop, I noticed the purple blooms. So a little digging around in the deep mulch layer found a handful of new potatoes for dinner tonight.   These are my favorite type of potatoes.  While the potato crop grows, I continue to mulch with compost around the plant, piling higher and higher until the compost reaches about a foot thick, making a perfect bed for new potatoes and a super easy harvest.  New potatoes are so succulent and tender, they melt in your mouth.  Their little skin just falls right off with the slightest rub.  Cut into fourths, tossed with some fresh herbs and olive oil, grilled or  baked makes a great easy side dish for a summer supper.  Fresh!  Luckily we will harvest new potatoes for the new several weeks until the foliage starts to die back, then it’s time for the main harvest.

Boysenberries are in full swing now and picking daily is a must!  Purple hands are a dead give away where I has hiding out this morning.  Morning is the best time to pick most crops, as they are usually sweeter and juicier.   A rustic berry tart is on the dessert menu tonight!  They get an extra drink of water while they are fruiting.  We are looking forward to the Triple Crown Blackberry harvest coming up shortly.  They are loaded with green berries and white blossoms. I planted a Triple Crown Blackberry on our back patio winding around one of the pillars.  What a fun focal point. And, you can eat it too!  A toss of some acidic rich fertilizer for the last time this year and a layer of compost over the top gives them a boost and promotes healthy new growth for next years berries as well.

My two garden helpers, Casper and Mabes are on the prowl lurking around the bushes

as we go from spot to spot making sure they don’t miss out on anything.  Casper is getting up there in years, but still enjoys the garden. While we adopted Mabes, a six-year-old active cat about two months ago, hoping for a mouser, when in deed, again, another cats whose only interest is in the delectable food easy captured in her bowl, but chasing butterflies seem to be a favorite. As well as Casper, Mabes has keen typing skills (computer terrors) as well. She has been a fun addition to the little farm.

The last of the peas were harvested this morning.  Hot temperatures slowed up the crops enough to warrant a new crop in their place.  Pickling cucumbers will replace their spot after a good amendment of compost goes in.  In six weeks time we will be adding to the  pantry, dilly pickles, bread and butter pickles and some sweet gherkins.

Light pruning, weeding and harvesting every morning keep things under control and while these could be daunting at times if not kept under control, a little work in the morning goes a long way and brings peace to the soul.

5 Comments

Filed under Casper the Cat, Fruits from the orchard, Gardening, Goats, Life on the Farm

Summertime & Boysenberries!

Boysenberries bring me back to summer time cookouts with that beautiful dark purple color thick syrup oozing out of the perfectly browned flaky pie crust my mother used to always bake!

When I was a kid I remember a patch of boysenberries out in the back yard, loaded with big boysenberries.  I’m sure they never got  the ripeness that makes them sweet, because I remember puckering up several times, but who could wait!  If only I could have waited until they had a slight softness and came off with the slightest pull.  KIDS!

Once I had established a home and a spot (ha ha, temporarily) to grow berries, boysenberries were the first to go in.  I put them on the north side of my garden in full sun.  This was my first raised bed!  With a lot of compost, a little fertilizer and love they flourished.  The first year we got a bumper crop!  ONE BIG handful.  Granted, I did plant in early summer, so they didn’t have much time to produce flowers, but the root system was hard at work.  The second year a far cry from the first.  We ended up with three harvests the first gave us over 2 gallons.  This was off of four bushes crammed together in a space of 2×8.  After several years of growing my boysenberries in the garden, I decided to move them to their new home.  I started to get runners popping up in the neighboring veggie spots and…..I needed more space for growing garlic!  Late full I amended a new spot in full sun in the back of the orchard.  Lots of compost, a little peat and plenty of water to get them off to a running start.

Boysenberries love warm weather, and don’t seem to mind the bright sun here in sunny Southern Utah.  There are thornless varieties, which I have tried both, but the production has been less for me.  Pruning can be a little prickly, but a good pair of gloves will take the bite.  Most brambles produce higher yields when staked.  I use a simple method of two t-posts on each side of the boysenberry row with three wires pulled between.  I keep the flowering vines (last years canes) tied up and let the new canes, which will produce next year, bramble on the ground.  You can tie these guys up, but I don’t mind and it makes pruning the right canes later down the road much easier.  Once you have harvested your berries and there are no more flowers on their way, cut back the canes that produced.  These are two year canes.  Tie up the canes that grow this year, 1 year  canes.  Fan out to make room and if the canes are very long, 8 foot or more, cut them back to six foot to produce side shoots.  These side shoots are big producers, so encourage it!

In early spring, just when the leaves start to grow, give them some food.  I use an Acid Mix fertilizer because berries do better when the soil pH is on the acidic side.  Sprinkle 5 pounds per 50 ft row.  Toss three to four inches of compost on.  Our soil pH here is high, so I also give my berries a sprinkling of coffee grounds every so often.  Once flowers start forming, water more often and deep.  Berries should have a nice shiny deep purple color and they should pull off very easy with the slightest tug for the best flavor.

Make a pie, freeze some for winter,  sprinkle over the top of whole wheat pancakes for Sunday breakfast!  Enjoy the berry season and remember to share with your husband!

1 Comment

Filed under Fruits from the orchard, Gardening