Keeping Your Sour Dough Alive and Using It!

Sourdough Starter

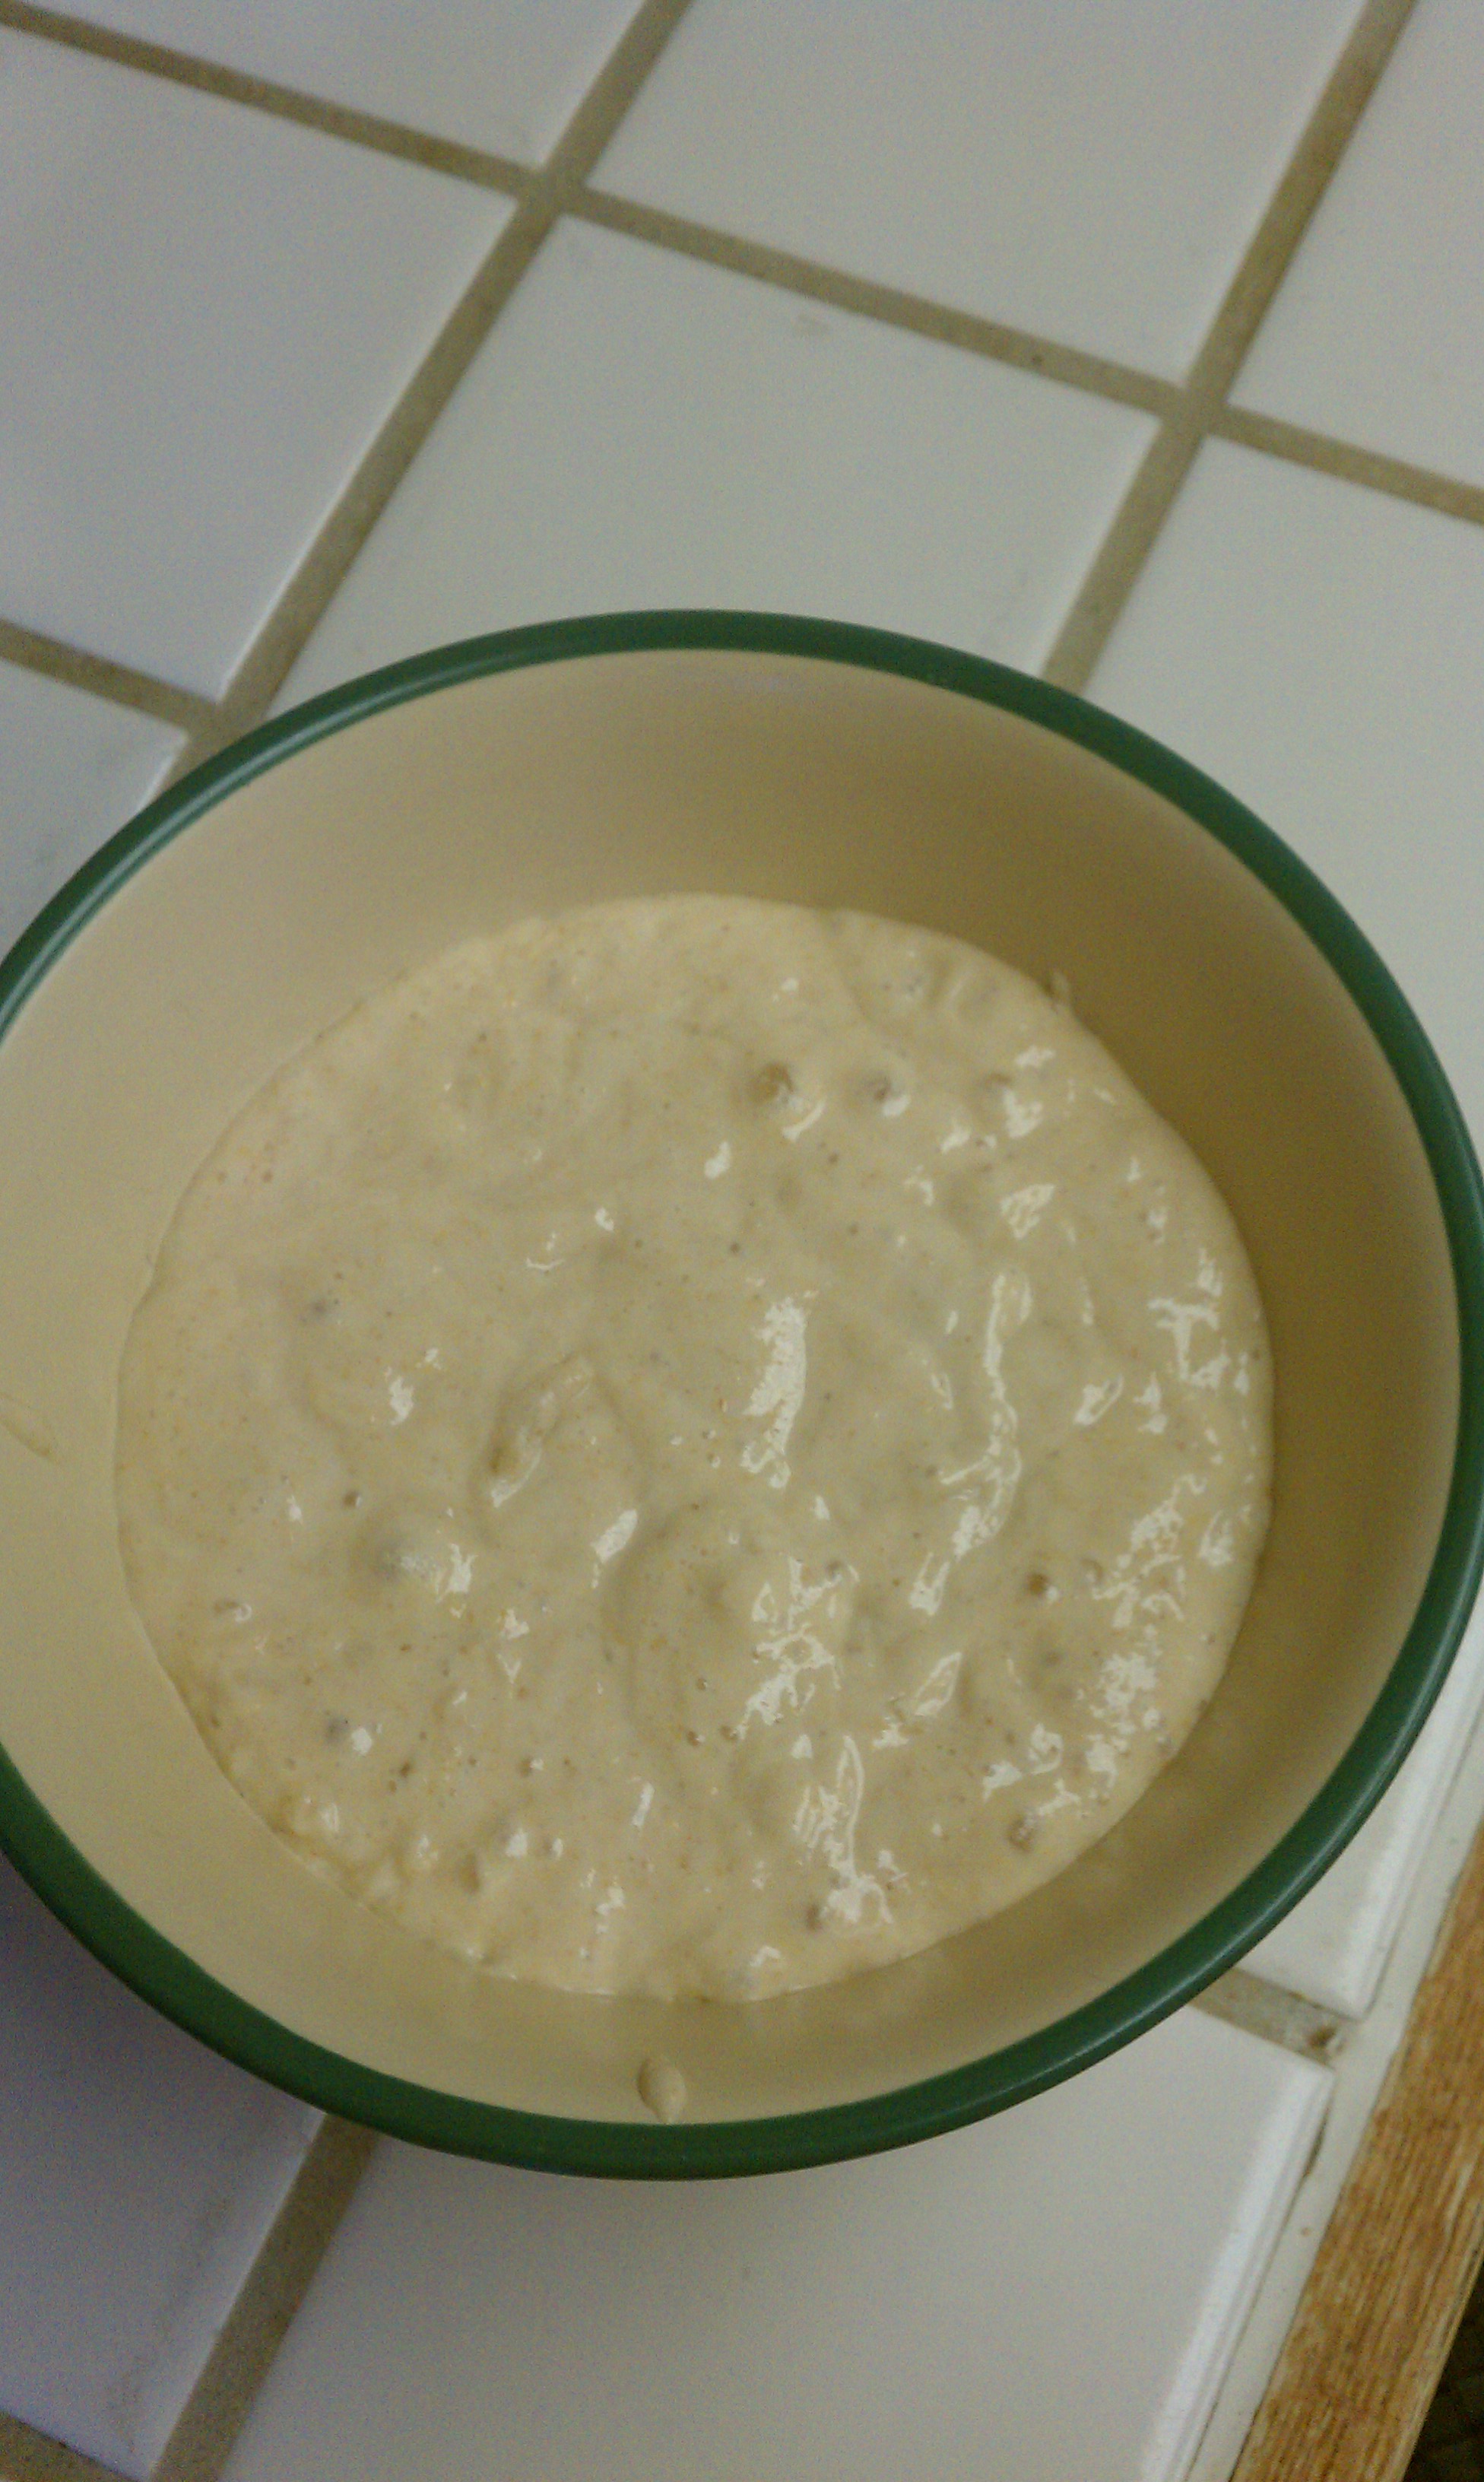
Active Starter has lots of bubbles

25 years ago my mother gave me a start of Sour Dough Starter.  She got it from a friend the previous year who got hers from a friend and I am sure that it could have come from a longer line then that.  I would love to know if the history went farther back than that, but at least I have a 27 year history behind my starter.  I have heard of starters of 100 plus years old.  One could start their own each time they make sourdough, but I think keeping the starter alive is somewhat of a rugged pioneer spirit.  And, I think the flavor is fuller then a new batch. 

Sourdough is a fermented dough that was traditionally found in mining camps, chuck wagons and it was a staple for pioneers.    In the pioneer days yeast was hard to come by and when it was available, it was almost always dead from the extreme conditions.  Supplies were so precious and the use of an active Starter was always dependable.  Sourdough has always intrigued me, even though it is such a simple, but yet rustic process.

If you can’t obtain an heirloom or close to heirloom starter (mine has a few years to go), the next best thing is to make your own.  Combine 2 cups cooled potato water (made from boiling potatoes with skins) 2 tablespoons sugar, 2 cups all-purpose flour (white or wheat).  Beat by hand until you have a smooth, creamy batter.  Keep this in a crock or bowl of at least 8 cup capacity so your starter will have room to grow.  Active sourdough starter will have large bubbles and double in size.  Cover with a clean cotton or linen cloth or a lose fitted lid.  Make sure you don’t seal the container off airtight or you will be looking for an exciting explosion of dough all over your kitchen.  Set your starter aside in a warm place for 3 days to begin fermentation.  The starter can be used at this point as long as you have nice big bubbles, but it’s best to wait a few more days to have a more active starter and better “sourdough” flavor.  At this point feed your starter with equal parts water and flour everyday to every other day depending on how often you use it.  You will have to discard all but 1/4 cup of the starter each time you feed if you didn’t use it for making bread.  I don’t always make sourdough bread, so I will feed it and put it in the frig for a couple of weeks and let it go dormant.  Don’t let it go more than 3 weeks without feeding it or you could loose it’s vitality.  When storing in the frig I always feed with white flour rather than wheat because wheat will go rancid faster.  To feed it just pull it out, bring it to room temperature and then feed as above and you should be ready to make bread the next day. 

The night before you make your bread, feed the starter and cover with a towel.  Overnight the wild yeasts will develop.  This will be your leaven.  By morning your starter should smell sweet in an overripe fruit sort of way.  You can always test your starter by dropping a spoonful of starter into a luke warm bowl of water.  If it sinks, it’s not ready.  If it floats, it’s ready. 

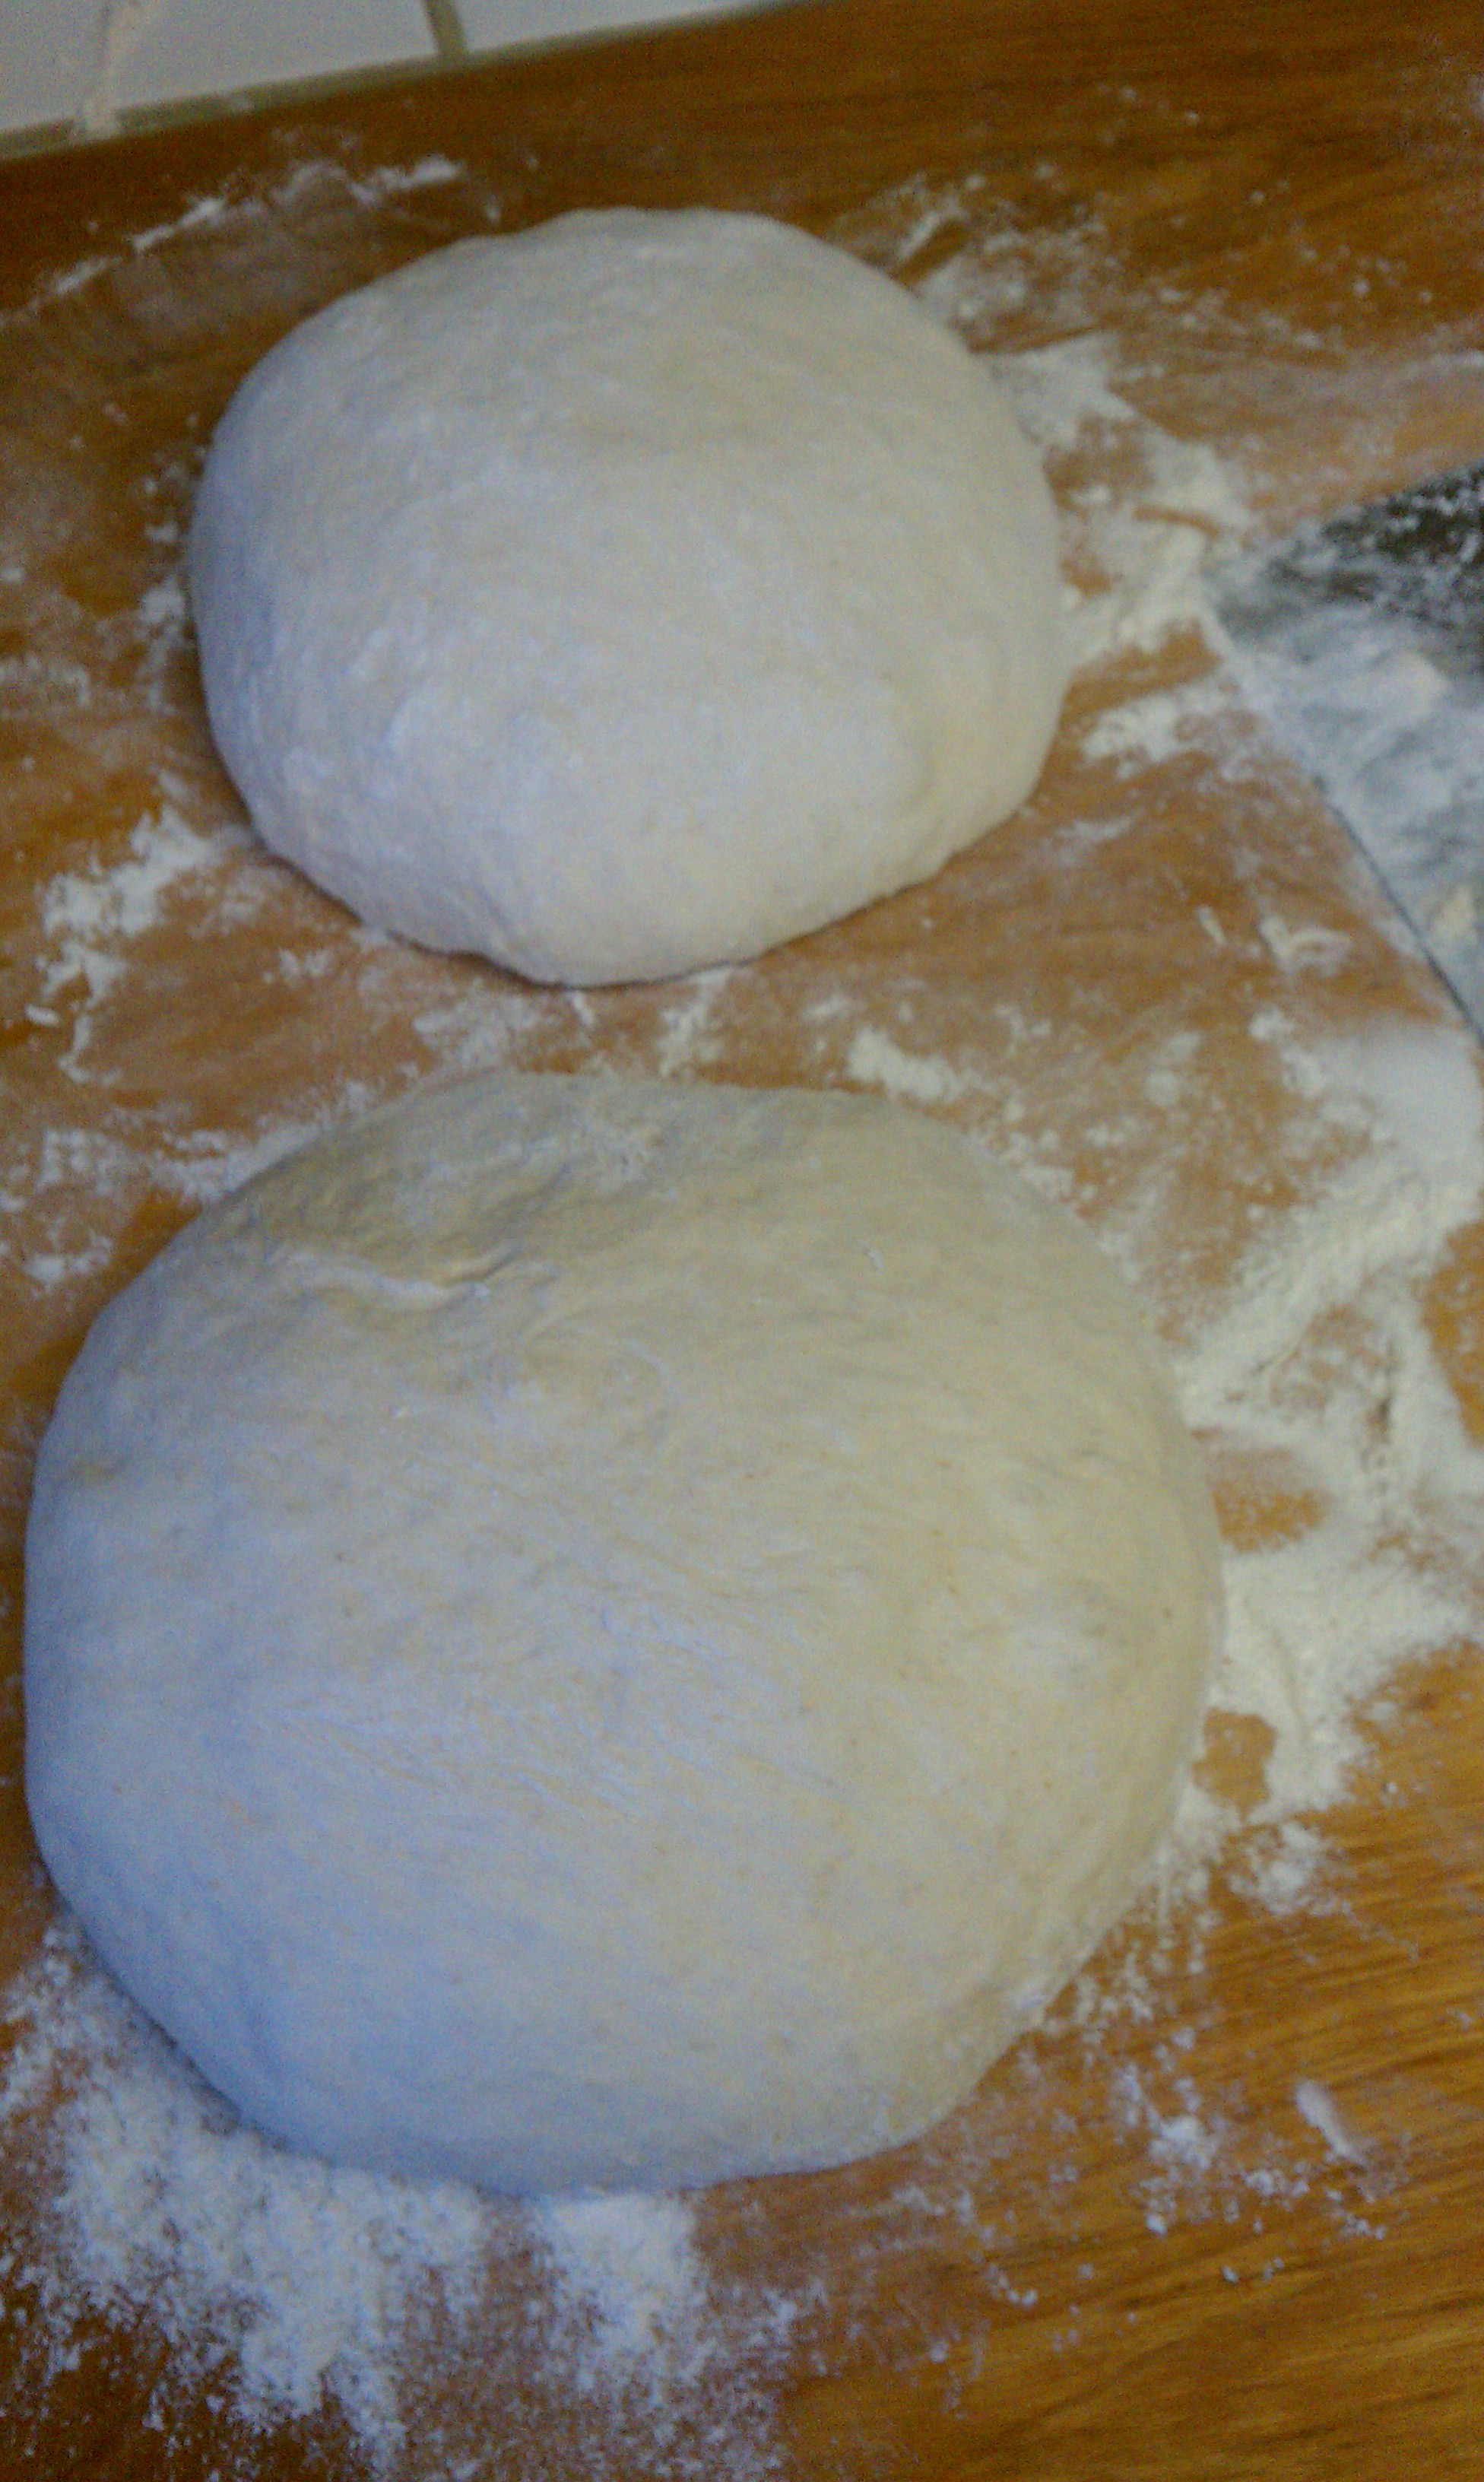
Basic Country Loaf:  I like to start my bread in the early morning so I have enough time for resting and rising.  In a large bowl add 700 grams (I like to weigh my bread dough ingredients) of luke warm water and 200 grams of leaven (starter).  Mix to disperse the starter.  Add 1,000 grams flour (80/20 white/wheat if desired).  Mix Thoroughly by hand until you do not see any bits of dry flour.  Let the dough rest 25 to 40 minutes.  Don’t skip the resting period!  After resting period, add 20 grams of salt and 50 grams of warm water to the dough.  Incorporate the salt with your hands.  Fold the dough on top of itself and place dough in a bowl for its first rise.  Cover with a cloth and place in a warm room, 78 degrees  for 3 to 4 hours.  Dough will be rather sticky.  Turn out on a floured work service and start to knead with a dough spatula.  Use as little flour as possible.  Divide the soft dough in half and start to shape by folding dough into the center and creating a smooth surface on top side. Place dough on a floured pizza/bread paddle or in a cast iron pan, folded side down and cover with a cloth.  Let rise for 2 to 3 hours.  Preheat oven to 450 degrees. If using a paddle and pizza stone make sure your stone is also preheated.  Once dough has risen, slash tops with a very sharp knife or dough slicer.  Slide into oven on stone or cover with a lid for the cast iron pan.  Splash oven with water to create steam.  I use a an old cast iron pan with lava rocks preheated and at the time of adding the bread I will quickly pour in 2 cups of water to create steam.  You have to be very careful not to burn yourself when doing this, but it makes the best chewy crusts ever.  Bake  until the color of the crust is deeply carmelized, 20-30 minutes or longer if you want a strong crust.
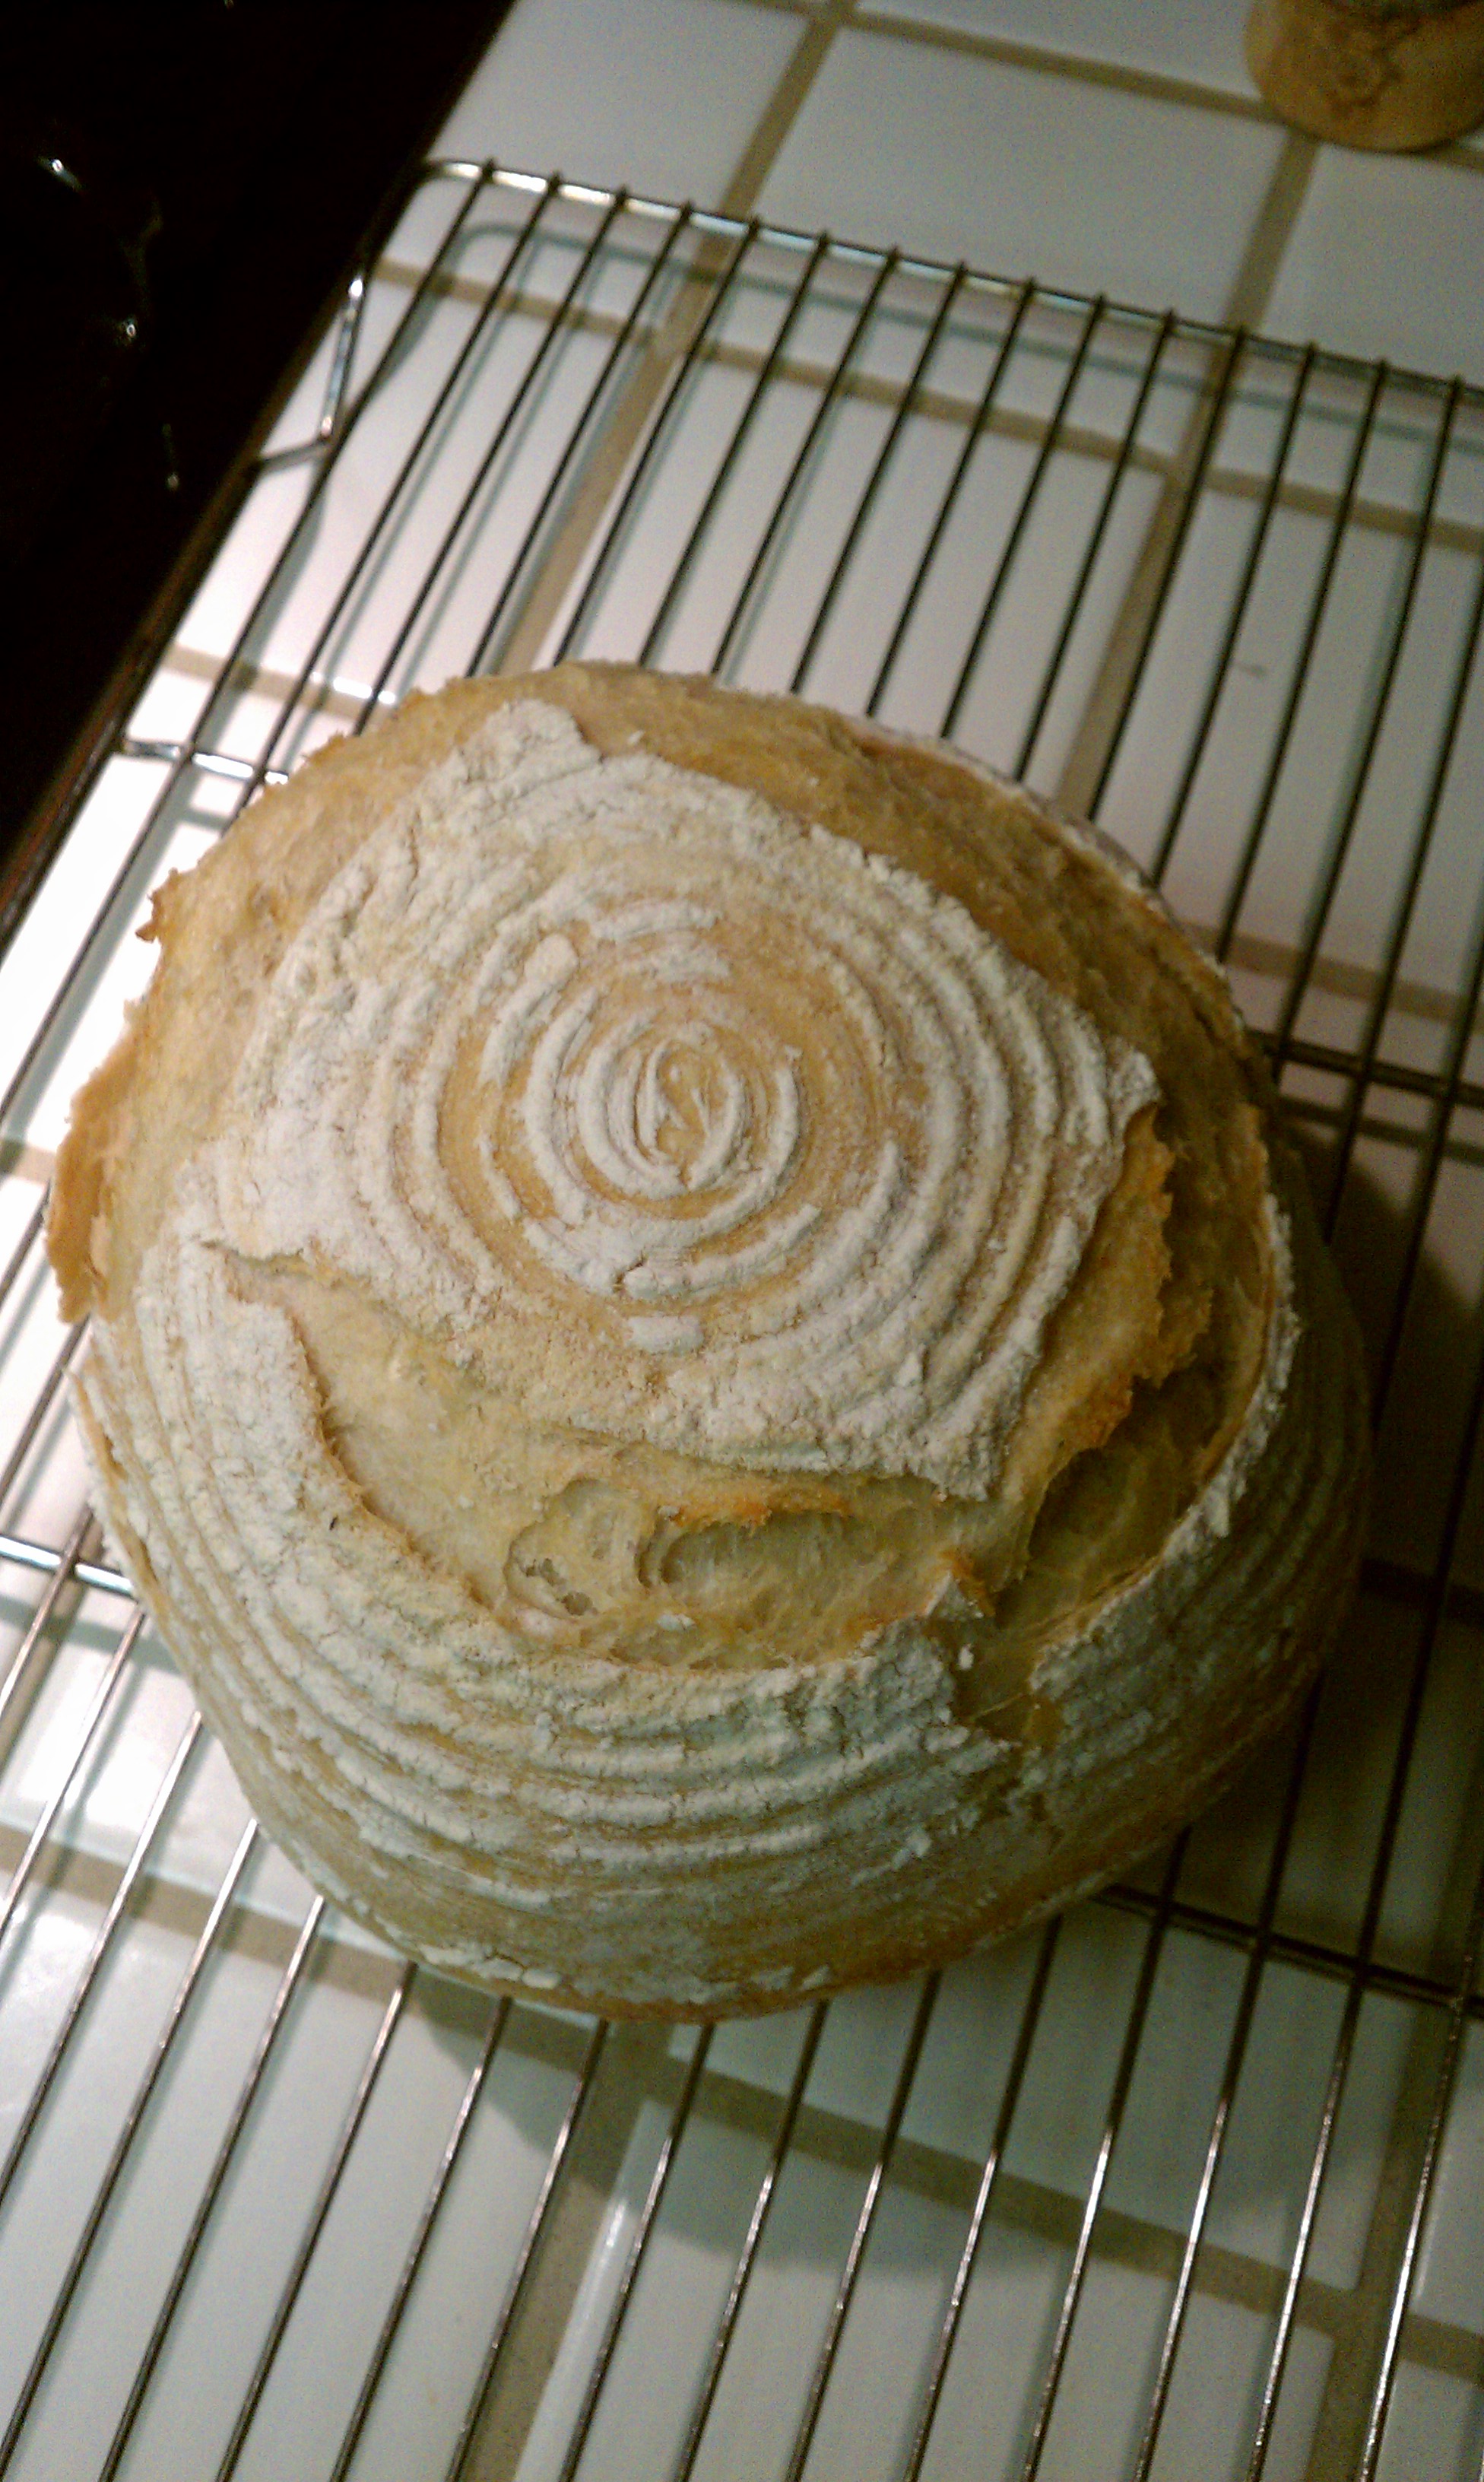
Nothing beats the smell of fresh bread!

A couple tricks of the trade:  Never use metal to stir, store or rise your dough.  Metal causes a chemical reaction with sourdough.  Don’t use tap water unless it filters out the chlorine.  I feel that when using chlorinated water the sourdough never bubbles as well.  If you feel like you can’t feed your starter for a long while you can dehydrate some of your starter on wax paper sheets, then powder it and store in an airtight container in the freezer for up to a year.  I do this anyway just in case I lose my starter for some reason, I will always have a back up.
2 Comments

Filed under A little bit of Old Fashion, Life on the Farm

Growing Kohlrabi

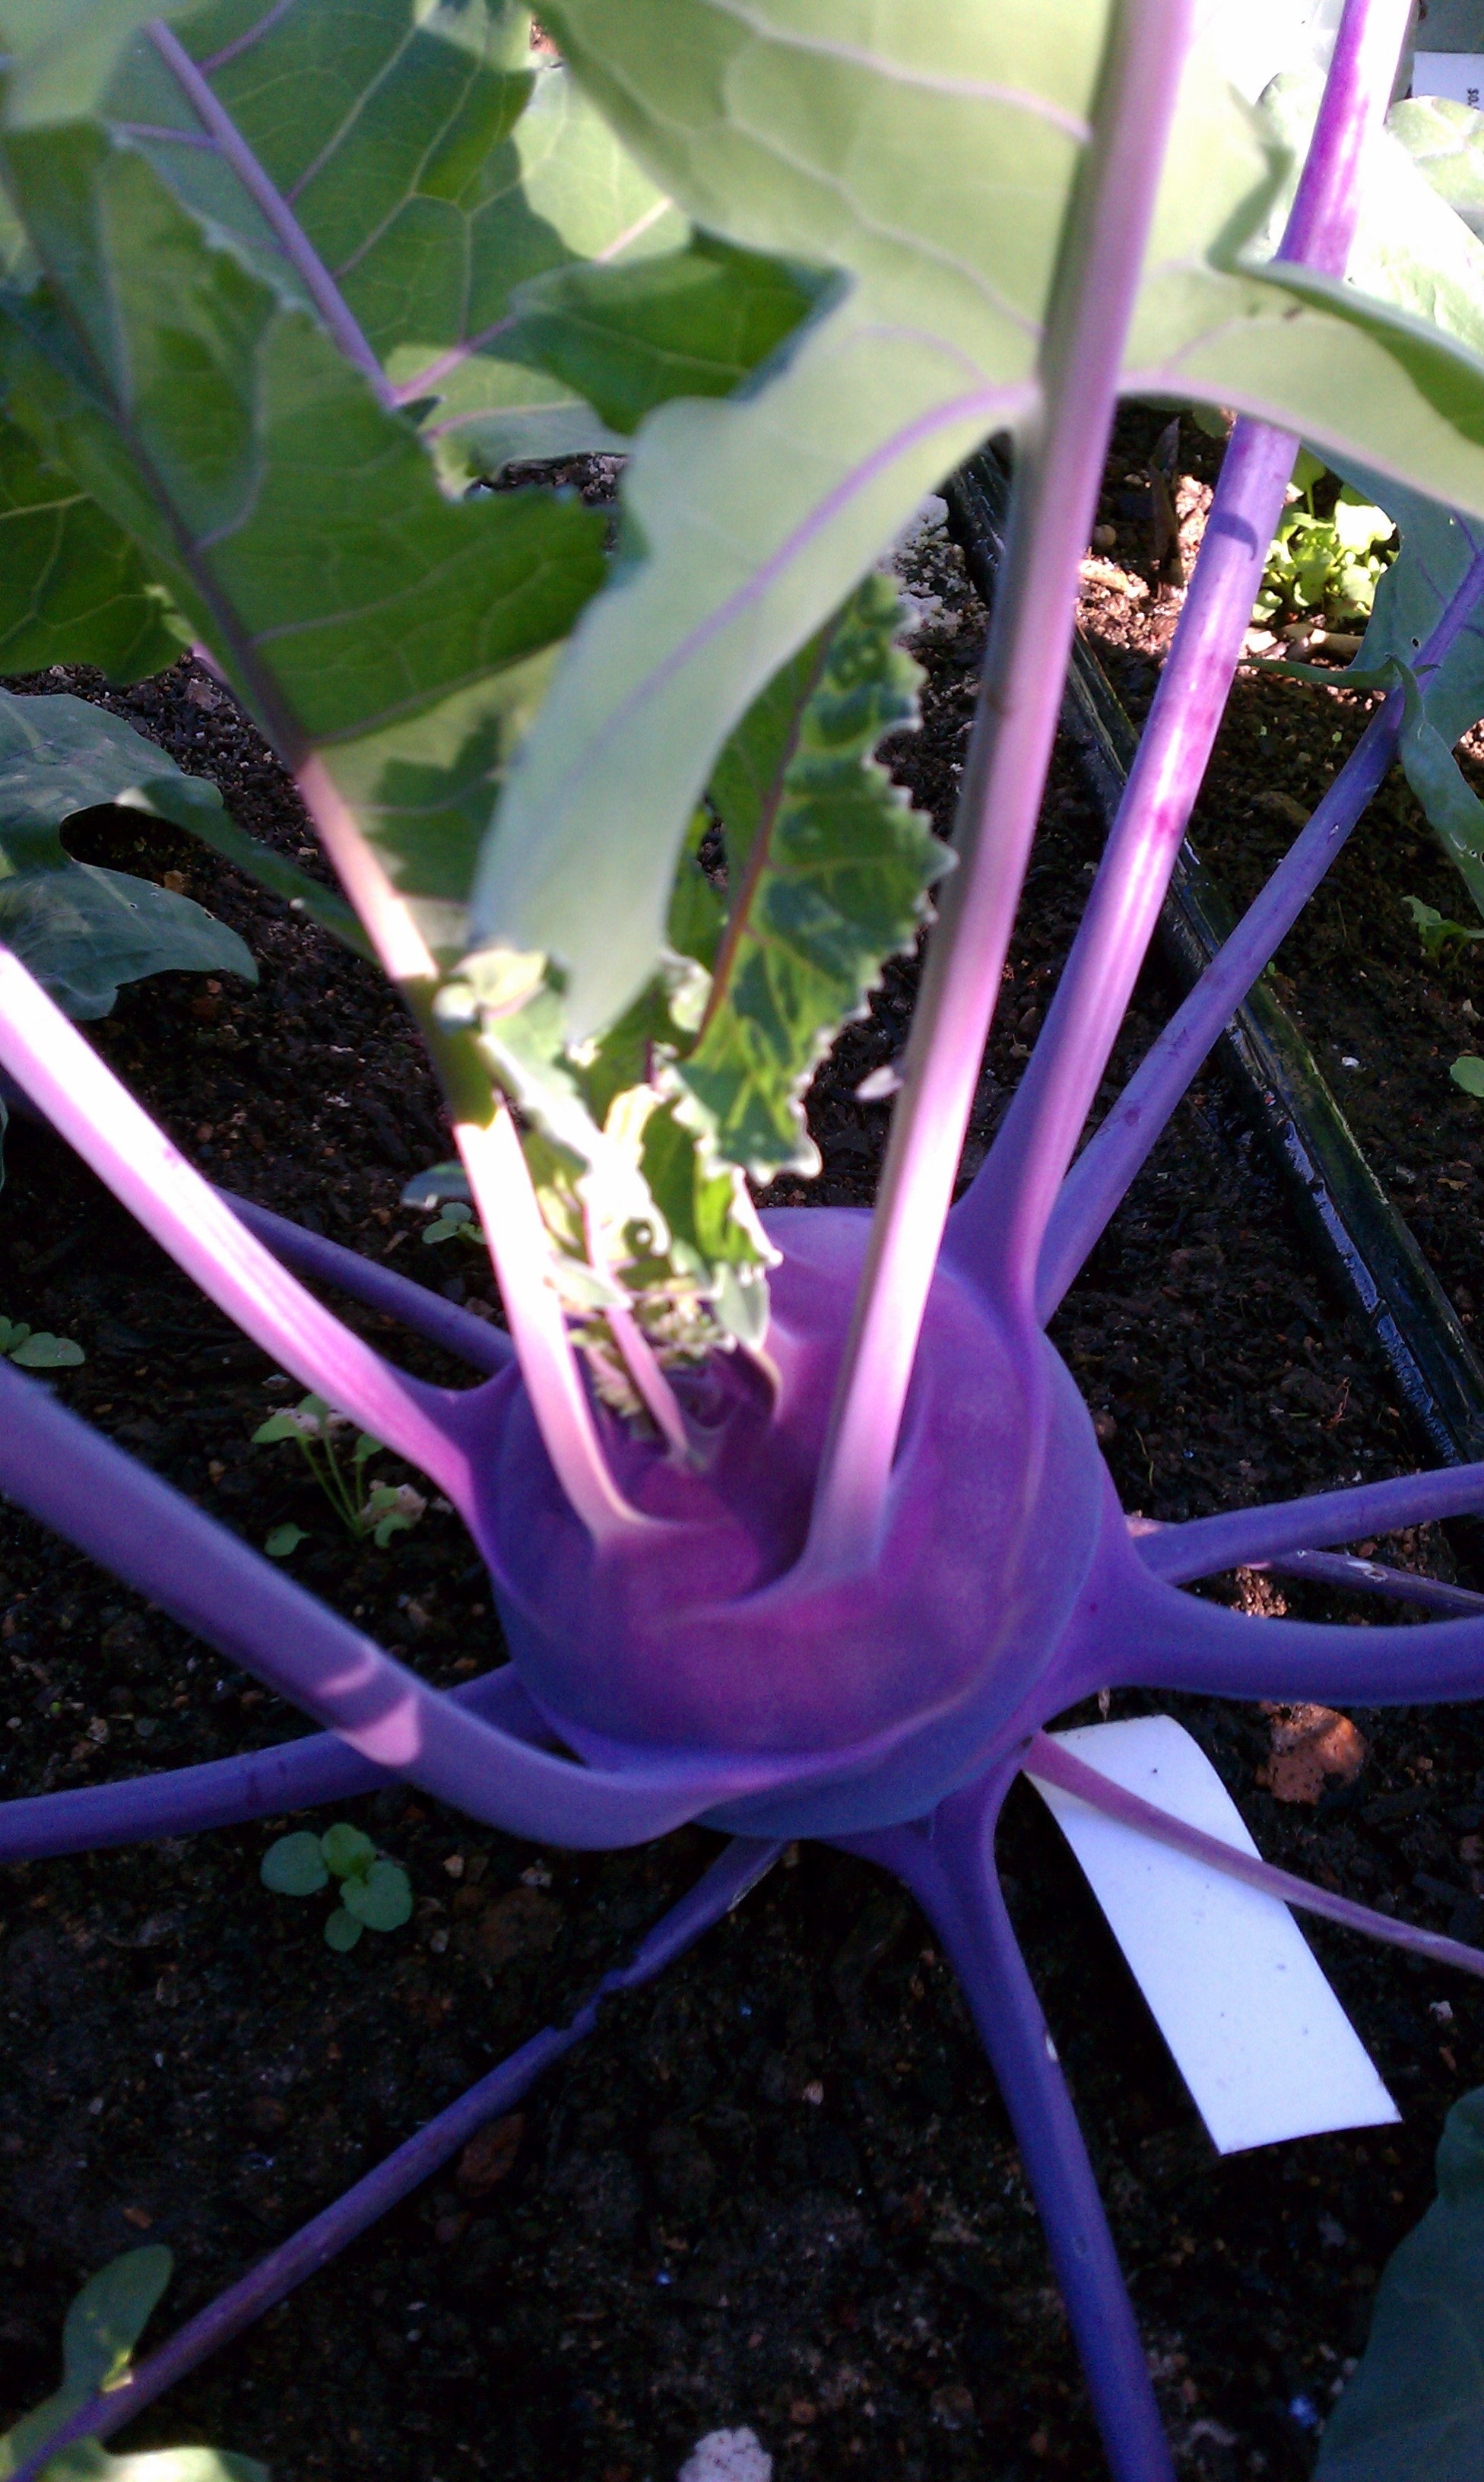
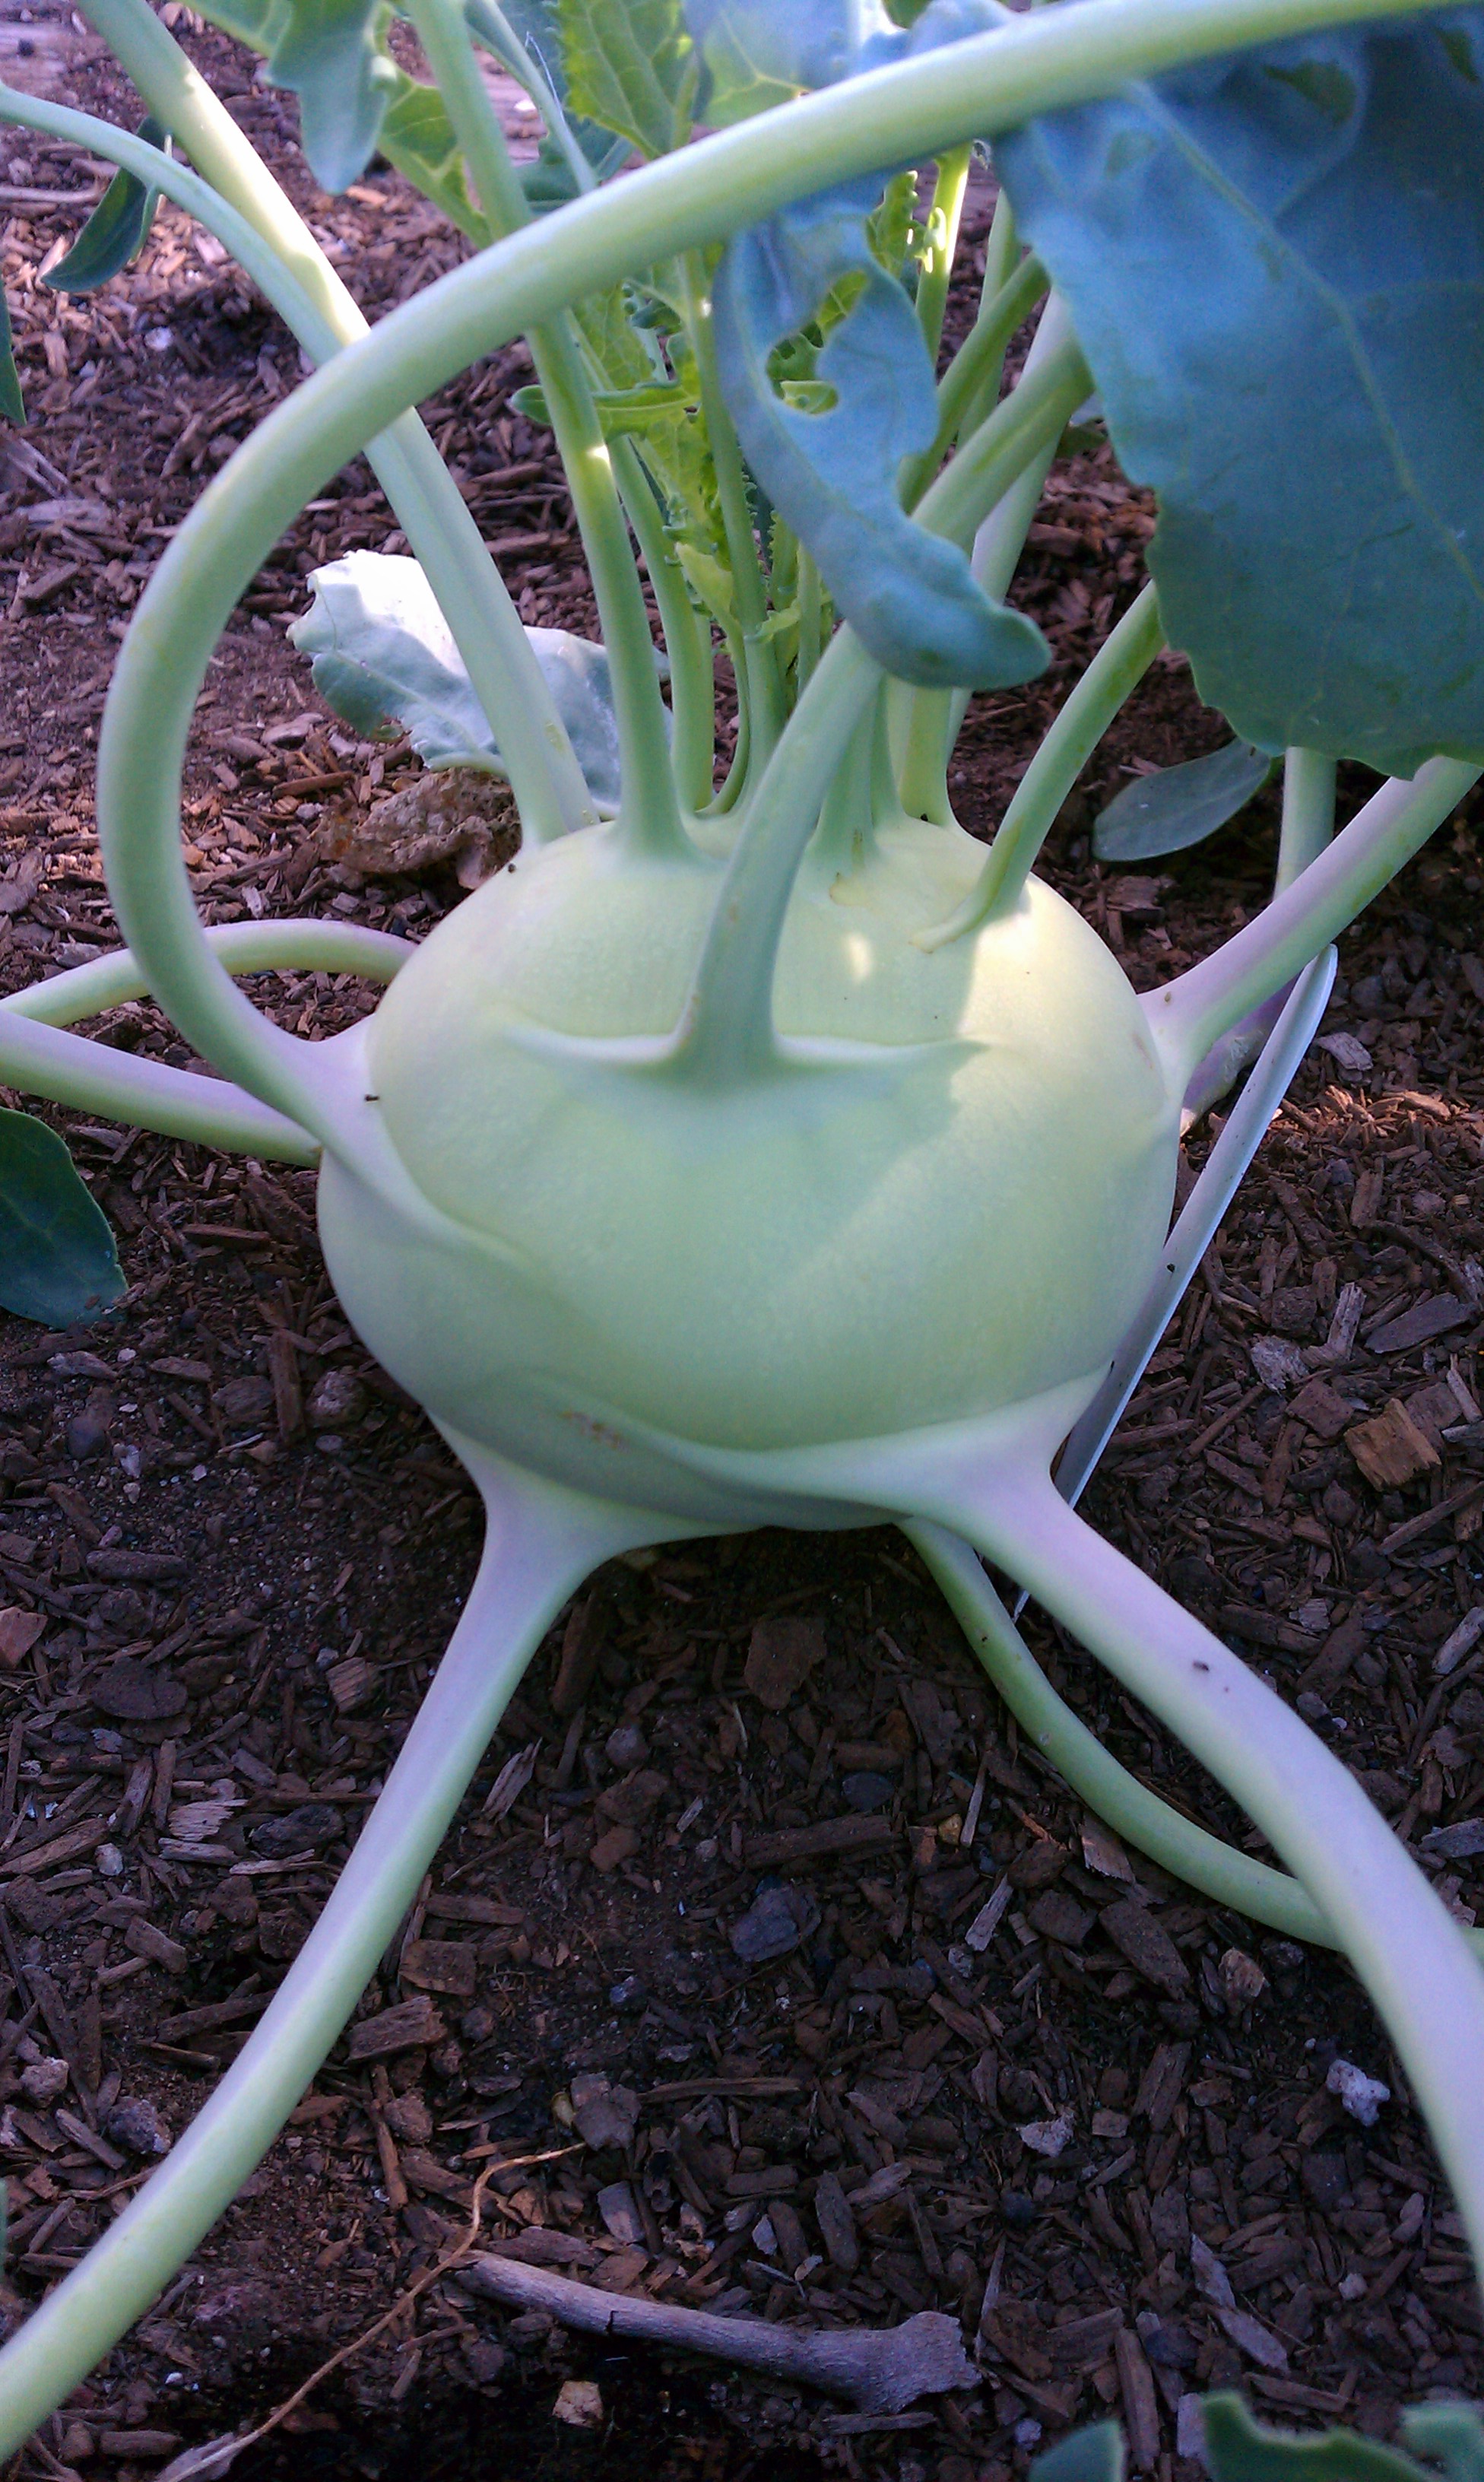
Kohlrabi is a crop that gets over looked.  It’s an under loved plant.  Why?  Because most  people, gardeners have never tried it, or don’t really know what it  is.  I will have to admit that I saw it for years in the seed catalogs and always passed it over.  It just seemed odd.  Kohlrabi is on of the easiest of the brassica family to grow.  It is also known as a German turnip.  It can handle temperature extremities better than its family members and it can be pretty unique looking in the garden.  Often times you will see it listed with root crops,  but this baby grows its spherical bulb above the ground.  Kohlrabi can be boiled, mashed, and served with butter, made into fritters or added to soups and stews.  It can be eaten raw just like an apple, or sliced and tossed into a salad.  My favorite way to use kohlrabi is to replace it with the old standard ‘cabbage’ in cole slaw recipes.  It has a delicate, slightly nutty flavor, kinda similar to a turnip, only better and it is an excellent source of vitamin C.  Some even use the leaves to steam or in green drinks.  Kohlrabi usually takes only six to eight weeks to mature.  Often times I intercrop it with Brussel sprouts as it requires the same conditions as other brassicas and it will be long gone by the time the Brussel sprouts need the space.

I start to plant my kohlrabi the end of January here in Southern Utah and will continue to plant through the middle of March. White/green varieties for early sowing and  purple-skinned varieties, which are hardier,  tolerate the heat better,  later in season.  Kohlrabi prefers rich, moisture-retentive, free-draining soil.  When transplanting your starts into the ground I always add Bio-Fish nutrients, about 2 T in the hole where each new little plant will go to give it a boost.  Always mix in your nutrients/fertilizers with the soil in the hole so you don’t have direct contact with the roots and the fertilizer.  I always use organic fertilizers because they have less of a tendency to burn new transplants and they are slow release, but regardless of what you use, it’s a good habit to get into when adding fertilizer.  Firm in your transplant!  Firm it in!  Brassica likes to have a firm foundation.  Not bad, hard soil, just firm around the plant.  Give a slight tug on a leaf, if it comes up, it isn’t firmed in enough.  I like to space my plants about a foot apart.  Water in well and keep your soil evenly moist for the duration of the growing period.  If your bulb cracks, it was probably because of water fluctuations.  To much water, then not enough.  Fertilize again at three weeks with Bio-Fish, or use a liquid fertilizer.  Keep weed free.  Weeds only rob your plants of nutrients.  Dirty buggers!  Pick kohlrabi when it is about the size of a golf ball, but no bigger than a billiard ball.  Just simply pull from the ground and toss the leaves and roots into the compost.  If you are growing closely to other plants and pulling the plant up will disturb nearby companions roots, then just cut it off at ground level. 

Kohlrabi can be grown in the fall time to.  I start seeds in mid-July and plant by late August having a harvest at the end of October.  If you live in a mild climate where the summer temperatures don’t go above 90 degrees for weeks at a time you can grow it during the summer months to.

Bio-Fish Fertilizer

Liquid Fertilizer

Leave a comment

Filed under Gardening

Casper, Here Kitty Kitty

This slideshow requires JavaScript.

It has been a little while since I have mentioned anything about Casper the Perfect Cat and I guess Casper has quit the following.  People have stopped in to see Casper and see what busy things he has been up to and I have received e-mails asking about him.  After all he is a sweet little guy.  So I thought I would give you the low down on his busy life.  Often times we have gardening classes at our place and Casper likes to get involved in the learning.  Getting ready for winter I covered my garden with protective row cover, of course, Casper came to the rescue and he became a row cover weight as he quickly makes a bed with the soft lettuce below.  Big Day!  Out in the sunshine keeping the crops warm.  Hard life for a cat on the farm!  He has been helping me type out a blogs….As you can see in the picture he quickly fell asleep, but it was the thought that counted. Over worked and never enough treats!    Another occasion, he spent many an hours sewing, or at least on the sewing table adjusting himself only once during the day when I seemed to bother him when I reached for the scissors he was laying on.  And to think, we thought he would be a good mouser.  HA!   One word that often comes from my husbands mouth is, “Worthless”.  He just doesn’t fully understand Casper.  Casper has always liked baskets, high, low, inside, outside, or where ever they are he always seems to find them.  Maybe he is pursuing a career in basket weaving.  He is just taking his time studying the weaves of the baskets.  Anyway Casper is still plugging along, with his many (or not so many) tasks of the day, ever so spoiled and getting his beauty sleep.  This March Casper turns 13.   I can’t really say he has slowed down when he was always taking he time, or should I say “taking a nap”.  Enjoy his pictures and stop in and say hi to the ‘Perfect’ cat, Casper.  He will win your heart over!

2 Comments

Filed under Casper the Cat

Have You Ever Grown a Fava Bean? Would You?

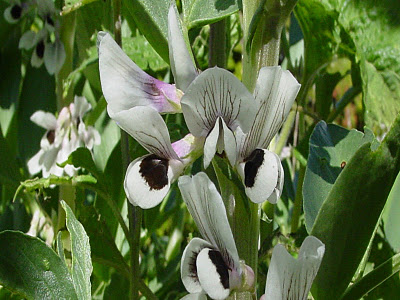
What the heck is a Fava Bean?  For the last several years I have added this delicious legume to my garden.  Not only is it great to add nitrogen to the soil, very cold hardy, but it is very nutritious as well.  Fava beans are one of the oldest plants under cultivation, and they were eaten in ancient Greece and Rome.  Fava beans are in the pea family, even though their name suggest they are a bean.  This is why they are cold hardy unlike other true beans.  They are popular in Mediterranean cuisine with a distinct creamy flavor.  You can eat them fresh or dry.  Dried they store well and can be added to soups or any bean dish.  Fresh, they can be added to salads and pasta dishes.  Fava beans are great steamed and served with olive oil, salt, and lemon.

Fava beans do not tolerate hot temperatures, therefore plant them as soon as the ground can be worked in the early spring or in my case in USDA zone 8,  late winter, January to be exact.  Fava bean can be planted in heavy soil as long as there is good drainage and the soil has been amended with compost and a well-balanced fertilizer.  Fava beans will improve your soil, so it’s a good idea to plant them in less than perfect spots in the garden.  Soak the seeds a few hours before planting to help with germination.  Plant 1 1/2 – 2″ deep 6-9 inches apart.  I like to stake my fava beans with some old branches 2-3 ft tall stuck into the soil on either side of the plant.  Usually this is enough unless we have high winds, then a little hemp twine around the plants and stakes will do.  Fava beans are usually ready in 4-6 months to harvest.  You will be surprised how neat they look in the garden.  The beans grow on bushy plants with tapering leaves, yielding anywhere from 25 to 50 pods per plant. The pods resemble pea pods in shape, although they are much larger and lined with a pillowy white material that protects the seeds inside.  Give plenty of water throughout the growing season.  Pinch off the tops of the plants when the first pods have begun to form.  This aids pod formation and discourages blackfly.  Pick the pods when they have become swollen.  You can see a slight definition of each bean inside the pod.  Do not allow the pods to be too mature because they will become leathery and tough.  Continuous harvesting will extend the crop season.  Broad beans (another name for fava) are beast picked and used fresh.  Any extras can be frozen or dried.

Once your plants are tired, retire them back into the soil.  You may need to chop them up a bit, but you can just till them in or add them to your compost pile.  Whatever you choose, don’t toss them into the trash.  These guys are valuable!  The smaller the pieces the faster they will decompose.  Favas are commonly used as a cover crop. They are big nitrogen fixers.   Now why wouldn’t you grow these beauties? 

Try this:

Quinoa, Avocado and Fava Been Salad

1 cup quinoa, 1 lb shelled fresh or frozen fava beans, 2 med. lemons, 2 ripe avocado, 2 garlic cloves, 2 bunches of breakfast radishes halved lengthwise, 1 cup purple basil leaves chopped, 1 T ground cumin, 1/3 cup olive oil, 1/4 tsp chili flakes, salt and pepper to taste.

Cook quinoa and rinse with cold water and leave to dry.  Toss fava beans into a pan of boiling water and boil for 30 seconds and immediately drain in colander and leave to dry, then press each bean with your fingers to remove the skins and discard these.  Take the lemons and use a small sharp knife to slice off the top and base.  Stand on long end and cut down the sides, following the curve to remove the skin and white pith.  Over a large mixing bowl, cut in between the membranes to release the individual segments into the bowl.  Squeeze the juice from the membrane into the bowl with the segments.  Peel and stone avocados.  Slice thinly, then add to the bowl and toss to cover in the lemon juice.  Once the quinoa is dry, transfer it to the bowl.  Add the fava beans, garlic, radishes, half the basil, cumin, olive oil, chili flakes, and salt and pepper to taste.  Toss gently and garnish with remaining basil.  Great Healthy Spring Recipe!

1 Comment

Filed under Gardening, Heirlooms, Recipes from the Garden